Loading ...
Loading ...
4
ENGLISH
5
ENGLISH
INSTALLATION PROCEDURE
1) Cut the template out along the inside of the cutting line.
2) Place the template on the countertop, making sure there is enough clearance for
the faucet and trim and for the cabinet beneath the countertop.
3) Trace around the template, marking the center line of the faucet and the location
of the mounting screw.
4) Cut out the opening along the traced template line.
NOTE: A minimum counter thickness of 1” (25.4mm) is required for the provided
installation hardware.
5) Position the lavatory squarely under the cutout and mount the lavatory via the
provided brackets and screws. Use the appropriate screws for wood or marble/
stone countertops.
DO NOT OVERTIGHTEN THE SCREWS. This may damage the
product and cause personal injury and/or property damage.
6) Wipe away any excess sealant and fill any voids as necessary. Allow the sealant to
set for 30 minutes.
7) Connect the trap to the drain and complete the faucet installation per the manu-
facturer’s specifications.
8) Run water into the lavatory and check the entire installation for leaks.
WARNING
WARNINGS
WARNING
When this symbol appears in the manual, it is alerting you of
potential misoperations that may cause personal injury and/or
property damage.
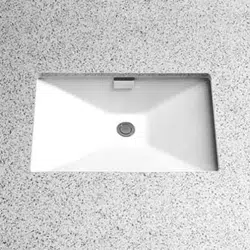
INCLUDED PARTS
Under Counter Lavatory
Under Counter Mounting Set
- Standard Rim
Under Counter Mounting Set
- Tall Rim
For Marble/Stone Countertops:
a) Carefully turn the counter up-
side down and mark the anchor
locations using the template.
b) Drill the anchor holes at the
marked locations and set the
anchors into the countertop
using a setting tool and ham-
mer.
Anchor
Sealant
Metal
Bracket
Machine
Screw
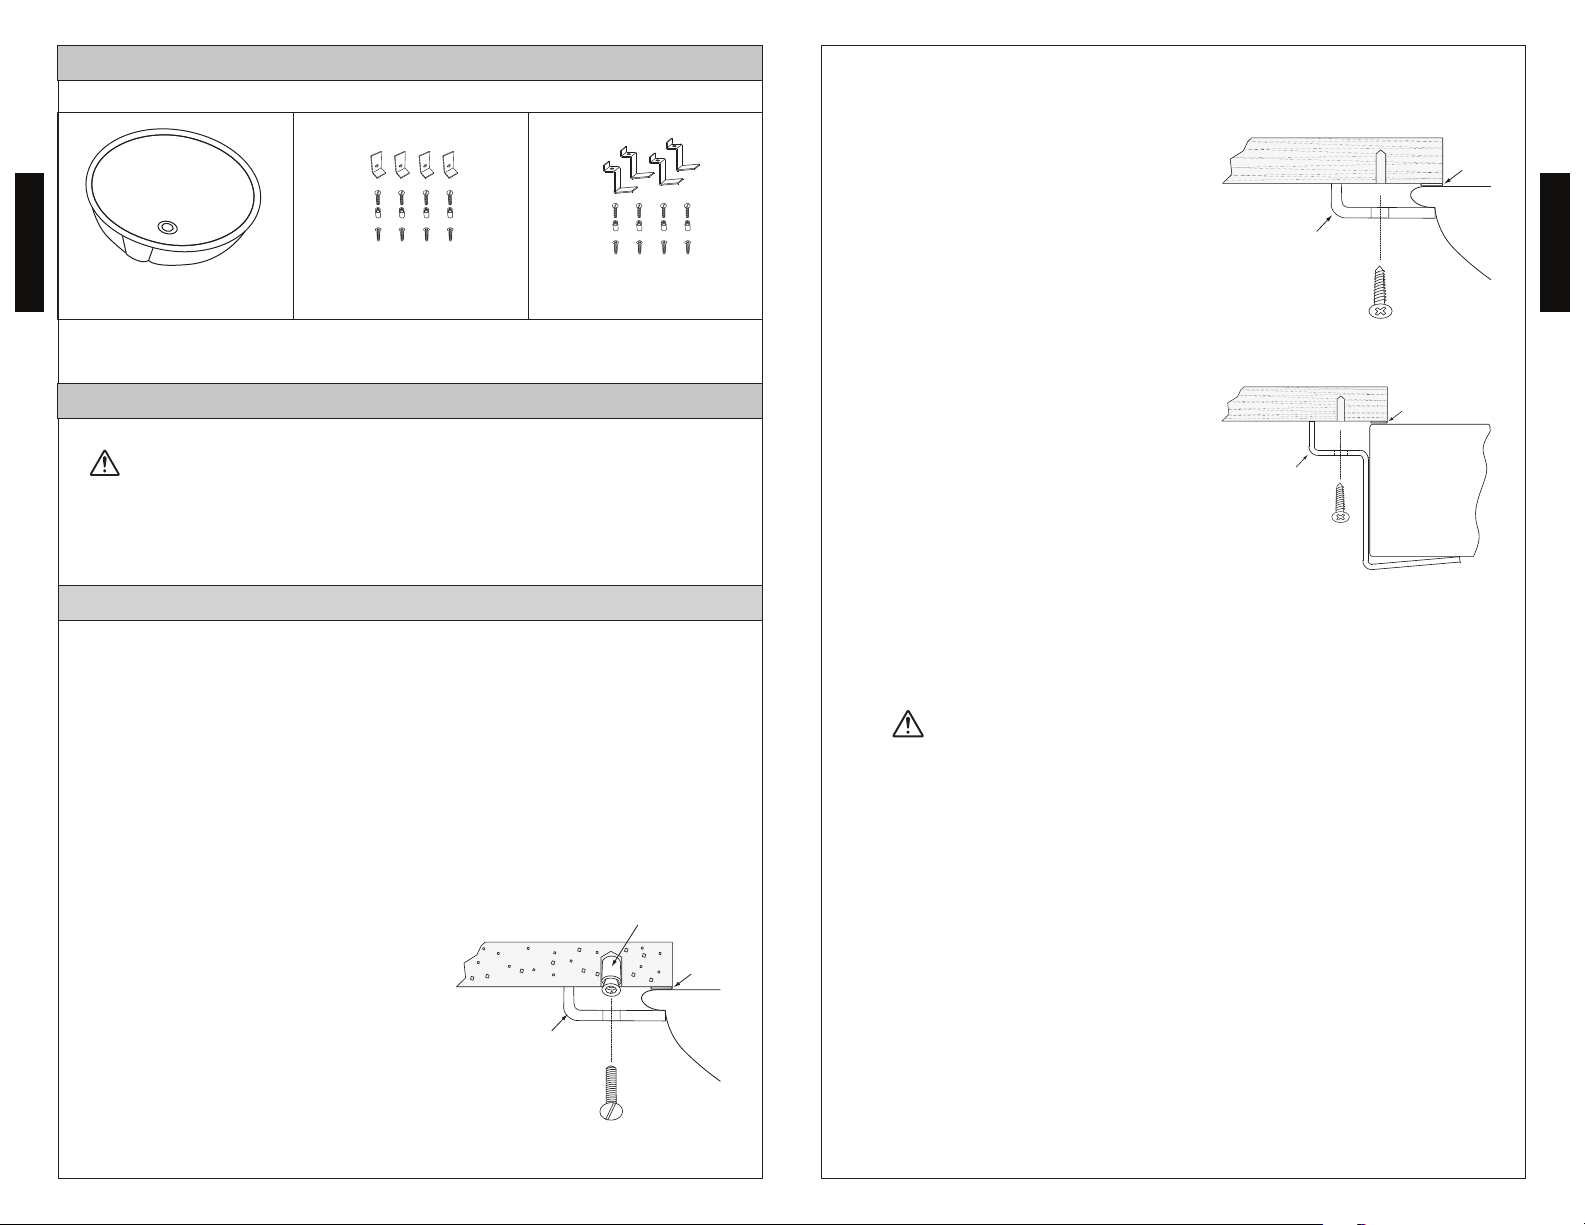
For Wood Countertops:
a) Mark the screw location on the
countertop using the template.
b) Pre-drill the wood screw holes
and water seal the exposed
area.
c) Install the countertop, if it is
not already installed. Drill the
faucet hole per the manufac-
turer’s specifications.
d) Install the faucet and drain
fitting per the manufacturer’s
instructions.
e) Apply a continuous bead of
sealant to the top surface of
the lavatory rim where it will
make contact with the counter-
top.
NOTE: Sealant is not included.
Installation Procedure (continued)
Standard Rims
Tall Rims
Metal
Bracket
Wood Screw
Sealant
Wood Screw
Metal
Bracket
Sealant
Loading ...
Loading ...
Loading ...