Loading ...
Loading ...
Loading ...
Page 18 of 20 802262 - Chilled HT User Guide - 7-15 - v2.00
The Zip HydroTap notifies when filter replacement is due. If you notice one of
the following, you will need to change the filter:
•
The Change Filter light will flash white once a second and remain so until
reset. A filter status light is located below the Chilled Blue Lights on the tap
head assembly.
•
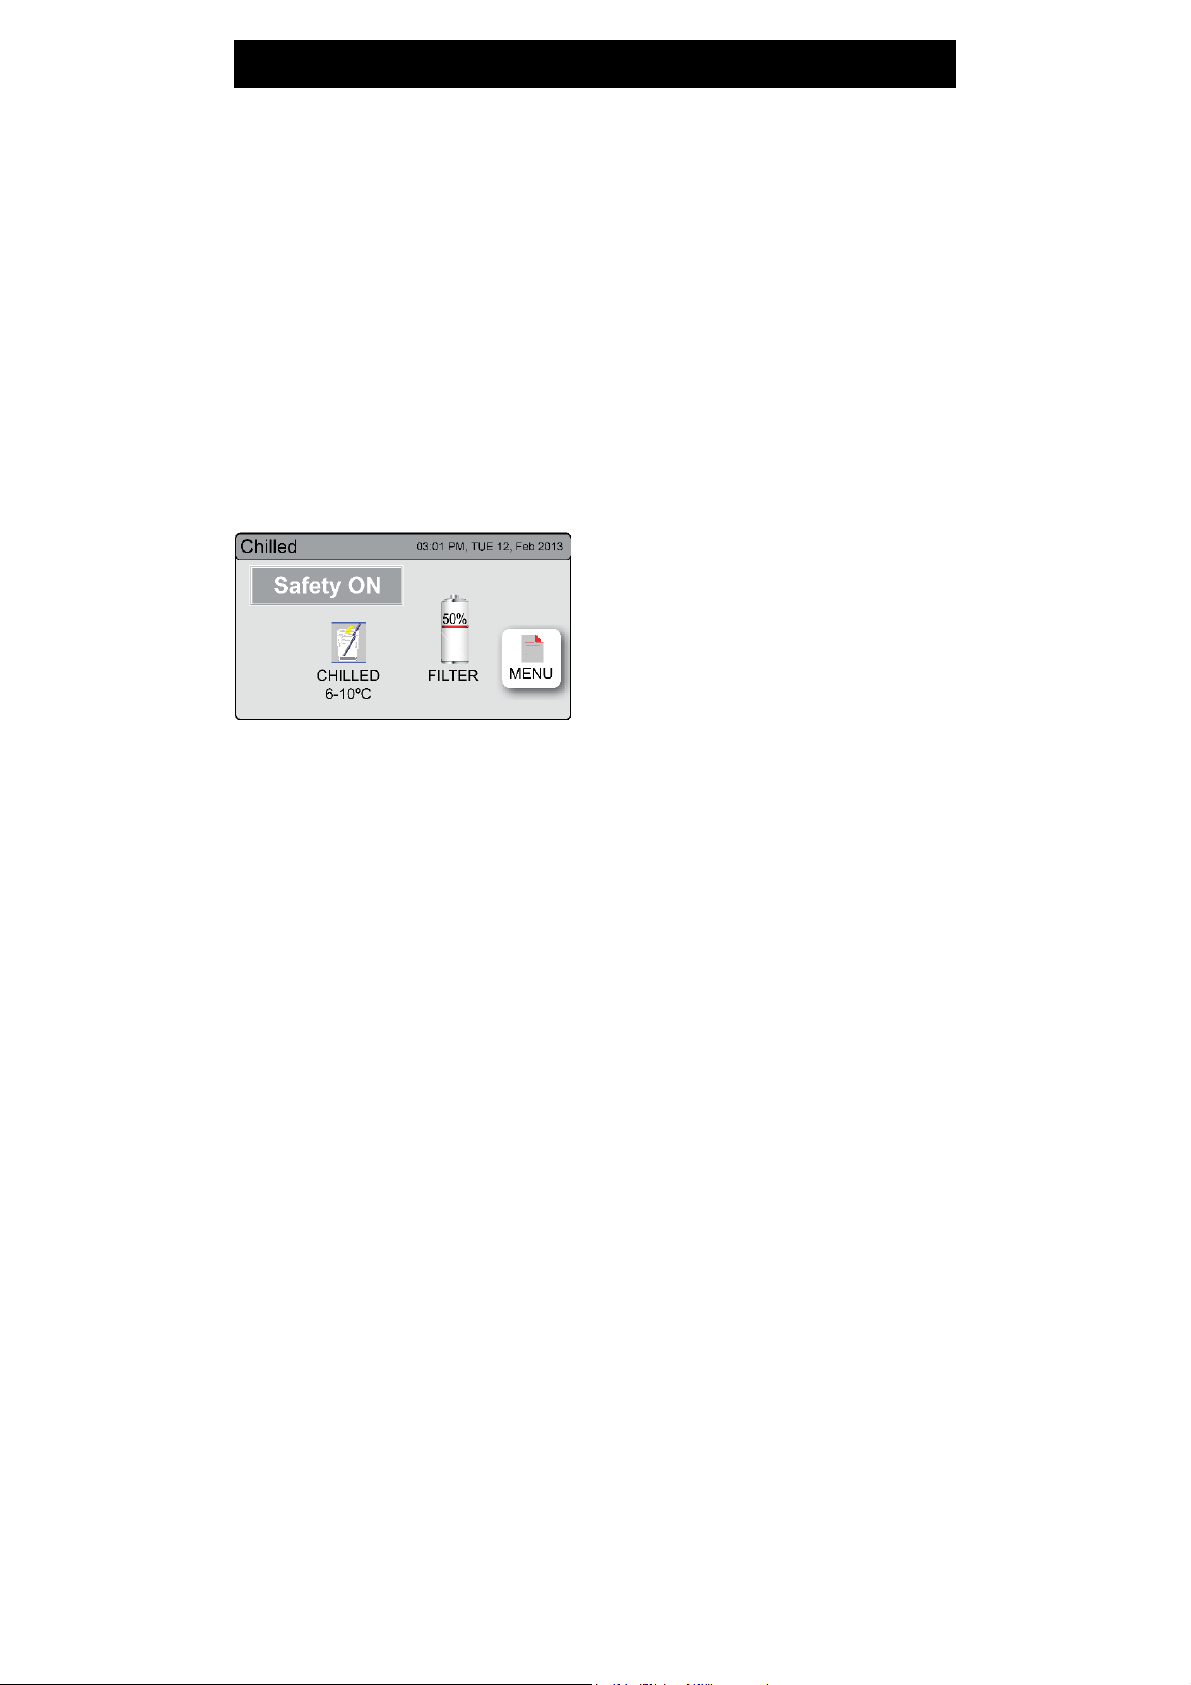
The filter percentage will change to 0% on the screen.
Note:
Depending on local water quality conditions and usage, the filter
may require changing anywhere from 500 Ltrs to 10000 Ltrs. You may also
need to replace the filter if you notice unpleasant odours or tastes.
Some water may drip from the filter
head (socket) during replacement. Keep
a towel handy to dry up any drips.
Water Filter
Filter Maintenance
Warning: If the Zip HydroTap is switched off for a long period of time
(e.g. More than a weekend), run water through the chilled water outlet for at
least 5 minutes before consumption.
To change the Filter: (See also Section C)
1.
Open the door of the under sink unit.
2.
Relieve system pressure via the filter flush stop cock, a quick open and
close will do. Use the bucket to catch the discharge.
3.
Grasp filter cartridge, depress the red lever at the top right of the filter and
rotate the cartridge a quarter turn to the left, then gently pull down.
4. Caution:
a small amount of water will drip as the cartridge is removed.
5.
Do not tilt the cartridge as water may spill from it if tilted.
6.
Unpack replacement cartridge and remove sanitary cap, write today’s
date where shown on the label.
7.
Avoid touching the filter O-rings and filter opening as this may cause
bacterial contamination of the cartridge.
8.
Moisten the O-rings with water, align the front cartridge label to the left (as
shown in the “insert filter” diagram for filter cartridge replacement), and
push the new cartridge into the filter head.
9.
Turn the cartridge a quarter turn to the right until the cartridge comes
to complete stop and is locked into position, with the front label facing
forward.
10.
Initiate the filter flush programme by scrolling through the menu screen
(See section C).
11.
When completed, wipe up any spills and dispose of spent filter cartridge
and packaging thoughtfully.
12.
Close the door to secure the appliance.
13.
Adjust the filter settings in Section G - filter - Litres and Days used.
Loading ...
Loading ...