Loading ...
Loading ...
Loading ...
Usingthesurfaceunits.
NOTE: Throughout this manual, features and appearance may vary from your model.
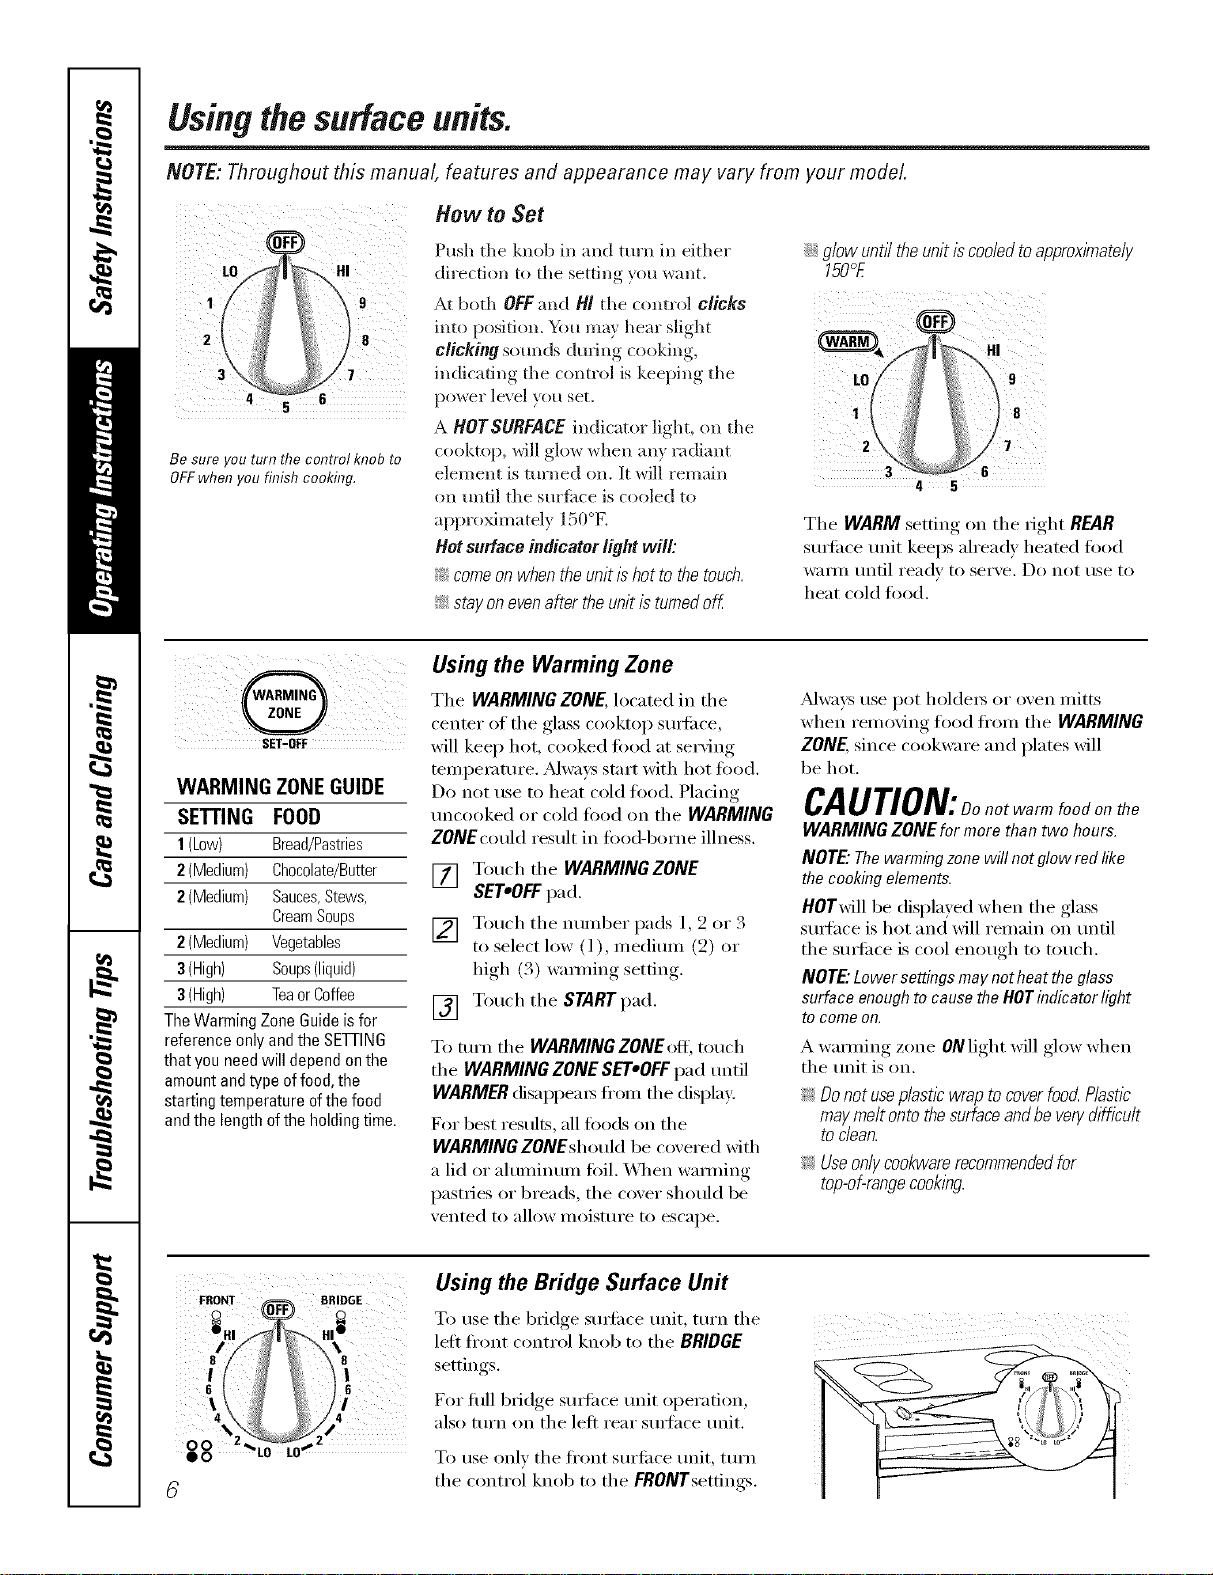
How to Set
1 9
2 8
4
Besure _ou wrn rne comro/ KI?ODTO
OFFwhen ou finish cooking.
Push the knob in and mrn in either iJi::glow until theunit iscoded toapproxtYnate/y
directi(m t(s the settim, xou want. 150°F
At both OFFand H/the control clicks
into position. Ym ma_ hear slight
clicking sotmds during cooking,
indicadng the control is keel)in,*_ the tO 9
p(s_,_er level }ou set. i 8
cooktol), will glow _d_en am radiant
element is turned sin. It *d]l remain
on tmdl the sm'fime is cooled to
app_ oximately 150°K
Hot surface indicator light will:
!_:comeon when the unit/s hot to the touch.
_ stay on evenafter the unit is turnedoff
4 5 ¸
The WARMsetting on the right REAR
suHi_ce unit keeps ah'eadv heated fo(sd
WalIX/ IlIxtil ready to serve. Do not IISe t(s
heat cold fiso(l.
i ;i ii ii illi
SET:OFF
WARMING ZONE GUIDE
SETrlNG FOOD
1(Low) Bread/Pastries
2(Medium) Chocolate/Butter
2(Medium) Sauces,Stews,
CreamSoups
2(Medium) Vegetables
3(High) Soups(liquid)
3(High) Teaor Coffee
TheWarming Zone Guideis for
reference onlyandthe SEYrlNG
thatyou needwill dependonthe
amountandtype of food,the
startingtemperature ofthe food
andthe lengthofthe holdingtime.
Using the Warming Zone
The WARMING ZONE, located in the
center of the glass cooktop SUlti_ce,
will kee I) hot, cooked food at serving
teml)elamre. _Mwa}_sstart with hot food.
Do not use to heat cold food. Plating
uncooked or cold load on the WARMING
ZONEcould result in toed-borne illness.
[] Touch the WARMING ZONE
SET'OFF pad.
[] Touch the imml)er pads 1, 2 or 3
t(s select low (l), medimn (2) or
high (3) wamfing setting.
[] Touch the START pad.
To mrn the WARMING ZONE ofl_ touch
the WARMING ZONE SET'OFF pad until
WARMER(fisappeals fl'Oln the display:
For best results, all foods on the
WARMING ZONEshould be covered with
a lid or aluminum foil. \_]_en wamfing
pastries or breads, the cover should be
vented to allow inoismre to escape.
_Mwaysuse pot holders or (wen mitts
when removing flsod fl'om the WARMING
ZONE, since cookware and plates will
be hot.
CAUrlON: oo notwarm foodonthe
WARMING ZONE for more than two hours.
NOTE"The warming zone will not glow red like
the cooking elements.
HOTwill be displayed when the glass
sudhce is hot and will renmin on tmtil
the smti_(e is cool enough to touch.
NOTE" Lower settings may not heat the glass
surface enough to cause the HOT indicator light
to come on.
Awamfing z(me ONlight will glow when
the unit is (six.
_ DonotuseplasticwraptocoverfoodPlastic
maymeltontothesurfaceandbeven/difficult
toclean.
_ Useonlycookwarerecommendedfor
top-of-rangecooking.
ERONT _ BRIDGE
e
_t4 41
O0
@ 0 LO LO
Using the Bridge Surface Unit
To use the bridge sm_iace trait, tm'n the
left fl'ont control knob to the BRIDGE
settings
For flfll bridge SUltiacetrait ol)eration,
als(>turlx ssixthe left rear SUltace unit.
To use only the fl'smt surlZace trait, turlx
the c(mtrs)l knob t(s the FRONTsettings.
Loading ...
Loading ...
Loading ...