Loading ...
Loading ...
Loading ...
n
Layout
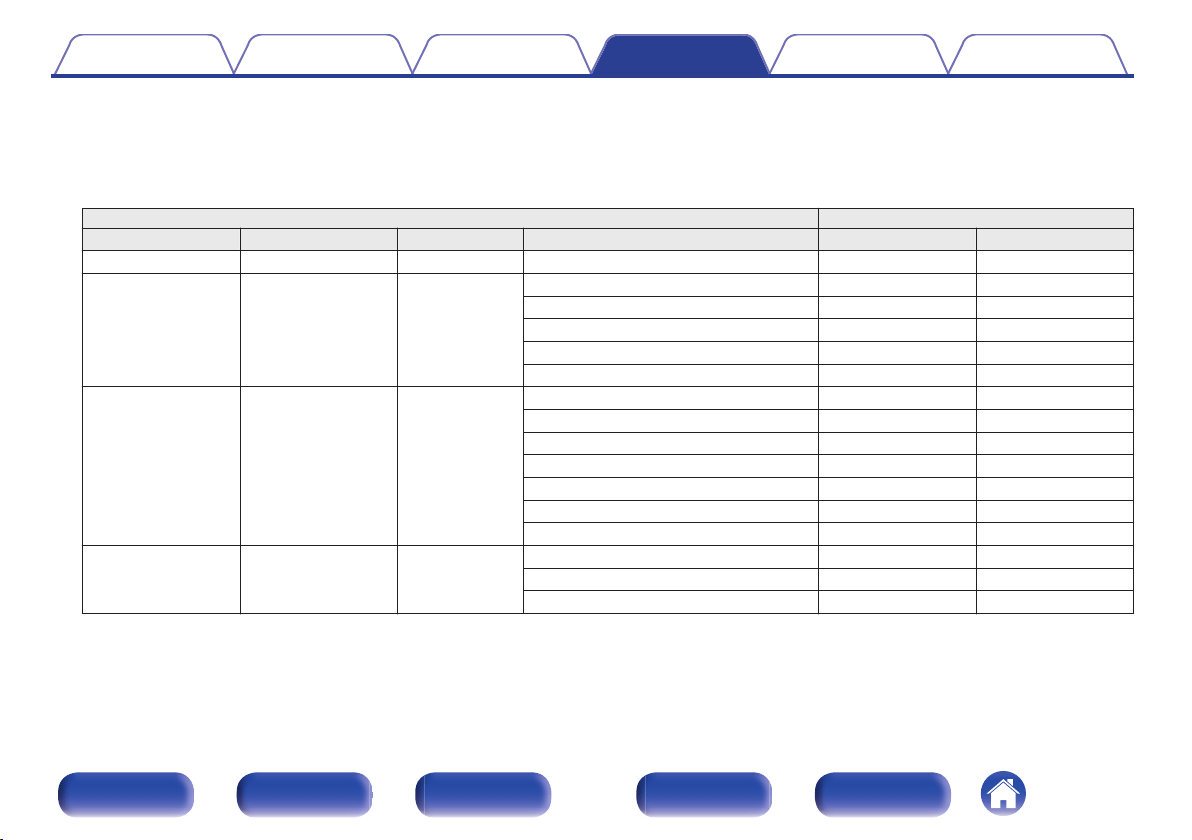
Select the height, ceiling, or Dolby Atmos Enabled speaker location.
The layouts that can be selected differ depending on the combinations of “Assign Mode” and “Floor” in the menu. (“Assign Mode” (v p. 230),
“Floor” (v p. 233))
Settings AUDIO OUT connectors
Height Sp Dolby Sp NOTE Layout HEIGHT 1 HEIGHT 2
None None - - -
2ch None
Front Height (Default) Front Height -
Top Front Top Front -
Top Middle Top Middle -
Top Rear Top Rear -
Rear Height Rear Height -
4ch None
z
1
Front Height & Top Middle Front Height Top Middle
Front Height & Top Rear Front Height Top Rear
Front Height & Rear Height
z
2
Front Height Rear Height
Front Height & Surr. Height Front Height Surr. Height
Top Front & Top Rear Top Front Top Rear
Top Front & Rear Height Top Front Rear Height
Top Middle & Rear Height Top Middle Rear Height
None 2ch
Front Dolby Front Dolby -
Surround Dolby Surround Dolby -
Back Dolby
z
3
Back Dolby -
z1
This can be selected when “Assign Mode” is set to “11.1ch” or “9.1ch” in the menu.
z2
For the best Auro-3D experience Surround Height speakers are recommended, however you may substitute Rear Height speakers from a Dolby Atmos speaker setup
in place of Surround Height speakers.
z3
This can be selected when “Assign Mode” is set to “11.1ch” or “9.1ch” and “Floor” is set to “5ch & SB” in the menu.
Contents
Connections Playback Settings Tips Appendix
234
Front panel Display Rear panel Remote Index
Loading ...
Loading ...
Loading ...