Loading ...
Loading ...
Loading ...
• 7 •
7. CONTROL PANEL
LED INDICATORS
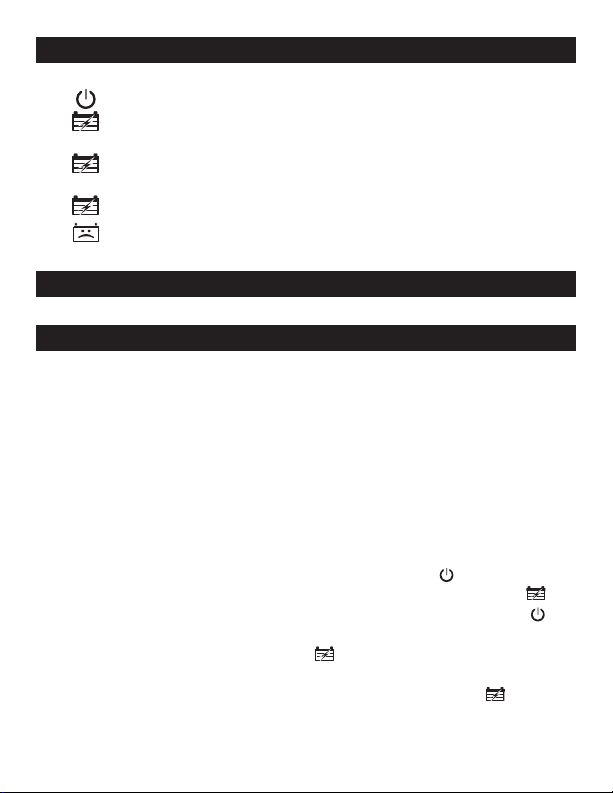
POWER (green) LED solid – There is AC power supplied to the charger.
CHARGING/CHARGED (green) LED solid – The charger is charging
the battery.
CHARGING/CHARGED (green) LED ashing – The battery is 80% charged
and may be used.
CHARGING/CHARGED (green) LED off – The battery is fully charged.
BAD BATTERY (red) LED solid – The battery is bad.
NOTE: See Operating Instructions for a complete description of the charger modes.
8. ASSEMBLY INSTRUCTIONS
8.1 Remove all cord wraps and uncoil the cables prior to using the battery charger.
9. OPERATING INSTRUCTIONS
BATTERY INFORMATION
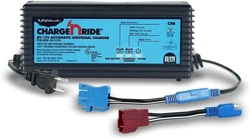
This charger can be used with 6 and 12V batteries; it automatically detects your
battery type.
CHARGING
NOTE: Examine the battery for excessive wear, cracks, bulging or damage each
time you charge it. If damage is detected, do not charge the battery; replace it
immediately. If the battery is hot, allow it to cool before charging.
1. Cable connectors (included) are necessary in order to charge ride-on toys.
See Replacement Parts for more information. Select the proper output cable
by matching the cable connector to the vehicle’s battery connector.
2. Connect the battery, following the Using the Cable Connectors section.
3. Connect the charger to an electrical outlet. The POWER
LED will light.
4. If you’ve connected everything correctly, the CHARGING/CHARGED
LED should light, indicating that the charger is charging. The POWER
LED
will remain lit.
5. When the CHARGING/CHARGED LED begins to ash, the battery is
80% charged and can be used.
6. When the battery is fully charged, the CHARGING/CHARGED
LED
will turn off.
Loading ...
Loading ...
Loading ...