Loading ...
Loading ...
Loading ...
Assembly
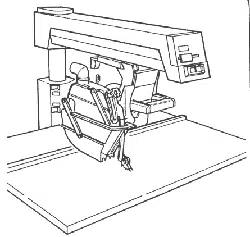
Guard Installation Steps
1. Remove existing table boards. Keep all
screws, nuts and washers, including the lev-
elling screws in the center of the front table.
Discard the old table boards but keep the
fence.
2o 40" TABLE ONLY (if you have the 44"
table, skip to next step):
- Remove the table support channels,
keeping the screws, nuts and washers°
Discard the old channels.
- Install the new support channels.
- Referring to your saw owners manual,
level the channels and tighten them in
place.
Install the tee nut into the front table
board.
Refering to your saw owners manua!,
install and level the table boards.
3.44" TABLE ONLY (if you have the 40"
table, skip to next step):
Position the flont table and insert the
front two screws. The rear screw holes
in the table do not line up on any holes
in the saw base,
Using the rear screw holes as a drill
guide, drill a .5/16" hole in the saw base
for each of the two rear screws.
Remove the front table.
The U-Clips that were used as nuts for
the rear screws must be moved to the
new screw location° Remove them
from the saw and reinstall them on the
holes you .just drilled,
Install the tee nut into the front table
board.
Referring to your saw owners manual,
install and level the table boards.
4, The saw's crosscut travel may no Ionger
be square. Referring to your saw owners
manual, square the crosscut tlavel.
.5. Remove the existing guard and blade.
Rotate the saw to the outrip position.
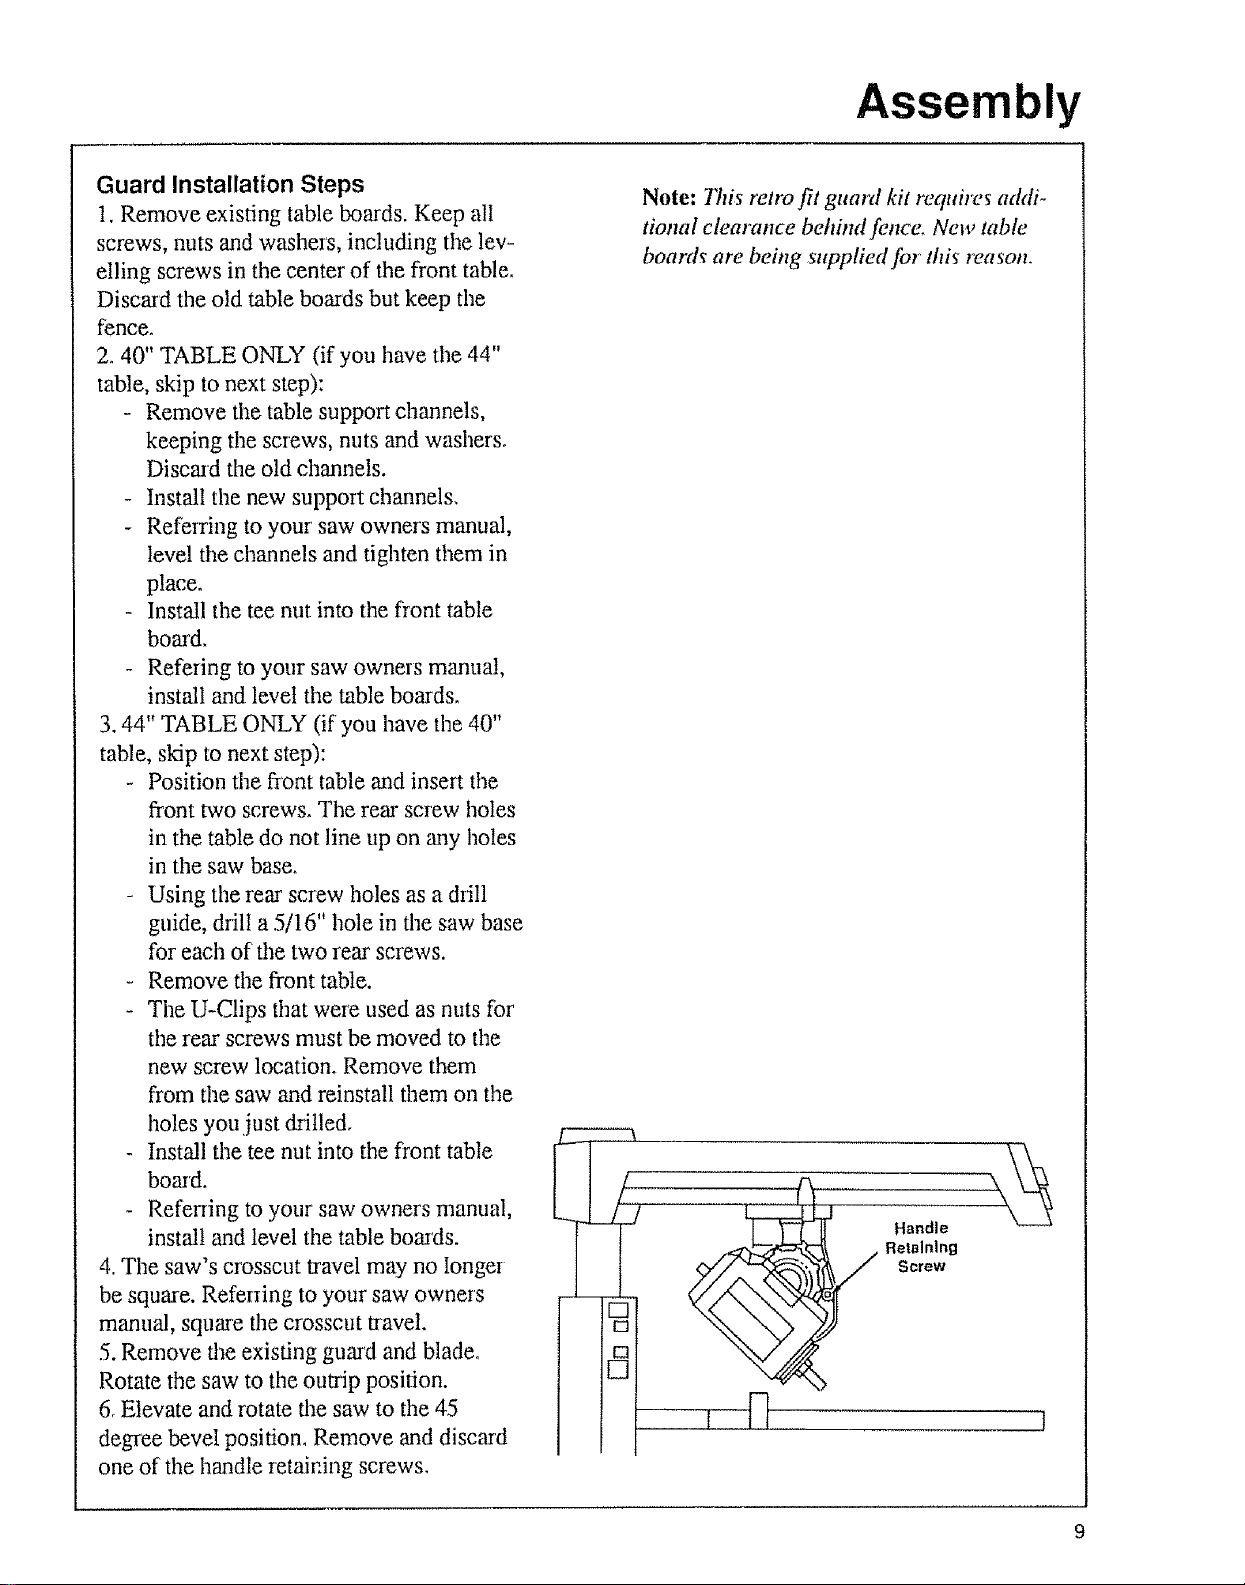
6, Elevate and rotate the saw to the 45
degree bevel position, Remove and discard
one of the handle retaining screws,
C
Note: This retro fit guard kit requires addi-
tional clearance behhM fence, New table
boards are being supplied for this reason,
c
C
.... I [-]
Handle
Retaining
Screw
Loading ...
Loading ...
Loading ...