Loading ...
Loading ...
Loading ...
12
Connecting the drain line:
NOTE: If there is a drain line near the ice maker, the best choice is to drain
water to the drain line through the drain water hose provided with ice
maker.
1. Locate the floor drain near the ice maker. The distance should be less than 5 feet
since the length of the long drain water hose provided with the ice maker is about
5 feet.
2. Find the drain outlet on the back of ice maker. Connect the drain outlet to the
water draining hose, and insert the other end of the hose into the drain line.
NOTE: Never allow the drain hose to hang or loop higher than the floor of the ice
storage bin.
3. All horizontal runs of drain lines must have a fall of ¼” per foot. An air gap will
likely be required between the ice maker drain tube and the drain/waste
receptacle. A standpipe with a trap below it would be acceptable for the
drain/waste receptacle. A floor drain is also acceptable. If this is not possible, the
use of a condensate pump is recommended.
4. Pour 1 gallon of water into the ice storage bin to check for leaks in the drainage system.
Tighten any connections that leak.
IMPORTANT: This ice maker is not a freezer. Infrequent drainage
will cause a high rate of melting in the ice storage bin.
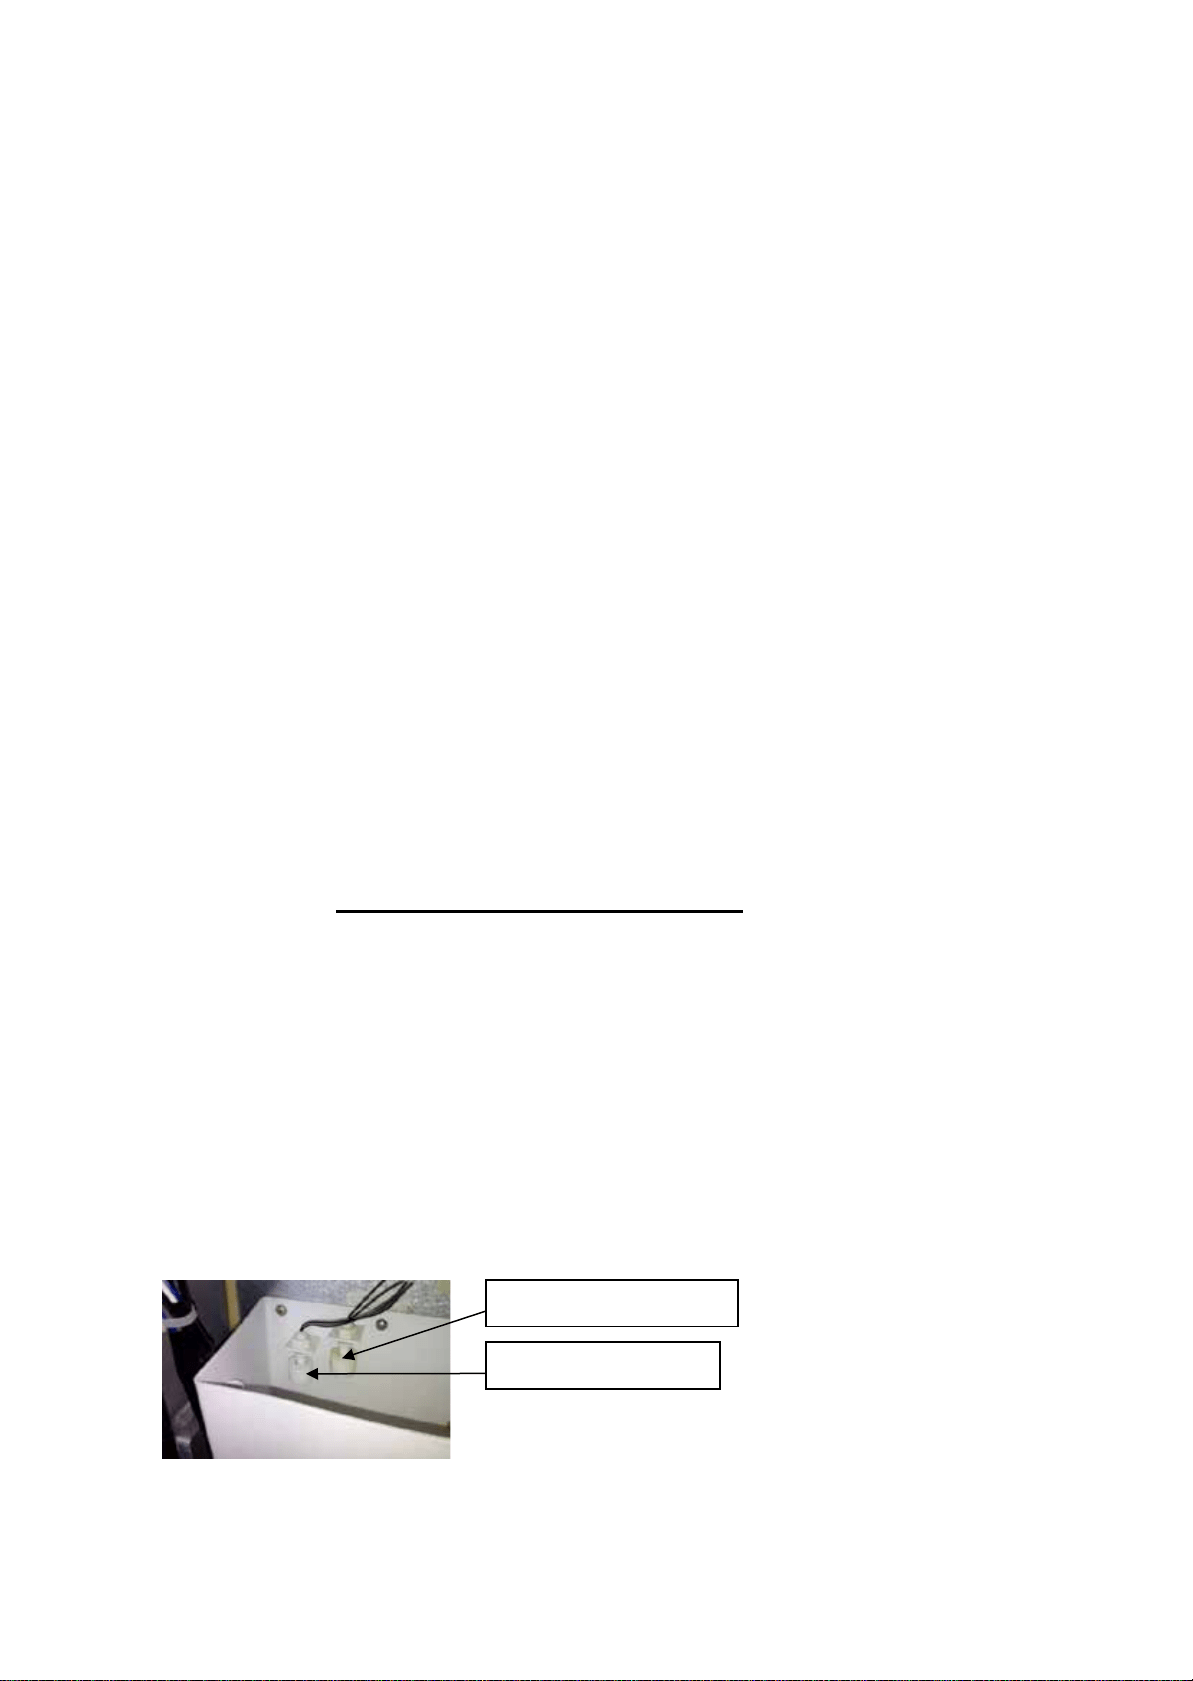
How the drain system operates when water is pumped out
The components of the Pump-Out Water Drain System are
• Water reservoir PC Board & Water level switch 1, 2
• Water Drain Pump
OPERATION
• All water coming from the overflow and the melted ice is collected in the water reservoir.
• As soon as the water in the reservoir reaches the maximum level, the water level switch 1
closes, transmitting a low voltage current to the PC Board.
Water level switch 2
Water level switch 1
Loading ...
Loading ...
Loading ...