Loading ...
Loading ...
Loading ...
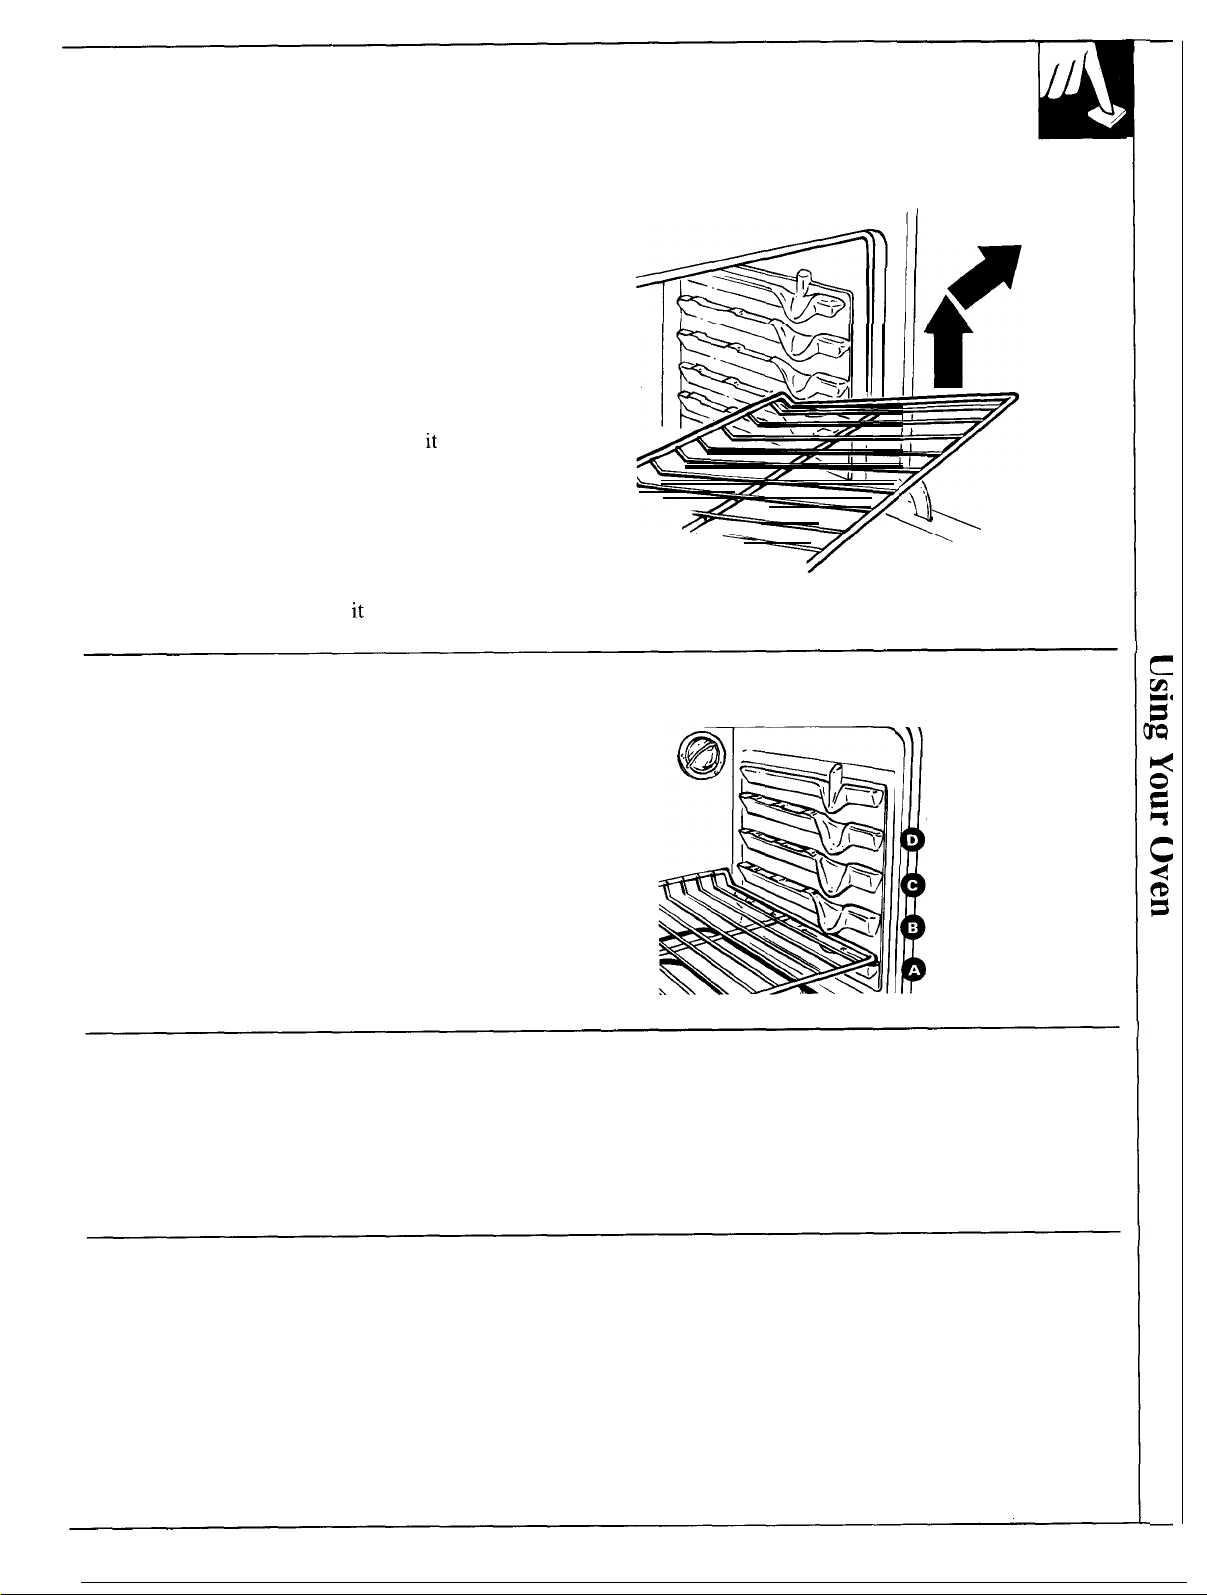
9ven Shelves
The shelves are designed with stop-locks so when
placed correctly on the shelf supports, they will
stop before coming completely out of the oven and
will not tilt when you are removing food from them
or placing food on them.
a
When placing cookware on a shelf, pull the shelf out
to the bump on the shelf support. Place the cookware
on the shelf, then slide the shelf back into the oven.
This will eliminate reaching into the hot oven.
To remove a shelf from the oven, pull
it
toward you,
tilt the front end upward and pull the shelf out.
To replace, place the shelf on the shelf support with
the stop-locks (curved extension of shelf) facing up
and toward the rear of the oven. Tilt up the front and
push the shelf toward the back of the oven until it
goes past the bump on the shelf support. Then lower
the front of the shelf and push
it
all the way back.
Shelf Positions
The oven has four shelf supports identified in this
illustration as A (bottom), B, C and D (top).
Shelf positions for cooking are suggested in the
Baking, Roasting and Broiling sections.
Automatic Oven Shut Off
As a safety feature, the single oven and the upper oven of double oven
models will automatically shut itself off if it has been left on for more
than 12 hours.
On double ovens, only the top oven has this feature.
Oven Vent
When the oven is on, heated air moves through a vent
above the door or between door and air grille.
The vent area could get hot during oven use.
The vent is needed for proper air flow in the oven and
good baking results. Do not block this vent.
9
Loading ...
Loading ...
Loading ...