Loading ...
Loading ...
Loading ...
11
OPERATION
8. Pull the starter handle with a firm, rapid stroke. Do not release
the handle and allow it to snap back. Keep a firm hold on the starter handle
and allow it to slowly recoil.
9. Allow the engine to warm up several minutes, adjusting choke toward RUN
position. Wait until engine runs smoothly before each choke adjustment.
Electric Starter (If equipped)
Determine that your home’s wiring is a three-wire grounded system. Ask a licensed
electrician if you are not certain.
If you have a grounded three-prong receptacle, proceed as follows:
CAUTION
The extension cord can be any length, but must be rated for 15 amps at 125
volts, grounded and rated for outdoor use.
1. Make certain the auger control is in the disengaged (released) position.
2. Insert ignition key into slot. Make sure it snaps into place. Do not attempt to
turn the key. See Figure 3 for model 247.88780*.
NOTE: The engine cannot start unless the key is fully inserted into the
ignition switch.
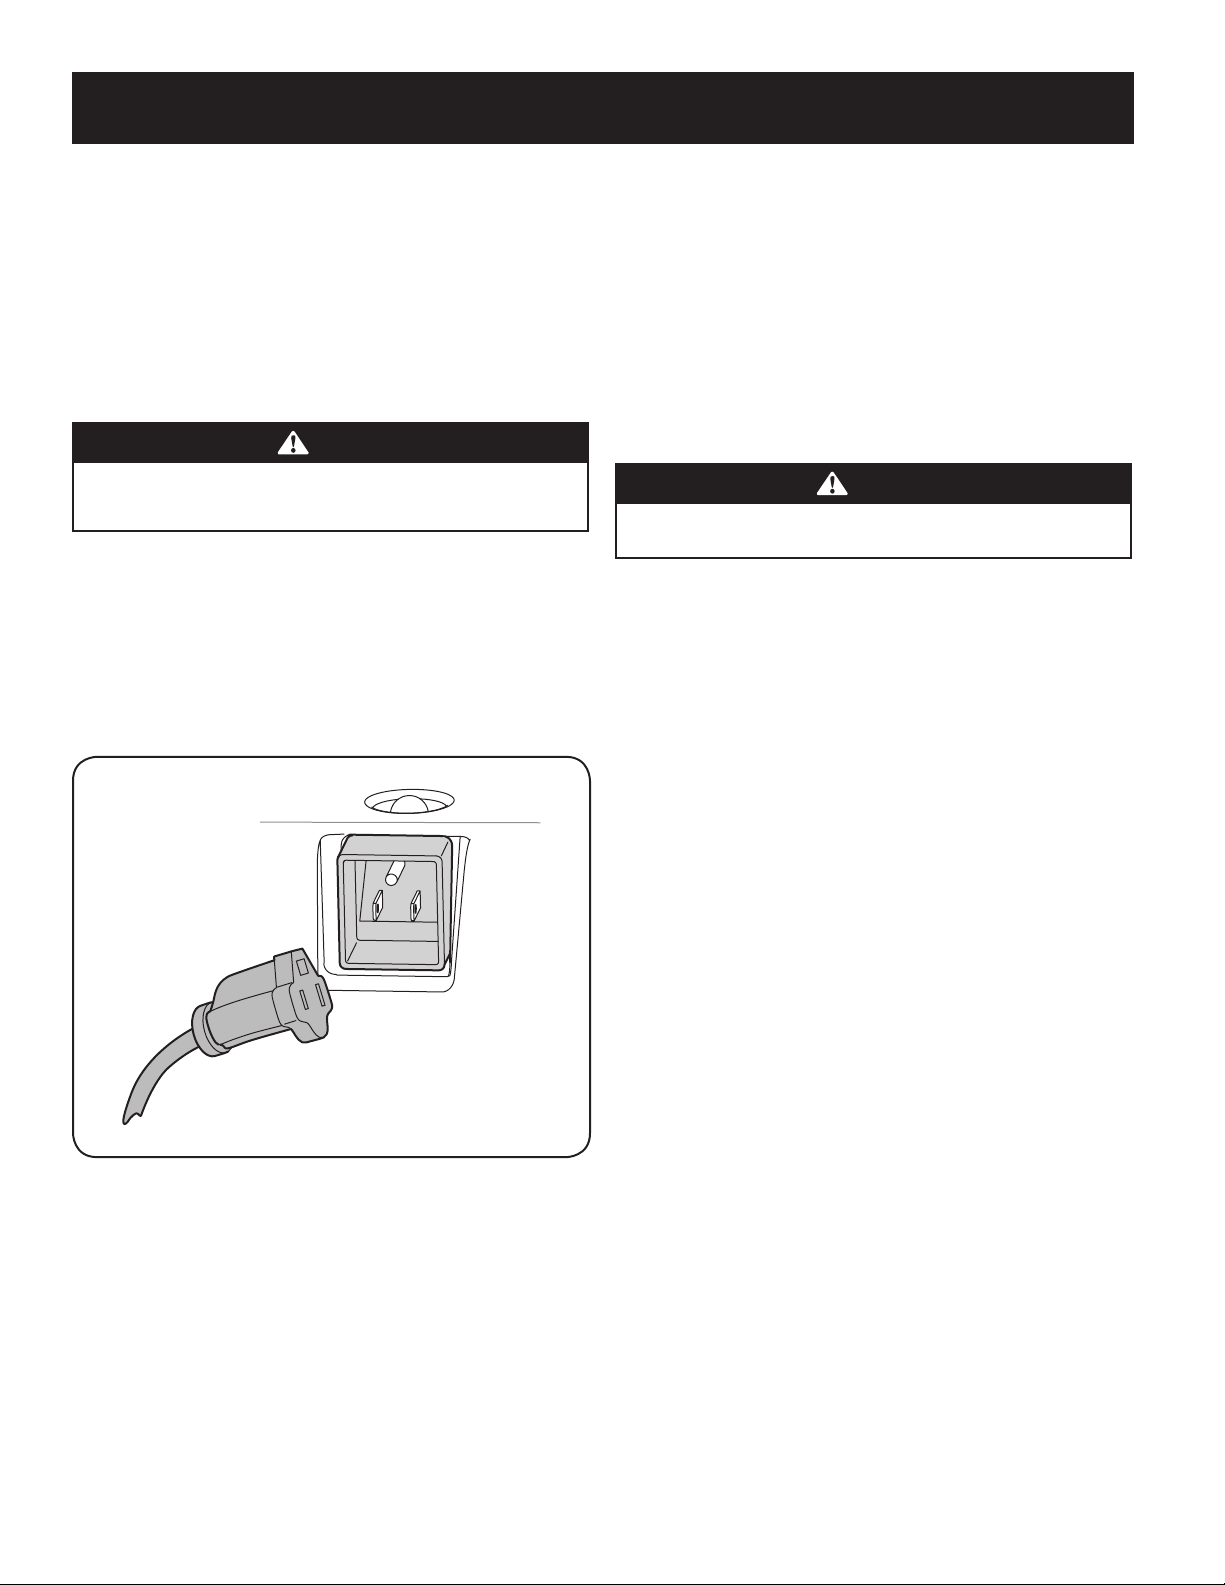
3. Plug the extension cord into the outlet located on the engine’s surface. Plug
the other end of extension cord into a three-prong 120-volt, grounded, AC
outlet in a well-ventilated area See Figure 4.
Figure 4
4. Push the choke lever to the CHOKE position.
5. If the engine is warm, place the choke in the RUN position instead of CHOKE.
6. Push the primer three (3) times for model 247.88780*, making sure to cover the
vent hole when pushing.
7. If the engine is warm, push the primer button only once.
8. Push starter button to start engine.
9. Once the engine starts, release starter button.
10. Allow the engine to warm up several minutes, adjusting choke toward RUN
position. Wait until engine runs smoothly before each choke adjustment.
11. When disconnecting the extension cord, always unplug the end at the
three-prong wall outlet before unplugging the opposite end from the snow
thrower.
Stopping the Engine
1. Run the engine for a few minutes without engaging the auger before
stopping to help dry off any moisture on the engine.
2. To stop the engine remove the key and store it in a safe place.
NOTE: Remove the key to quickly stop the engine in the event of an
emergency.
3. Wipe all the snow and moisture away from the engine controls area.
WARNING
Muffler, engine and surrounding areas become hot and can cause a burn.
Be careful and do not touch when they are hot.
Engaging the Auger
Engage the auger by squeezing the auger control against the upper handle. Release
the control to stop the auger.
Engaging the Drive
Lift up slightly on the upper handle to allow the rubber paddles on the auger to
contact the pavement and propel the snow thrower forward. Pushing downward on
the handle will raise the auger off the ground and stop the forward motion.
NOTE: Excessive upward pressure on the handle will result in premature wear to the
rubber auger paddles.
Clearing a Clogged Discharge Chute
Hand contact with the rotating impeller inside the discharge chute is the most
common cause of injury associated with snow throwers. Never use your hand to
clean out the discharge chute.
To clear the chute:
1. Stop the engine. See instructions above for how to stop the engine.
2. Wait 10 seconds to be sure the impeller blades have stopped rotating.
3. Always use a clean-out tool or stick, not your hands.
Operating the Snow Thrower
• Once the auger drive is engaged, roll the snow thrower into the layer of snow
to be removed.
• Adjust the chute so that the snow is not thrown over other snow that is to be
removed.
• Prevent possible property damage or personal injury from object ricochet by
planning your snow throwing pattern to avoid discharge towards windows,
walls, cars, etc.
• Do not overload machine capacity by attempting to clear snow at too fast of a rate.
• Never operate this machine without good visibility or light.
• Always be sure of your footing and keep a firm hold on the handles.
• Walk, never run when operating snow thrower.
• Look down and behind and use care when backing up.
Loading ...
Loading ...
Loading ...