Loading ...
Loading ...
Loading ...
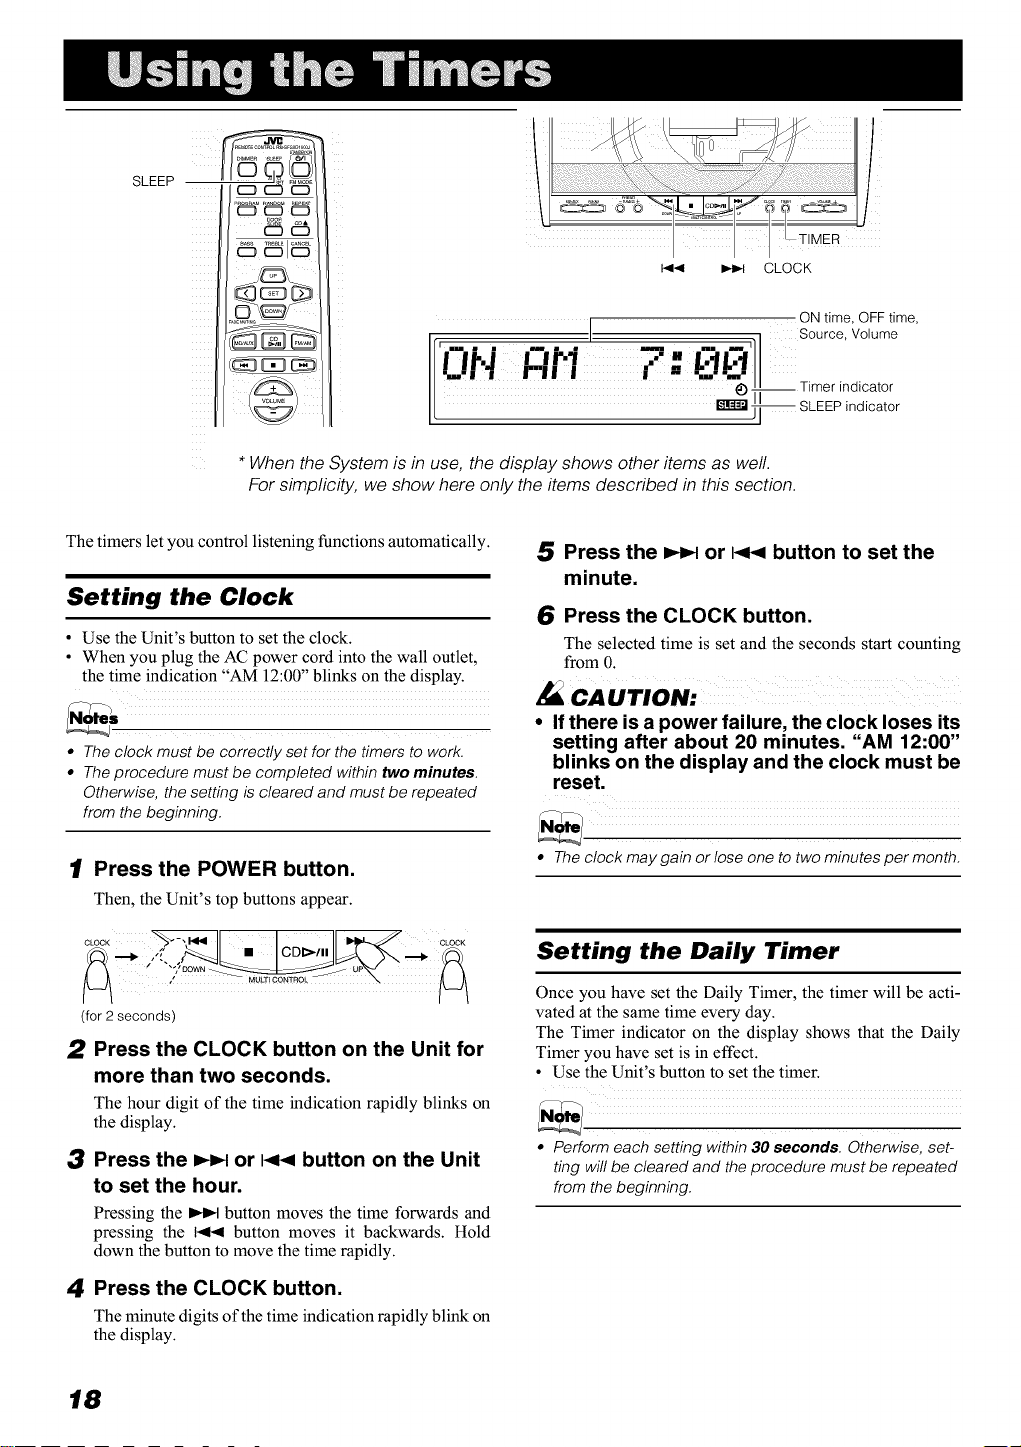
SLEEP
I<< _ CLOCK
ON time, OFF time,
' I , Source, Volume
• I Ir.'l., [] .
Timer indicatorI
SLEEPindicator
* When the System is in use, the display shows other items as well.
For simplicity, we show here only the items described in this section.
The timers let you control listening functions automatically.
Setting the Clock
• Use the Unit's button to set the clock.
• When you plug the AC power cord into the wall outlet,
the time indication "AM 12:00" blinks on the display.
• The clock must be correctly set for the timers to work.
• The procedure must be completed within two minutes.
Otherwise, the setting is cleared and must be repeated
from the beginning.
1 Press the POWER button.
Then, the Unit's top buttons appear.
iconiC__,
(for 2 seconds)
2 Press the CLOCK button on the Unit for
more than two seconds.
The hour digit of the time indication rapidly blinks on
the display.
3 Press the _ or I<< button on the Unit
to set the hour.
Pressing the _ button moves the time forwards and
pressing the _ button moves it backwards. Hold
down the button to move the time rapidly.
4 Press the CLOCK button.
The minute digits of the time indication rapidly blink on
the display.
5 Press the _ or I<< button to set the
minute.
6 Press the CLOCK button.
The selected time is set and the seconds start counting
from 0.
cAurroN-
• If there is a power failure, the clock loses its
setting after about 20 minutes. "AM 12:00"
blinks on the display and the clock must be
reset.
• Theclock may gain or loseone to twominutes per month.
Setting the Daily Timer
Once you have set the Daily Timer, the timer will be acti-
vated at the same time every day.
The Timer indicator on the display shows that the Daily
Timer you have set is in effect.
• Use the Unit's button to set the timer.
• Performeach setting within 30 seconds Otherwise, set-
ting will be cleared and the procedure must be repeated
from thebeginning.
18
Loading ...
Loading ...
Loading ...