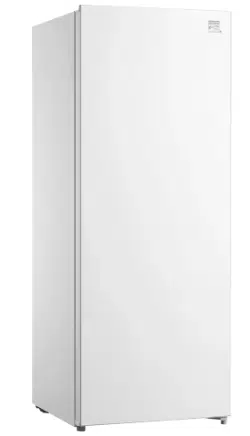

Upright Freezer
Model 215O1
5.0 cu. ft. Capacity
Caution:
Before using your freezer, carefully read this
manual and the use and care information
inside the freezer door.
Read This Manual!
tt willtell you howto operate ana care for yourfreezer.
It also offers tips on how to get the best and lowest cost
performance.
If you prefer installing your own parts, use the parts list
to find the part number. Do not use the illustration
number.
In the space below recordthe model and serialnumber
of yourfreezer. Each isprintedonthe modelnumber
plate located inthe upper cornerofthe refrigerator
back. Use these numberswhen callingfor service.
Model No. Serial No.
Date Purchased
Manual Contents:
• Warranty
• Installation
• Operation
• Maintenance
• Troubleshooting.
° Parts
Ful_aOrm=YmmrW_ _ Fm_._r
Forone yearfromdateof purchase,_ thisfreszer is
opemt_ and rnaJn_n_ according toins_L=ctionsattach_
or furnishedwith thepreduc_,SP_s v_B!repairthisfreezer,free
ofc_harge,if_ inmaterialor w_'kn_ip.
FullRve=Y_r Warranty on Sea_
Refrig_ationSy_
Forfwe yeatsfromthedate ofpurchase,whenthisfreezeris
operatedand maintainedaccordingto in_ attactmdto
or fumis,hedwiththeproduct,Searswillrepairthesealed
system(consistingof re_i_erant,connectingtubing,and
compressormotor)free ofcharge, ifdef_:lAteinmaterialor
workmanship.
The abovewarrantycoverageappliesonlytofreezerswhk_h
are usedforstorageoffoodfor privatehouseholdpurposes.
WARRANTYSERVICE|SAVAILABLEBY CONTACTING
THENEARESTSEARSSERVICECENTER/DEPARTMENT
tNTHEUNITEDSTATES.
Installation
J_
Whenyournewfreezerisdelivered,checkthoroughlyfor
shippingdamageand missingparts,ffyoufindeither,please
notifySearsat once.
LocationisImportant
Yournewfreezerwillwork best ina dry,ventilatedplace,
wherethetemperaturefallsbetween65 and 110 E Extreme
temperaturescan shortenthefreezer'slife.Very hightempera-
tures (suchasin an unventilatedgarage insummer)alsowill
makeyourfreezer runmore, increasingitsoperatingcost
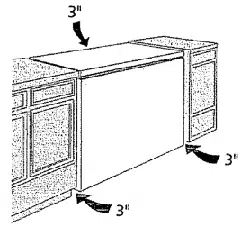
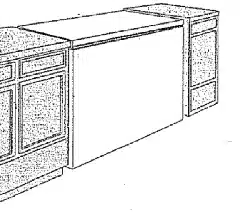
Yourfreezermustbeallowedenoughspace forproperair
circulation.Thisfreezerisdesignedfor FREESTANDING
INSTALLATIONONLY and shouldnotbe recessedor built-in.
AJlow3 incheeofspaceon eachsideandrearand4 inches
onthetopof thecabinet.Thisisparticularlyimportantinho_er
dimatee.
Pickaspotwhere_ floorwillsuplxxl lhe weightof the
freezerfullyloaded.It isbesttokeepyourfreezerawayfrom
an ovenor otherheatsource.Picka safeplace,indoom,away
fromflammablessuchas gasoline.
Sears, Roebuck and Co., Hoffman Estates, IL 60179 U.S.A.
Part No. 8336460154100B Sears, Roebu_ and Co. U.S.A..
302674
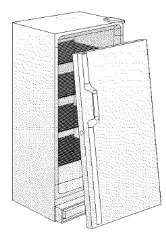
Leveling the Freezer
To ensure properdoor seal and optimumperformance,
level freezer usingthe levelingleg locatedon itsbottom
front corner.
Once yourfreezer is inthe desired location,use a
carpenter's level and adjustthe _evelingleg as
necessary to make sure the cabinetislevel side-to-
side.
, * Adjust the leg to achieve a 1/4 inch slope from,
front-to-back (.1/2bubble on a carpenter's level) to
provide easy door closure and proper door seal.
• Ifthe rear corners need tobe raised, use shims
made of wood or other hard materials. Cardboard and
other soft materials will not work.
Electrical Requirements
• 120 ',Jolts,60 Hz (6_0cycles AC), 15 amps
• DO NOT use an extension cord.
• Select an electric wail outlet that cannot be turned
off by a switch or pull cha'in. Be sure that the elec-
tric outlet you select does not need a ceiling drop
cord.
° Use a fuse or circuit-breaker protected circuit that
will not become overloaded when the freezer is
installed.
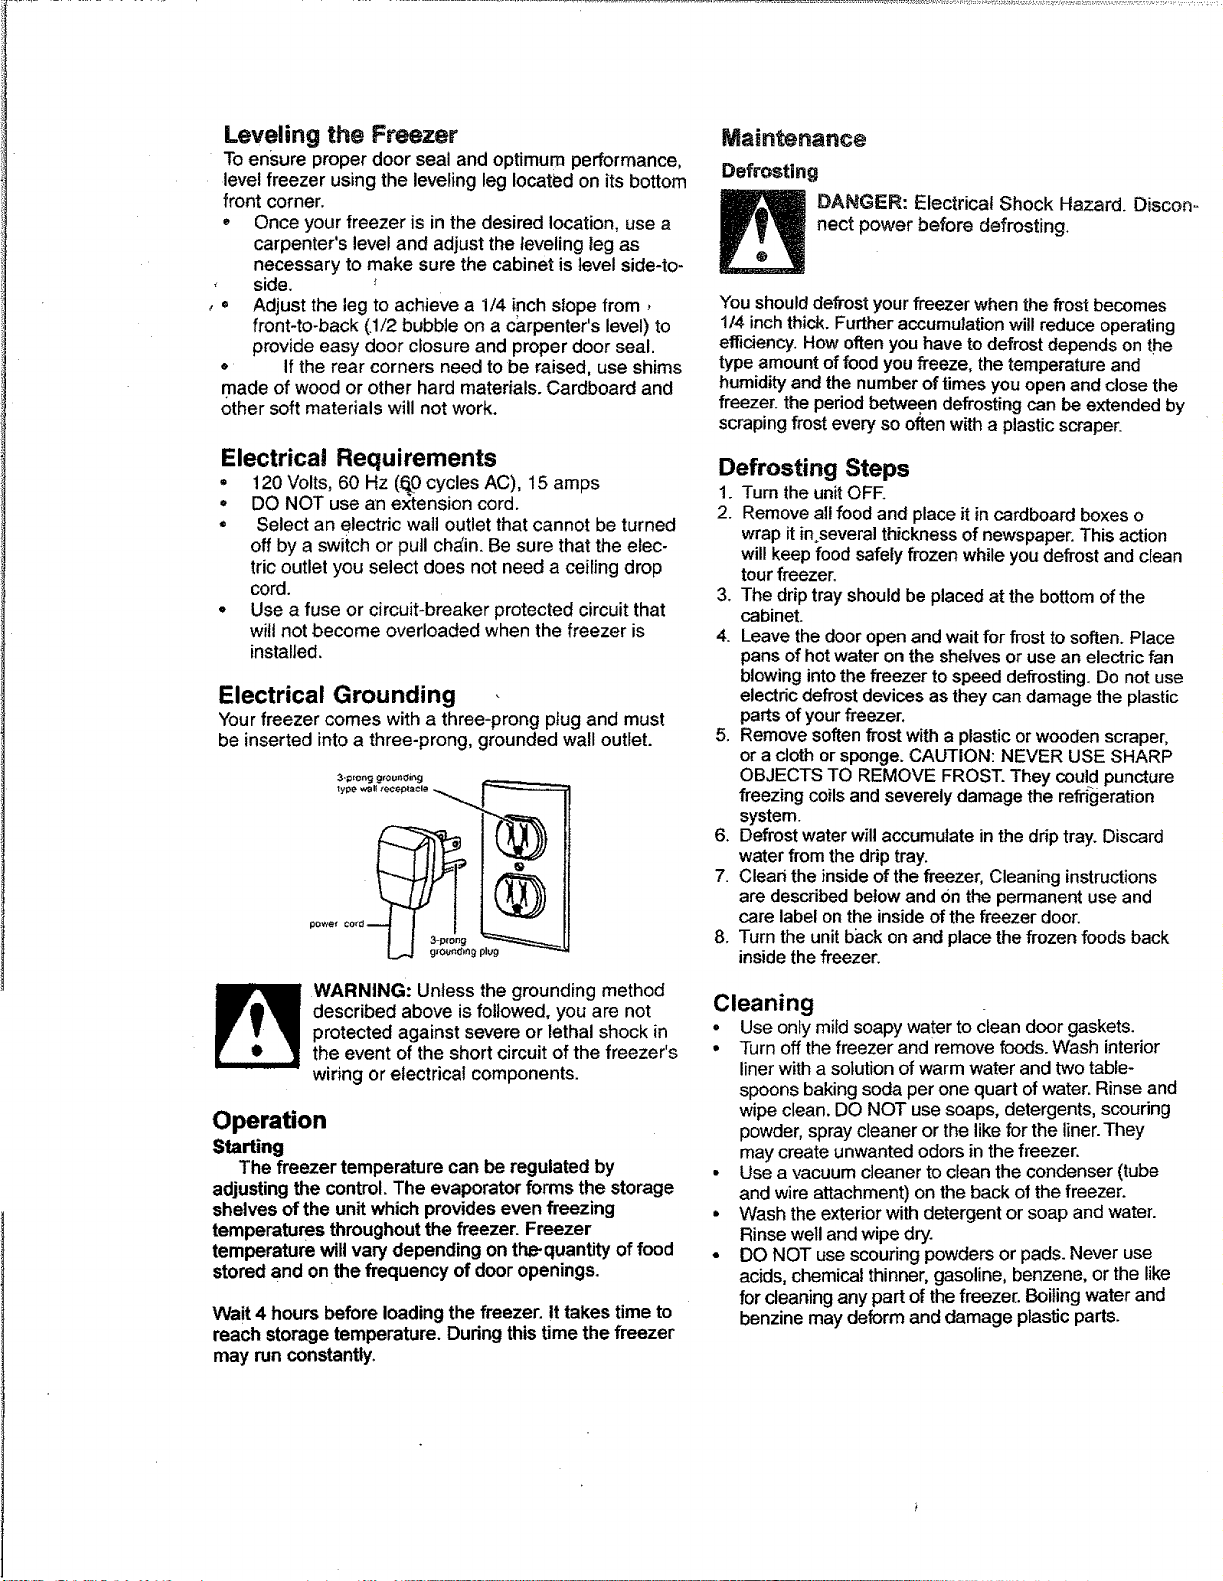
Electrical Grounding
"Yourfreezer comes witha three*prongpfugand must
be inserted intoa three-prong, groundedwall outlet.
3-;_Iong grounding
_ ARNING: Unless the grounding method
described above is followed, you are not
protected against severe or lethal shock in
the event of the short circuit of the freezer's
wiring or electrical components.
Operation
Starting
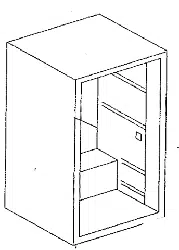
The freezer temperature can be regulated by
adjustingthe control.The evaporatorforms the storage
shelves ofthe unitwhichprovideseven freezing
temperaturesthroughoutthe freezer. Freezer
temperaturewillvary dependingon tl'Le-quantityof food
storedand onthe frequency of dooropenings.
Wait 4 hours beforeloadingthe freezer, ittakes timeto
reach storagetemperature.Duringthistime thefreezer
may runconstantly,
Maintenance
Defrosting
DANGER: Electrical Shock Hazard. Oiscon_
nect power before defrosting.
You should defrost your freezer when the frost becomes
1/4 inch thick. Further accumulation will reduce operating
efficiency. How often you have to defrost depends on the
type amount of food you freeze, the temperature and
humidity and the number of times you open and close the
freezer, the period between defrosting can be extended by
scraping frost every so often with a plastic scraper.
Defrosting Steps
1. TurntheunitOFF.
2. Removeallfoodand placeitincardboardboxeso
wrap itinoseveralthicknessof newspaper.Thisaction
willkeepfood safelyfrozenwhileyoudefrostand clean
tourfreezer.
3. The drip trayshouldbe placedat thebottomofthe
cabinet.
4. Leavethedooropenand waitforfrost tosoften. Place
pansofhotwater ontheshelvesor useanelectdcfan
blowing intothefreezer tospeed defrosting.Do notuse
electricdefrostdevicesasthey candamagethe plastic
partsofyourfreezer,
5. Removesoftenfrost witha plasticorwoodenscraper,
ora clothorsponge.CAUTION: NEVER USE SHARP
OBJECTSTO REMOVE FROST.They could puncture
freezingcoilsand severelydamagethe refrigeration
system.
6. Defrostwaterwillaccumulateinthe driptray.Discard
waterfrom thedriptray.
7. Clead theinside ofthefreezer, Cleaning instructions
are describedbelowand Onthe permanentuseand
carelabelontheinsideofthefreezer door.
8. Turnthe unitback on andplacethefrozen foods back
insidethefreezer.
Cleaning
• Useonlymild soapy watertocleandoorgaskets.
• Turnoffthefreezer and remove foods.Wash interior
linerwitha solutionofwarmwaterand twotable-
spoons bakingsoda perone quart ofwater.Rinseand
wipeclean.DO NOT use soaps, detergents,scouring
powder,spraycleaneror thelikefor the liner.They
may create unwantedodorsin the freezer.
• Use a vacuum cleanerto cleanthecondenser(tube
and wireattachment) on the back ofthefreezer.
• Wash theexteriorwithdetergent or soap andwater.
Rinsewelland wipedry.
• DO NOT usescouring powdersor pads.Never use
acids, chemicalthinner,gasoline,benzene,orthe like
for cleaninganypart ofthefreezer. Boilingwaterand
benzinemaydeformand damage plasticparts.
Loading the Freezer
To prepare food for freezing, use only containe,rs and
wrapping materials made especially for freezers. For
fast efficient freezing DO NOT freeze more than three
pounds of UNFROZEN food per cubic foot capacity of
your freezer. For example, if the capacity of your
freezer is 10 cubic feet, do not freeze more than 30
pounds of unfrozen ,f_od at one time. DO NOT place
hot food in the freezer.
Power Failure
if electrical power faUs and will be off for less than
24 hours:Keep freezer door closed and food will stay
frozen.
If power will be off for more than 24 hours, do one
of the following:
- Take food to frozen food locker
,, Place dry ice in the freezer. First cover food
packages with newspaper or cardboard. Then
spread dry ice over this co{/ering. Be careful that
dry ice is not directly touching the food packages
as it could "bum" the food.
• If locker storage space is'not available, or you
cannot get dry ice, use perishable food immedi-
ately.
When Is It Safe To Refreeze Food?
tf food still contains ice-crystals, it may be safe to
refreeze it although its quality may suffer slightly.
Refrozen food "should be used as soon as possible.
If food is completely defrosted but still cold to touch
(lower than 40* F), use it immediately or cook food
and then freeze for future use. If there is any question
about whether food is good or not, dispose of it.
Vacation/Moving
If you shut the freezer off for a period of time (more
than 24 hours) or are moving the freezer:
Remove all food and unplug freezer.
Clean thoroughly per Cleaning t instructions above.
Prop door open so air can circulate to prevent odor
• and mold growth. CAUTION: To help prevent acci-
dents, do not allow small children to have access to
the freezer when its door is open.
• Before moving freezer take out all removable
shelves, baskets or bins and tape or lock door
shut to prevent accidental damage.
• Ship freezer in upright position. Do not lay freezer
down.
° Make sure new location can support the weight of
the loaded freezer.
- Level freezer at new location to insure eroper
door seal. -_
Food Loss Coverage Limitation
If promptly reported to your nearest Sears Store_r
Service Center, Sears will reimburse you up to a total
of $100.00 for the value of food, as verified by Sears,
lost while stored in the freezer when used for private
household purposes, as a result of:
• Defects that occur during the first year following
date of purchase
Failure of the sealed system (including refriger-
ant, connecting tubing and compressor motor)
due to defects that occur during the second
through fifth year after purchase.
If freezer is used for other than private household
purposes, Sears will not be responsible for any food
loss. Food losses resulting from other than the above
stated defects, such as: natural spoilage, power
interruption, inadequate power, manual disconnect of
power supply, fire damage, water damage, theft, etc.,
are beyond.our control and are not covered by Sears.
Some states do not allow the exclusion or limitation
of incidental or consequential damages, so the above
limitation or exclusion may not apply to you.
This warranty gives you specific rights and you may
also have other rights which vary from state to state.
Sears, Roebuck and Co., D/817WA, Hoffman Es-
tates, ]L 60179
Troubleshooting
My Freezer Is Too Warm..,
• Make sure the door is fully closed.
o Level the freezer to ensure proper door seal.
• Clean the condenser coils on the back to improve
function.
Moisture Collects on the Outside...
• Reduce the time the door is open. Frequent door
openings in humidconditions will cause this
condition.
° Make sure the door seal is tight and level freezer
to ensure proper door seal.
My Freezer is Noisy...
° Make sure the cabinet is resting squarely on the
floor on all four corners without touching a wall or
ether surfaces.
• Make sure the condenser coils on the back are
free of lint and dust.
° Some noises, such as the refrigerant gurgling as
it passes through tubes and the compressor hum
clicking on and off, are normal.
There Is an Odor In r,_lyFreezer...
• Check for spoiled food.
• Clean interior per Cleaning instructions.
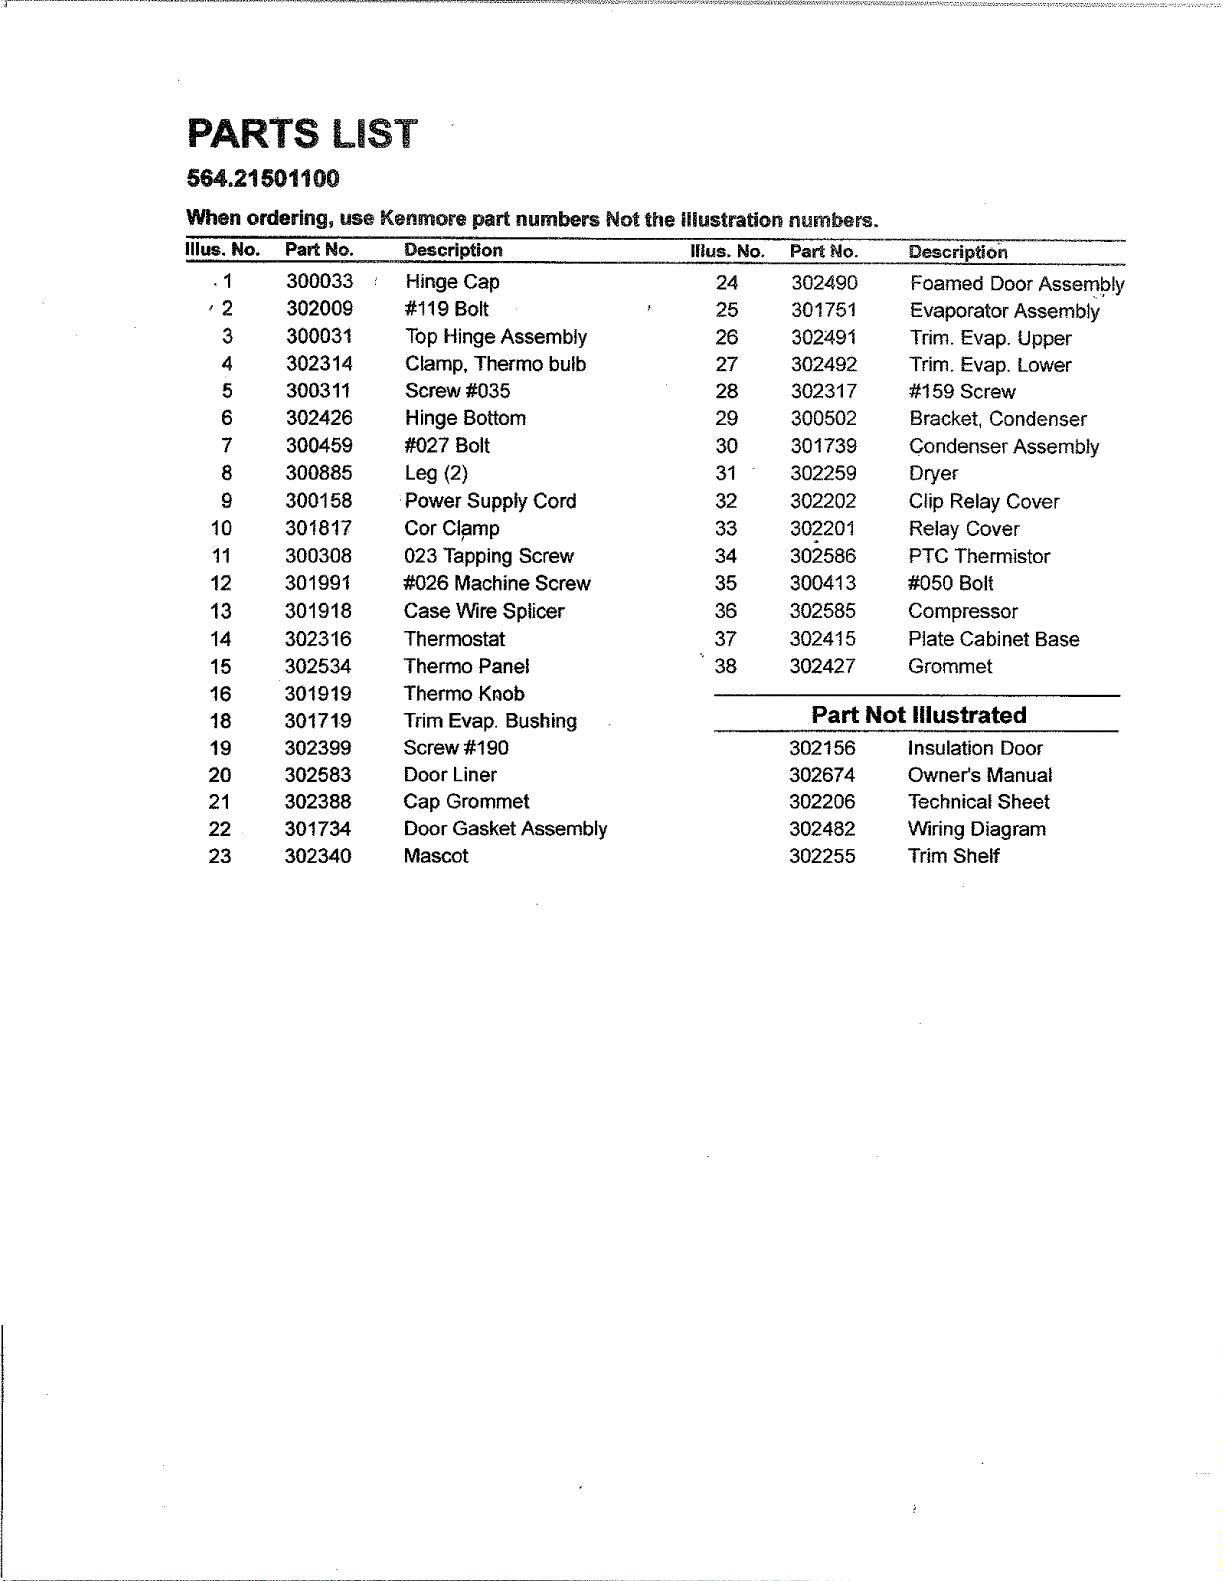
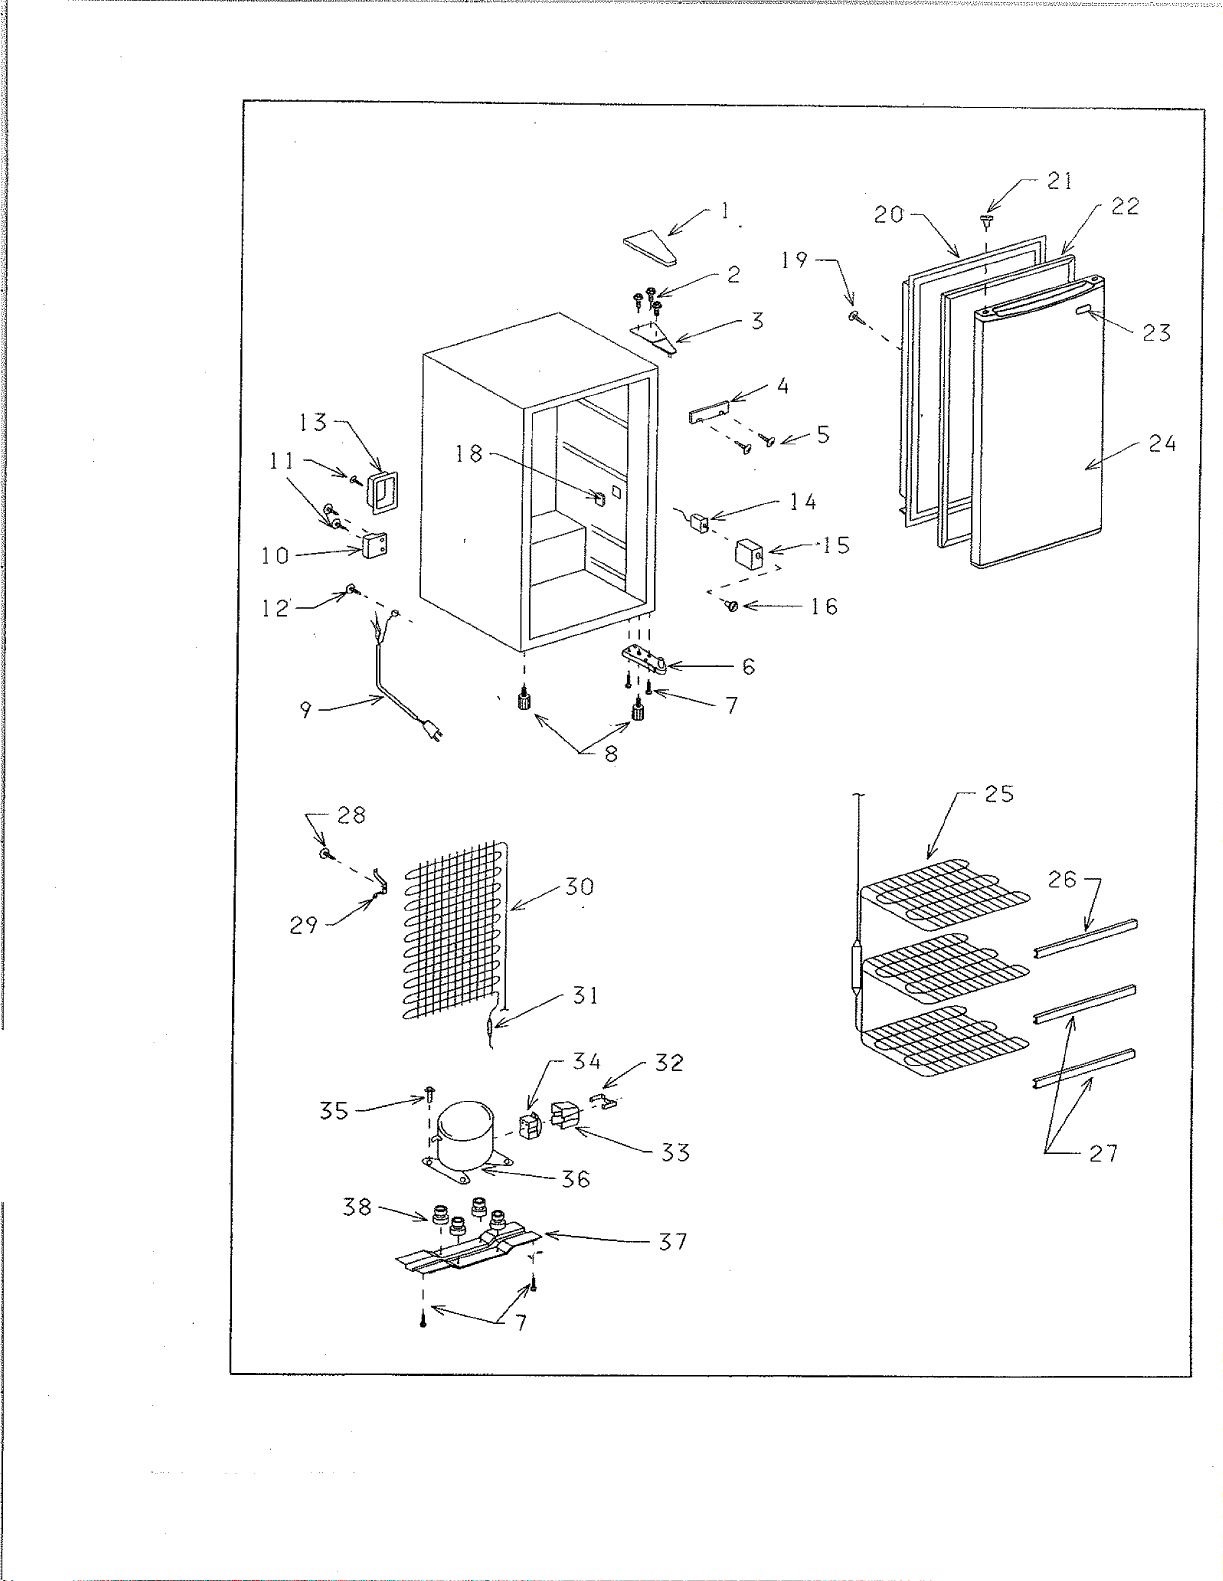
PARTS LiST
564,21501100
When ordering, use Kenmore pa_ numbers Not the illustration
Illus. No. Part No. Description Illus. No. PartNo. Description
, I 300033 " Hinge Cap 24 302490 Foamed Door Assemb!y
,2 302009 #119 Bolt ' 25 301751 Evaporator Assembly
3 300031 Top Hinge Assembly 26 302491 Trim. Evap. Upper
4 302314 Clamp, Thermo bulb 27 302492 Trim. Evap. Lower
5 300311 Screw #035 28 302317 #159 Screw
6 302426 Hinge Bottom 29 300502 Bracket, Condenser
7 300459 #027 Bolt 30 301739 Condenser Assembly
8 300885 Leg (2) 31 " 302259 Dryer
9 300158 .Power Supply Cord 32 302202 Clip Relay Cover
10 301817 Cor Clamp 33 302201 Relay Cover
11 300308 023 Tapping Screw 34 302586 PTC Thermistor
12 301991 #026 Machine Screw 35 300413 #050 Bolt
13 301918 Case Wire Splicer 36 302585 Compressor
14 302316 Thermostat 37 302415 Plate Cabinet Base
t5 302534 Thermo Panel 38 302427 Grommet
16 301919 Thermo Knob
18 301719 Trim Evap. Bushing Part Not Illustrated
19 302399 Screw #190 302156 Insulation Door
20 302583 Door Liner 302674 Owner's Manual
21 302388 Cap Grommet 302206 Technical Sheet
22 301734 Door Gasket Assembly 302482 Wiring Diagram
23 302340 Mascot 302255 Trim Shelf
numbers.
29
22
"'-23
../--24
/
25
31
/-- 34z.f 32
35__Tf-_ I__:_-_-
38 --_..___ _____________37
l
27
Your Home
For repair-in your home-of ati major brand appliances,
lawn and garden equipment, or heating and cooling system,
no matterwho made it, no matter who sold it!
For the replacement parts, accessories and
owner's manuals that you need to do-it-yursetf.
For Sears professional installation of home appliances
and items like garage door openers and water heaters.
1-800-4-MY-HOME ® (1-800469-4,663)
Call anytime, day or night (U.S.A. and Canada)
www.sears.com www.sears.ca
Our Home
For repair of carry-in items like vacuums, lawn equipment,
and electronics, call or go on-line for the location of your nearest
Sears Parts & Repair Center.
1-800-488-1222
Call anytime, day or night (U.S.A. only)
www.sears.com
::;:.¢::::
...v..._...
iiiiiili
x*;<.: :,:
To purchase a protection agreement on a product serviced by Sears:
t-800-827-6655 (U.S.A.) 1-800-361-6665 (Canada)
Para pedir servicio de reparaci6n
a domicilio, y para ordenar piezas:
1-888-SU-HOGAR s_
(1-888-784-6427)
Au Canada pour service en fran£_ais:
1-888-LE-FOYER Mc
ww. sears, ca
Printed in Mexico
(29/07/02)
® Registered Trademarkf" Trademark/s_ Service Mark of Sears, Roebuck and Co.
® Marca Registradaf" Mama de F_brica/_" Marca de Servicio de Sears, Roebuck and Co.
'< Marque comrnercef _ Marque d¢pos6e de Sears, Roebuck ancl Co.
Part No. 8336460154100B