Loading ...
Loading ...
LLI
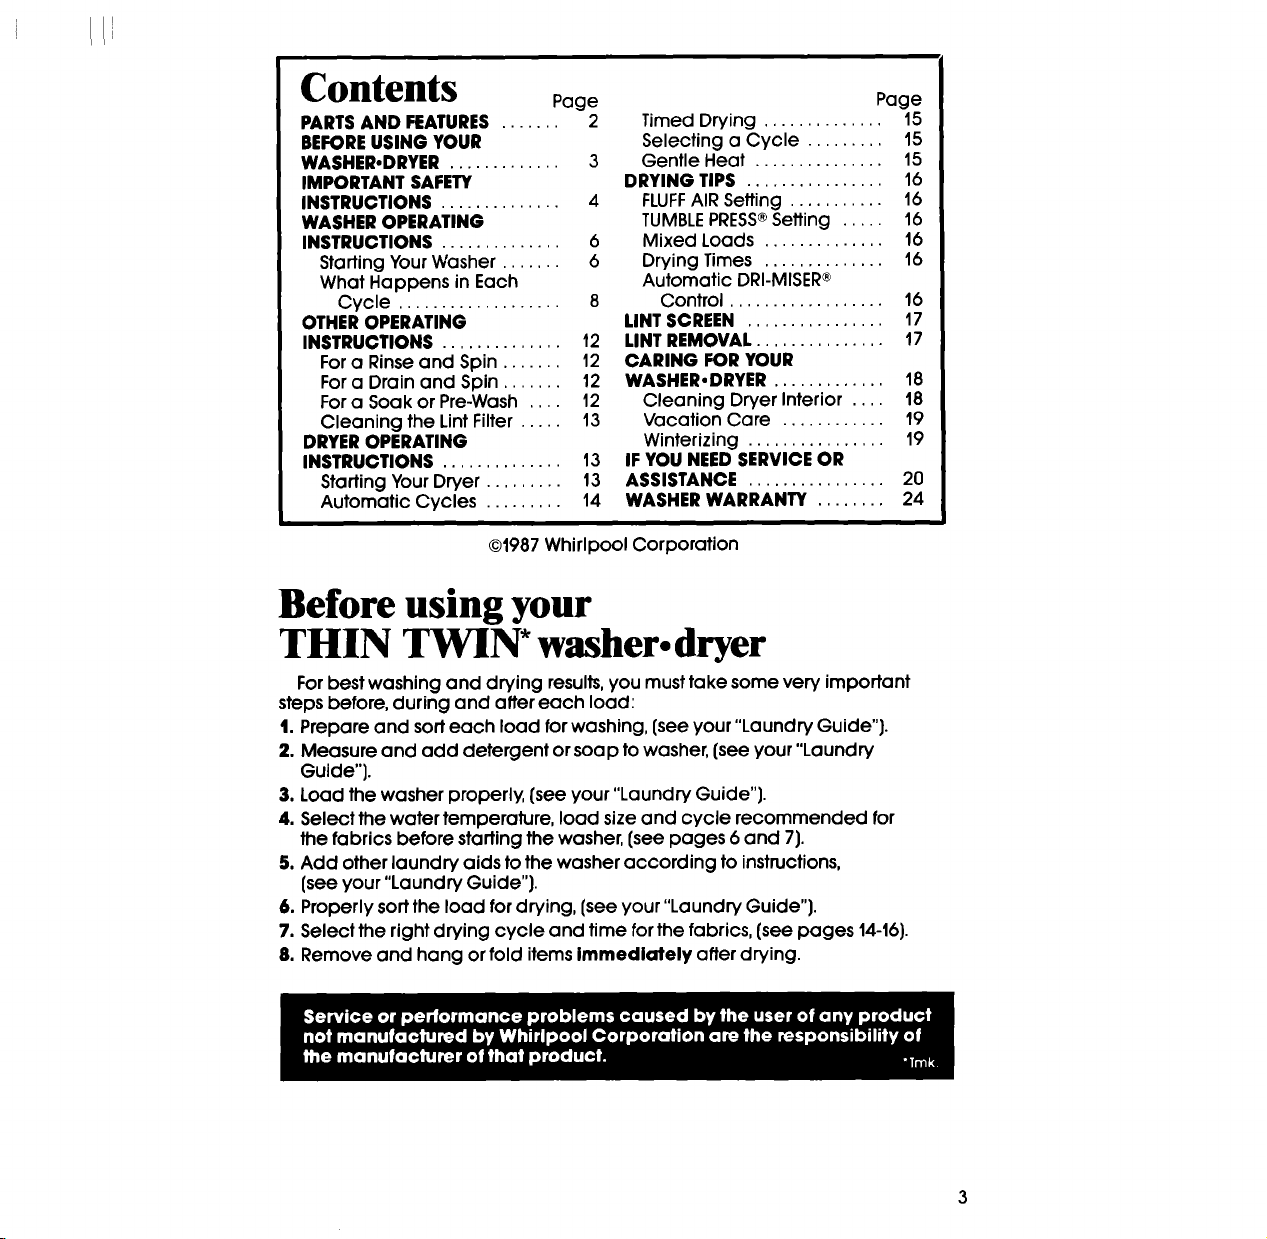
Contents Page
PARTSANDFEATURES....... 2
BEFORE USING YOUR
WASHER.DRYER ............. 3
IMPORTANT SAFETY
INSTRUCTIONS .............. d
WASHER OPERATING
INSTRUCTIONS .............. 6
Starting Your Washer ....... 6
What Happens in Each
Cycle ................... 8
OTHER OPERATING
INSTRUCTIONS .............. 12
For a Rinse and Spin ....... 12
For a Drain and Spin ....... 12
For a Soak or Pre-Wash .... 12
Cleaning the Lint Filter ..... 13
DRYER OPERATING
INSTRUCTIONS .............. 13
Starting Your Dryer ......... 13
Automatic Cycles ......... 14
Page
Timed Drying .............. 15
Selecting a Cycle ......... 15
Gentle Heat ............... 15
DRYING TIPS ................ 16
FLUFFAIR Setting ........... 16
TUMBLEPRESS®Setting ..... 16
Mixed Loads .............. 16
Drying Times .............. 16
Automatic DRI-MISER®
Control .................. 16
LINT SCREEN ................ 17
LINT REMOVAL ............... 17
CARING FOR YOUR
WASHER.DRYER ............. 18
Cleaning Dryer Interior .... 18
Vacation Care ............ 19
Winterizing ................ 19
IF YOU NEED SERVICE OR
ASSISTANCE ................ 20
WASHER WARRANTY ........ 24
@t987 Whirlpool Corporation
Before using your
THIN TWIN* washer.dryer
For best washing and drying results, you must take some very important
steps before, during and after each load:
1. Prepare and sort each load for washing, (see your "Laundry Guide").
2. Measure and add detergent or soap to washer, (see your "Laundry
Guide").
3. Load the washer properly, (see your "Laundry Guide").
4. Select the water temperature, load size and cycle recommended for
the fabrics before starting the washer, (see pages 6 and 7).
5. Add other laundry aids to the washer according to instructions,
(see your "Laundry Guide").
6. Properly sort the load for drying, (see your "Laundry Guide").
7. Select the right drying cycle and time for the fabrics, (see pages 14-16).
8. Remove and hang or fold items immediately after drying.
Loading ...
Loading ...
Loading ...