Loading ...
Loading ...
Loading ...
13
FINAL PREPARATION
1. Some stainless steel parts may have a plastic protective wrap which must be peeled off. The interior of the
refrigerated beverage center should be washed thoroughly with hot, soapy water, rinsed and wiped dry to remove
film residue and any installation dust or debris before being used. Solutions stronger than soap and water are rarely
needed.
2. All stainless steel parts should be wiped with hot soapy water. If buildup occurs, do not use steel wool, abrasive
cloths, cleaners, or powders. If it is necessary to scrape stainless steel to remove encrusted materials, soak with hot,
wet cloths to loosen the material, then use a wood or nylon scraper. Do not use a metal knife, spatula, or any other
metal tool to scrape stainless steel; scratches are almost impossible to remove.
12
ELECTRICAL CONNECTION
EElleeccttrriiccaall RReeqquuiirreemmeennttss
A 115 volt, 60 Hz, AC only 15 amp fused electrical supply is
required. (A time delay fuse or circuit breaker is recommended.) It
is recommended that a separate circuit, serving only this appliance,
be provided.
•ELECTRICAL GROUND IS REQUIRED ON THIS APPLIANCE.
•DO NOT UNDER ANY CIRCUMSTANCES REMOVE THE
POWER SUPPLY CORD GROUND PLUG.
•DO NOT USE AN EXTENSION CORD
Recommended Grounding Methods
For your personal safety, this refrigerated beverage center must be grounded. This appliance is equipped with a 7’ (2.1
m) power supply cord having a 3-prong grounding plug. To minimize possible shock hazard, the cord must be plugged
into a mating 3-prong grounding type wall receptacle grounded in accordance with the National Electrical Code and local
codes and ordinances. If the circuit does not have a grounding type receptacle, it is the responsibility and obligation of
the customer to exchange the existing receptacle in accordance with the National Electrical Code and applicable local
codes and ordinances. The third ground plug SHOULD NOT, under any circumstances, be cut or removed. All UL listed
refrigerated beverage centers are equipped with this type of plug.
Power Supply with
3-prong grounding
plug
Grounding type wall
receptacle
LIGHT BULB REPLACEMENT - 24” W. Models
This unit uses a 15-watt incandescent bulb located behind the display housing.
To replace the light bulb:
1. Unscrew the old light bulb located behind the display housing.
2. Discard the old light bulb.
3. Screw new light bulb into location behind the display housing.
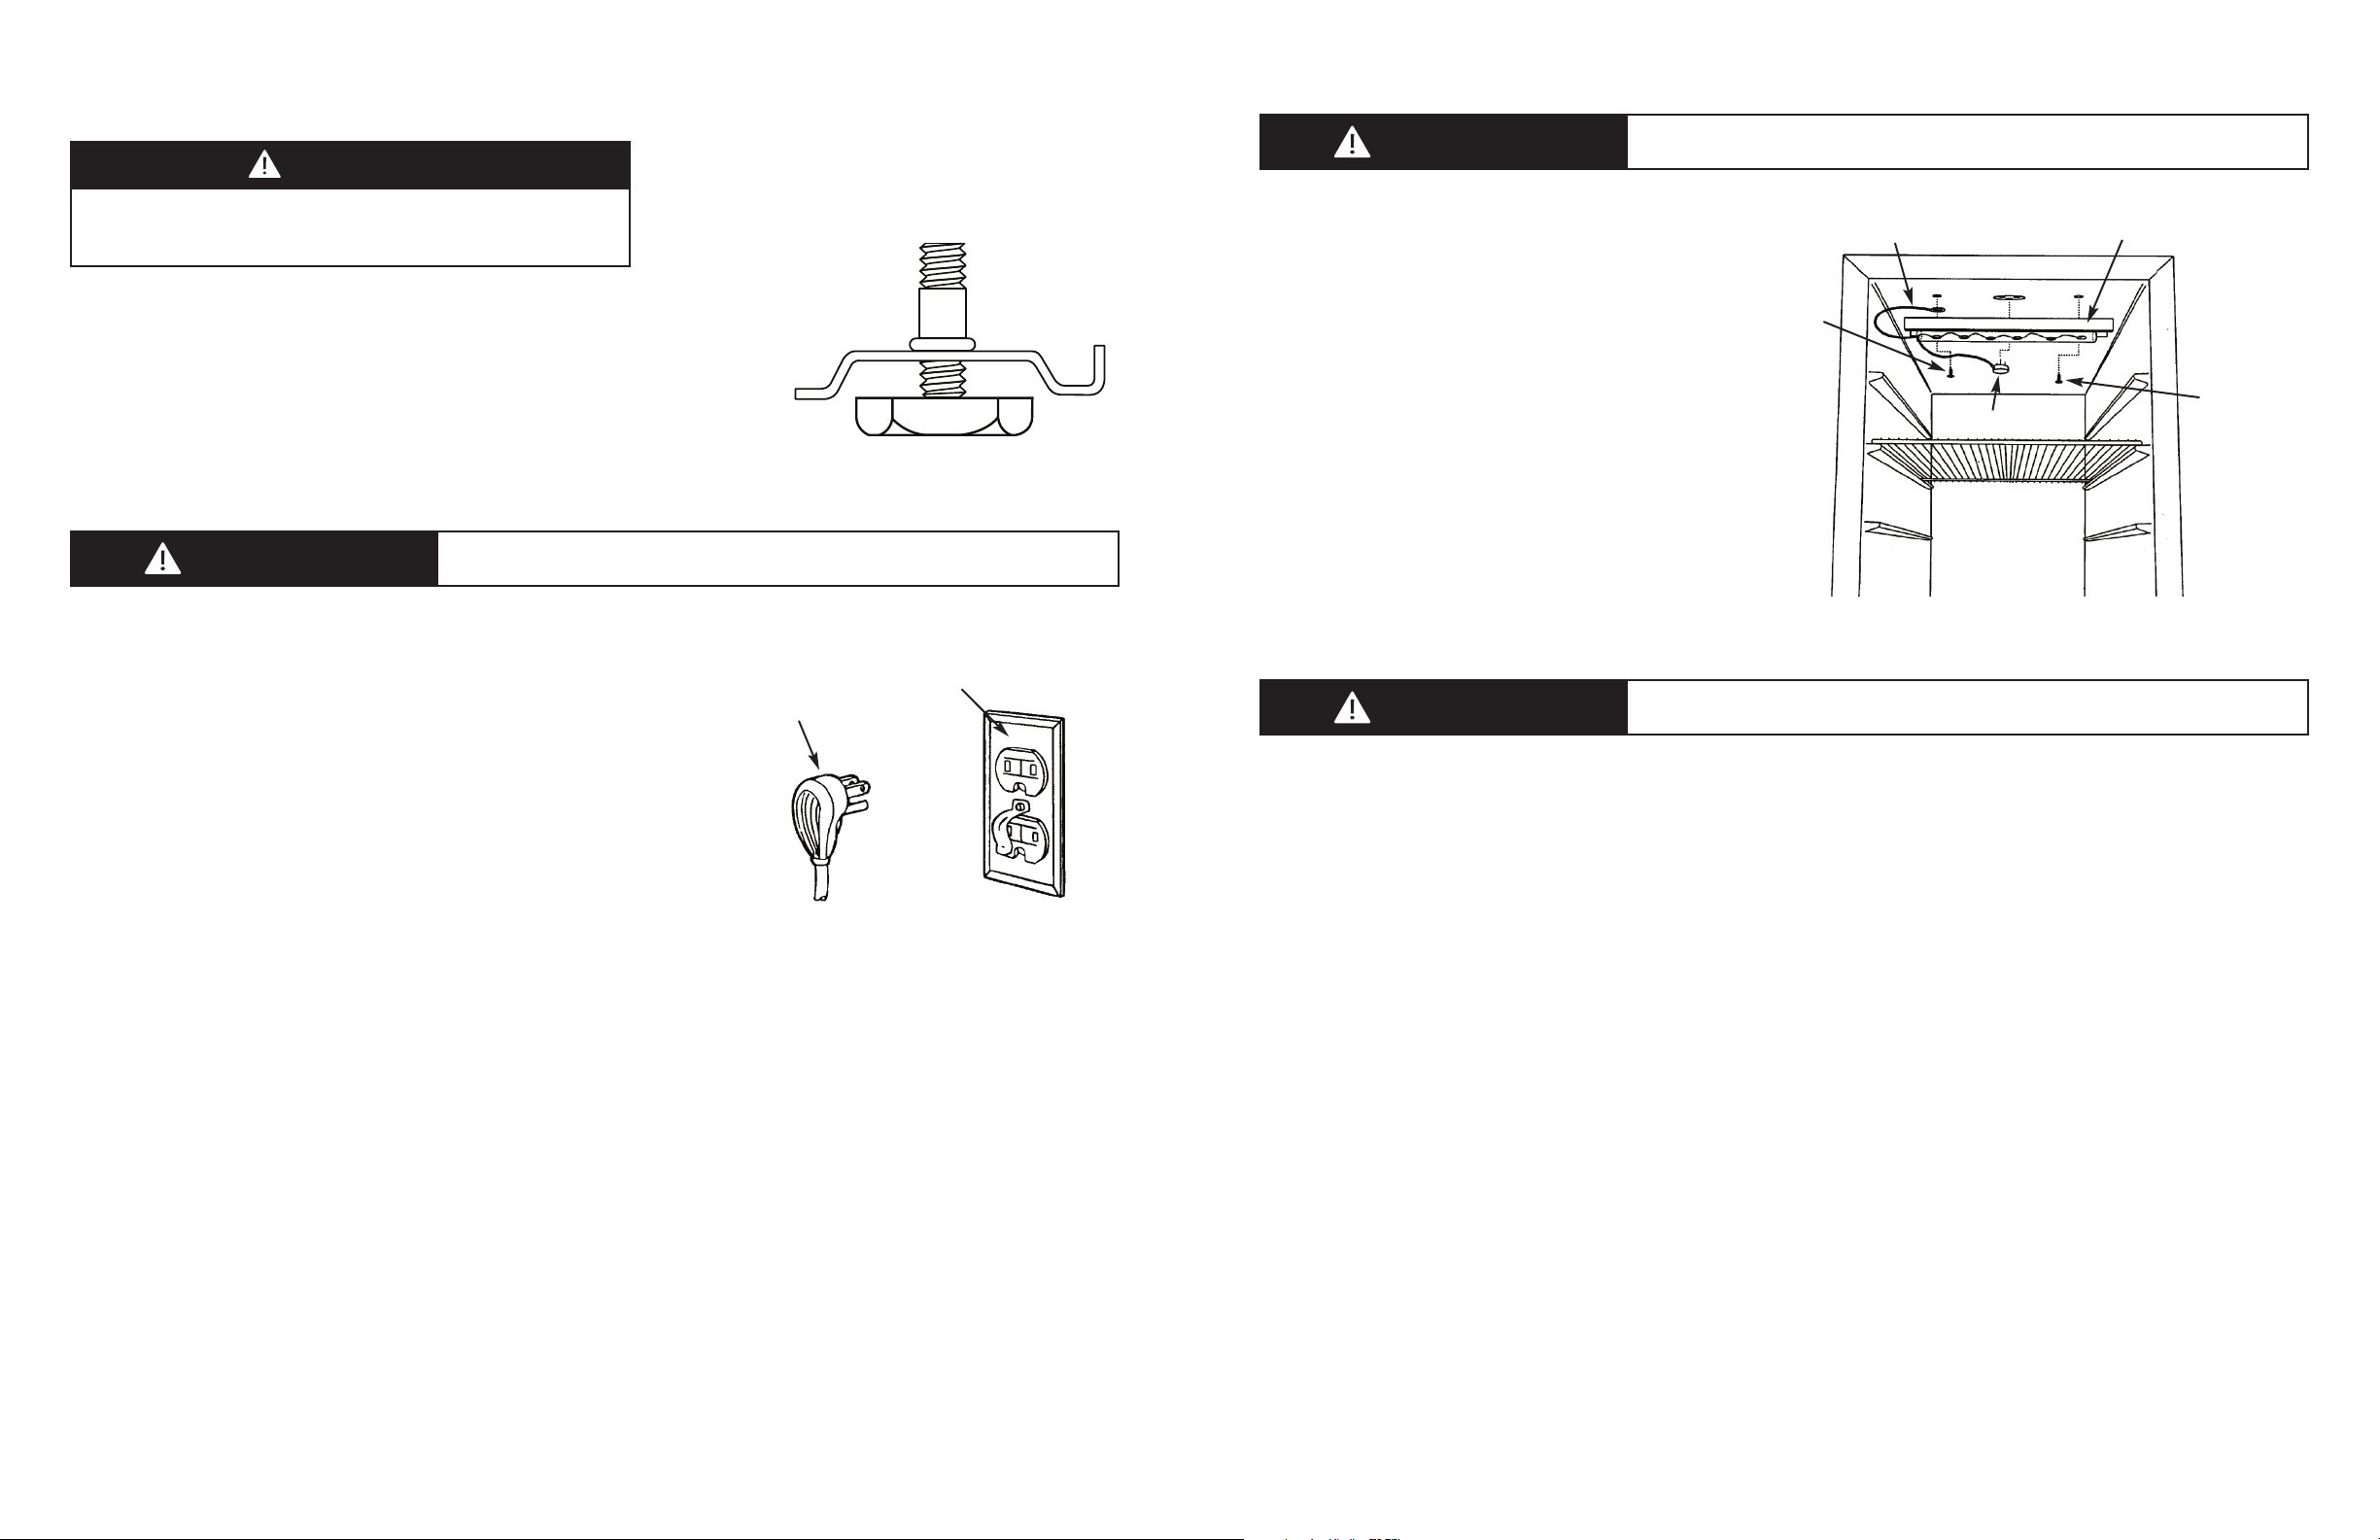
LIGHT ASSEMBLY REPLACEMENT - 15” W. Models
NOTE: Please contact your Viking Range
Corporation parts distributor or dealer to order
new light assembly.
To replace the light, first disconnect the
refrigerated beverage center’s power cord. Next,
remove both the green ground wire screw located
on the left of the light assembly and the other
screw located on the right of the light assembly
with a 5-16” hex head screwdriver. (See drawing).
Unplug the light unit and remove complete light
assembly.
To install the new light assembly, screw in the
green ground wire screw and the screw located on
the right with a 5/16” hex head screwdriver and
plug the light unit in.
Plug
Hex head
screw
Light
assembly
Green
ground wire
Hex head
screw
ELECTRICAL SHOCK HAZARD
F
ailure to follow these instructions could result in fire or electrical shock.
WARNING
ELECTRICAL SHOCK HAZARD
Failure to follow these instructions could result in fire or electrical shock.
WARNING
ELECTRICAL SHOCK HAZARD
Failure to follow these instructions could result in fire or electrical shock.
WARNING
LEG LEVELER INSTALLATION
RReeaadd BBeeffoorree IInnssttaalllliinngg LLeegg LLeevveelleerrss
1. Four leveling legs are pre-installed in the base of the unit at the factory.
2. The unit should be leveled from front to back and side to side. If floor
conditions do not allow the unit to sit level, adjust the leg levelers by turning
the required leg leveler counter-clockwise to increase the height and clockwise
to reduce the height.
WARNING
D
o not lay unit on top, side, back, or front. If unit is accidentally laid in
any position other than right side up, then the unit must remain in the
upright position for at least 24 hours before plugging the unit in.
ENERGY SAVING TIPS
The following suggestions will minimize the cost of operating your refrigeration appliance.
1. Do not install your appliance next to a hot appliance, (cooker, dishwasher, etc.), heating air duct or other heat sources.
2. Install product out of direct sunlight.
3. Assure the toe grille vents at front of unit beneath door are not obstructed. Keep toe grille vents clean to allow
ventilation for the refrigeration system to expel heat.
4. Plug your appliance into a dedicated power circuit. (Not shared with other appliances.)
5. When initially loading your new product, or whenever large quantities of warm contents are placed within refrigerated
storage compartment, minimize door openings for the next 12 hours to allow contents to pull down to compartment
set- point temperature.
6. Maintaining a relatively full storage compartment will require less appliance run-time than an empty compartment.
7. Assure door closing is not obstructed by contents stored in your appliance.
8. Allow hot items to reach room temperature before placing in product.
9. Minimize door openings and duration of door openings.
10. Use the warmest temperature control set-point that meets your personal preference and provides the proper storage
for your stored contents.
11. Minimize use of display lighting option on glass door products, (light stays on with door closed).
12. When on vacation or away from home for extended periods, set the appliance to warmest acceptable temperature for
the stored contents.
13. Set the control to the “OFF” position if cleaning the unit requires the door to be open for an extended period of time.
14. Annually clean condenser heat exchange coil located in machine compartment underneath unit, (see Cleaning and
Maintenance section).
Loading ...
Loading ...
Loading ...