Loading ...
Loading ...
Loading ...
3. Press the Water button on the dispenser control panel. Use a
sturdy container to depress and hold the dispenser lever for
5 seconds, then release it for 5 seconds. Repeat until water
begins to flow. Once water begins to flow, continue
depressing and releasing the dispenser lever (5 seconds on,
5 seconds off) for an additional 2 minutes. This will flush air
from the filter and water dispensing system. Additional
flushing may be required in some households. As air is
cleared from the system, water may spurt out of the
dispenser.
NOTE: After 5 minutes of continuous dispensing, the
dispenser will stop dispensing water to avoid flooding. To
continue dispensing, remove the container and press the
dispensing lever again.
4. Inspect the filter system for water leaks. If you see water
leaks, see the "Troubleshooting" section.
5. Turn on the ice maker by opening the freezer door and
lowering the wire shutoff arm as shown. Please refer to the
"Ice Maker" section for further instructions on the operation
of your ice maker.
• Allow 24 hours to produce the first batch of ice.
• Discard the first three batches of ice produced.
REFRIGERATOR USE
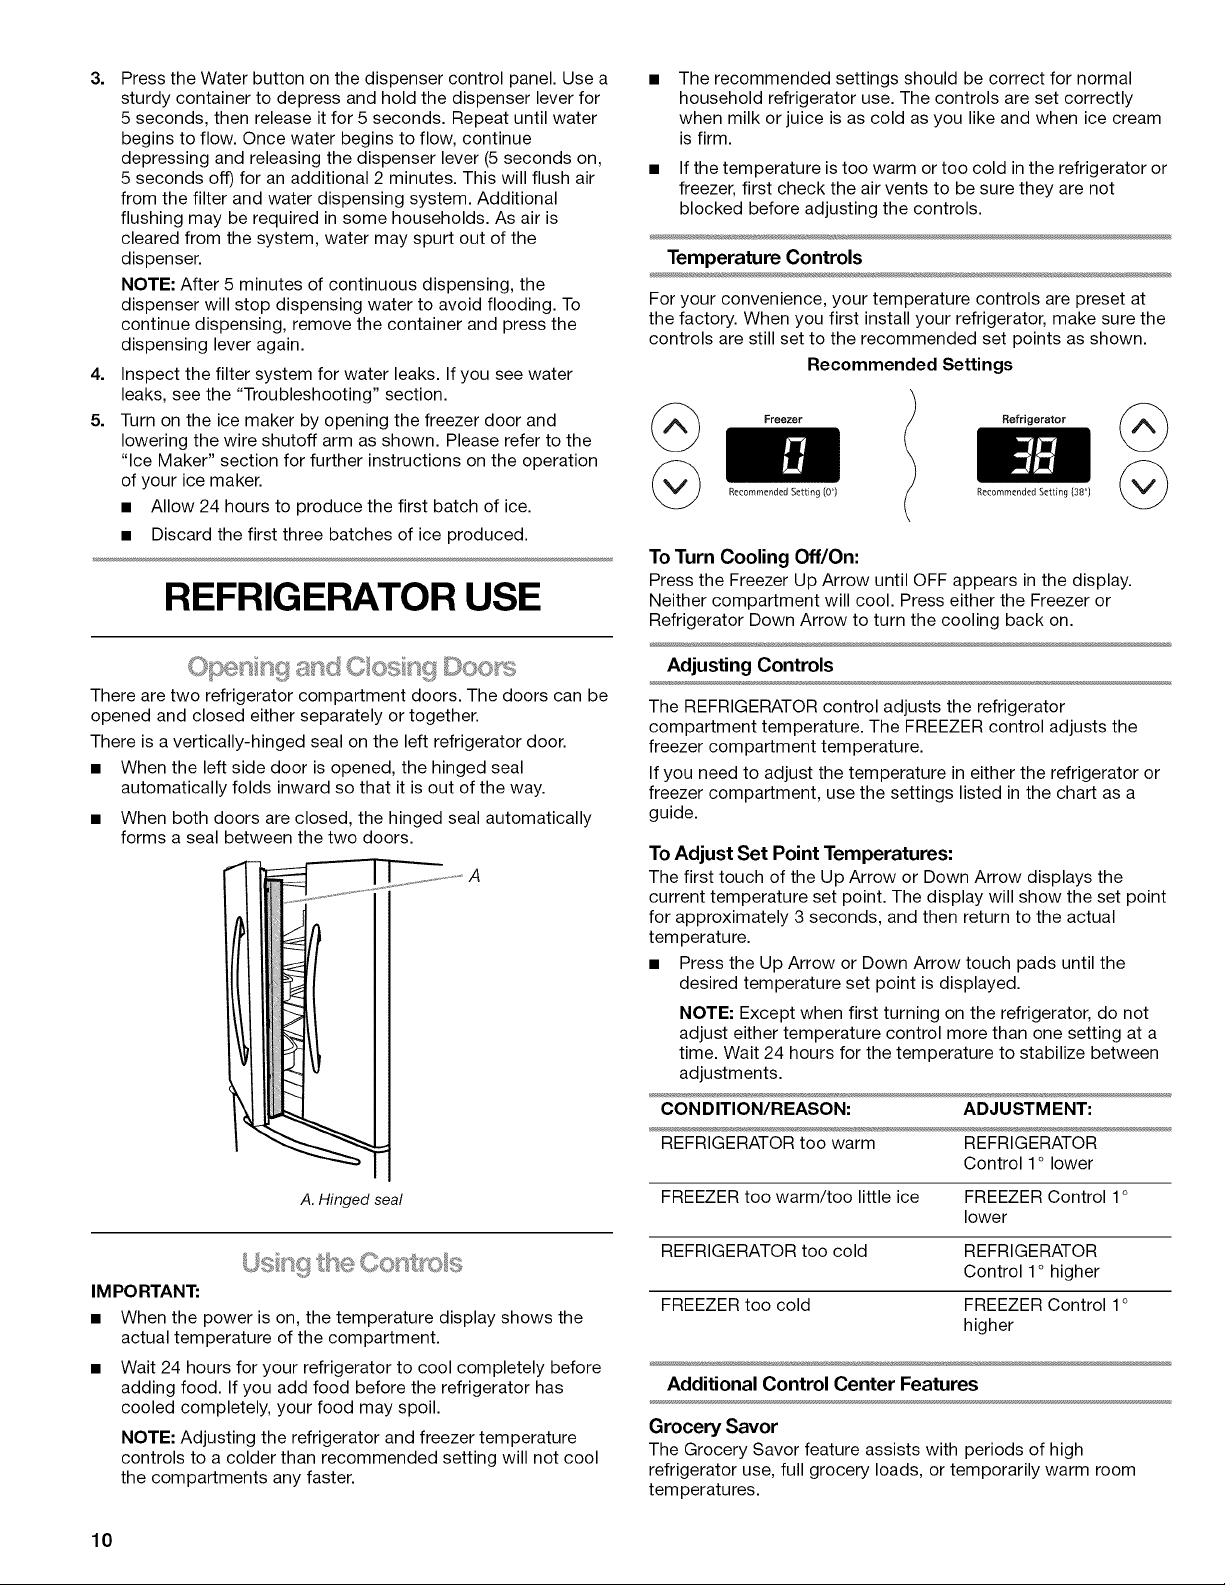
There are two refrigerator compartment doors. The doors can be
opened and closed either separately or together.
There is a vertically-hinged seal on the left refrigerator door.
• When the left side door is opened, the hinged seal
automatically folds inward so that it is out of the way.
• When both doors are closed, the hinged seal automatically
forms a seal between the two doors.
A. Hinged seal
IM PC RTANT:
When the power is on, the temperature display shows the
actual temperature of the compartment.
Wait 24 hours for your refrigerator to cool completely before
adding food. If you add food before the refrigerator has
cooled completely, your food may spoil.
NOTE: Adjusting the refrigerator and freezer temperature
controls to a colder than recommended setting will not cool
the compartments any faster.
The recommended settings should be correct for normal
household refrigerator use. The controls are set correctly
when milk or juice is as cold as you like and when ice cream
is firm.
• If the temperature is too warm or too cold in the refrigerator or
freezer, first check the air vents to be sure they are not
blocked before adjusting the controls.
Temperature Controls
For your convenience, your temperature controls are preset at
the factory. When you first install your refrigerator, make sure the
controls are still set to the recommended set points as shown.
Recommended Settings
Freezer Refrigerator
Recommended Setting (09 Recommended Setting {389
To Turn Cooling Off/On:
Press the Freezer Up Arrow until OFF appears in the display.
Neither compartment will cool. Press either the Freezer or
Refrigerator Down Arrow to turn the cooling back on.
Adjusting Controls
The REFRIGERATOR control adjusts the refrigerator
compartment temperature. The FREEZER control adjusts the
freezer compartment temperature.
If you need to adjust the temperature in either the refrigerator or
freezer compartment, use the settings listed in the chart as a
guide.
To Adjust Set Point Temperatures:
The first touch of the Up Arrow or Down Arrow displays the
current temperature set point. The display will show the set point
for approximately 3 seconds, and then return to the actual
temperature.
• Press the Up Arrow or Down Arrow touch pads until the
desired temperature set point is displayed.
NOTE: Except when first turning on the refrigerator, do not
adjust either temperature control more than one setting at a
time. Wait 24 hours for the temperature to stabilize between
adjustments.
CONDITION/REASON: ADJUSTMENT:
REFRIGERATOR too warm REFRIGERATOR
Control 1° lower
FREEZER too warm/too little ice FREEZER Control 1°
lower
REFRIGERATOR too cold REFRIGERATOR
Control 1° higher
FREEZER too cold FREEZER Control 1°
higher
Additional Control Center Features
Grocery Savor
The Grocery Savor feature assists with periods of high
refrigerator use, full grocery loads, or temporarily warm room
temperatures.
10
Loading ...
Loading ...
Loading ...