Loading ...
Loading ...
Loading ...
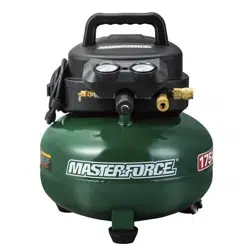
Packaging Contents:
DESCRIPTION
Air compressor
Owner’s manual
QTY ILLUSTRATION
Positioning of the air compressor
1
1
2
3
1
Assembly Instructions
2
3
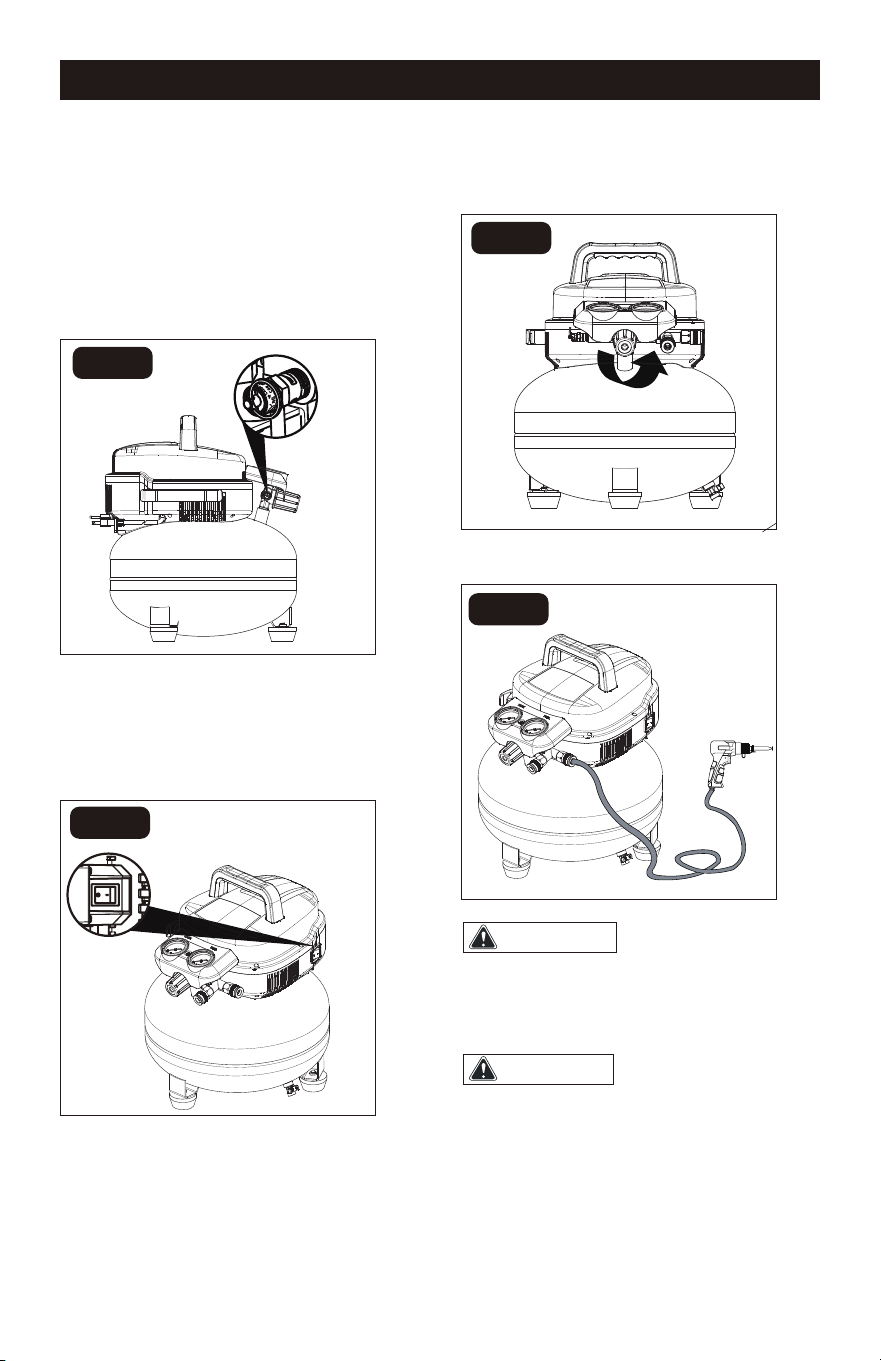
FIG. A
FIG. B
1. Position the air compressor (1) near an
electrical outlet (2)(FIG. A).
2. The compressor must be at least
12”(31cm) from any wall (3) or abstruction,
in a clean, well-ventilated area to ensure
sufficient air flow and cooling(FIG. A).
3. Place the air compressor on the floor or
a hard, level surface.
4. Connect the air hose (1) to the
compressor’s air outlet (universal coupler) (2)
with the universal quick plug (3) (FIG. B).
Note: Attach air hose and accessories
(not provided). Apply plumber’s tape on
all the threads to prevent air leakage.
Unpack the air compressor unit. Inspect the unit for damage. If the unit has been damaged,
contact the retailer immediately.
Check the air compressor’s identification label to ensure that you have purchased the
intended model and that it has the required pressure rating for its intended use.
Operating Instructions
1. Set the power switch to the OFF
position (Fig. D).
FIG. C
2. Turn the air pressure regulator knob
counter-clockwise until it stops(Fig. E).
3. Attach hose and accessories (FIG. F).
FIG. F
Hot compressor
surfaces could result in serious injury.
Allow compressor to cool before
touching.
High pressure air
could result in death or serious injury.
Never operate above maximum
operating pressure of the spray
gun or tool.
WARNING:
WARNING:
Notice
If the pump has been transported or
turned upside down (even partially),
allow the pump to sit in a normal,
Check Safety Valve
Before starting compressor, pull the
ring on the safety valve to make sure
that the safety valve operates freely.
If the valve is stuck or does not
operate smoothly, contact a trained
service technician(Fig. C).
Page 11Page 10
FIG. E
upright position (FIG. A) for
approximately 10 minutes before starting.
FIG. D
OFF
1
Loading ...
Loading ...
Loading ...