Loading ...
Loading ...
Technical Information
Unpack the heater carefully and retain the packaging for possible future use, in the event of moving or returning the re
to your supplier. Loose coals (and/or pebbles) are packed separately within the carton. When the heater is assembled
the coals (or pebbles) are placed on top of the fuel bed.
The re incorporates a ame effect, which can be used with or without heating, so that the comforting effect may be
enjoyed at any time of the year. Using the ame effect on its own only requires little electricity.
The heater is designed for use inset into a 407mm (16”) or 457mm (18”) wide by 559mm (22”) high replace opening or
can be freestanding - see section ‘Installation Instructions’.
A 2kw fan heater is discreetly positioned in the canopy of the re provides heating in cold weather. Switching allows half
or full heat. A distance of 1 metre (39”) must be maintained between the front of the heater and any surrounding furniture,
overhanging curtains or other obstrustions.
Before connecting the heater check that the supply voltage is the same as that stated on the heater.
Please note: Used in an environment where background noise is very low, it may be possible to hear a sound which is
related to the operation of the ame effect. This is normal and should not be a cause for concern.
Installation Instructions
This section describes how to set up your electric re. Your electric re is designed to be be used in a replace opening
or placed against a wall anywhere in the room.
When installing this appliance in an existing replace opening, we recommend that an open chimney ue is blocked off.
We recommend that non-ammable materials are used to block off the chimney ue. This procedure is important for the
efcient operation of the heating unit and will also reduce heat loss up the chimney.
At the rear of the re, an adjustable foot is provided for levelling the re where the re is being installed on an uneven
surface. You can adjust the foot by removing the two screws and retting the foot in the required position.
All res are supplied with a hook and rawl plug to provide extra stability to the re and to prevent it from accidentally
being knocked over. The rawl plug supplied is suitable for use in block walls (other wall types may need alternative rawl
plugs).
These res have been supplied with a plastic surround spacer. This spacer can be tted to the re if the replace is not
deep enough to t the re or if the re is to be installed against a at wall. Please refer to the appropriate instructions
below to suit your required installation.
INSTALLATION WITHOUT THE SURROUND SPACER
1. Measure and mark the installation position of the hook. This position is indicated by ‘Y’ in Fig. 1 (the hook can
be positioned on either side of the re).
2. Drill the hole for the rawl plug and position the rawl plug in the hole.
3. Screw hook into the rawl plug to the depth as shown in Fig. 2.
4. Position the re alongside the hook and then lift the re up and over the hook so that the top edge of the slot on the
re engages with the hook.
General Information
Model No: ADG20BN-E, ADG20BR-E, ADG20CH-E, ADG20E,
DAN20AB, DAN20BL, DAN20BN, DAN20BR, DAN20CH, HTN-
20BL, HTN20BR, HTN20CH, WHT20BR, WHT20CH, WYN20AB-E,
WYN20BR-E, WYN20CH-E
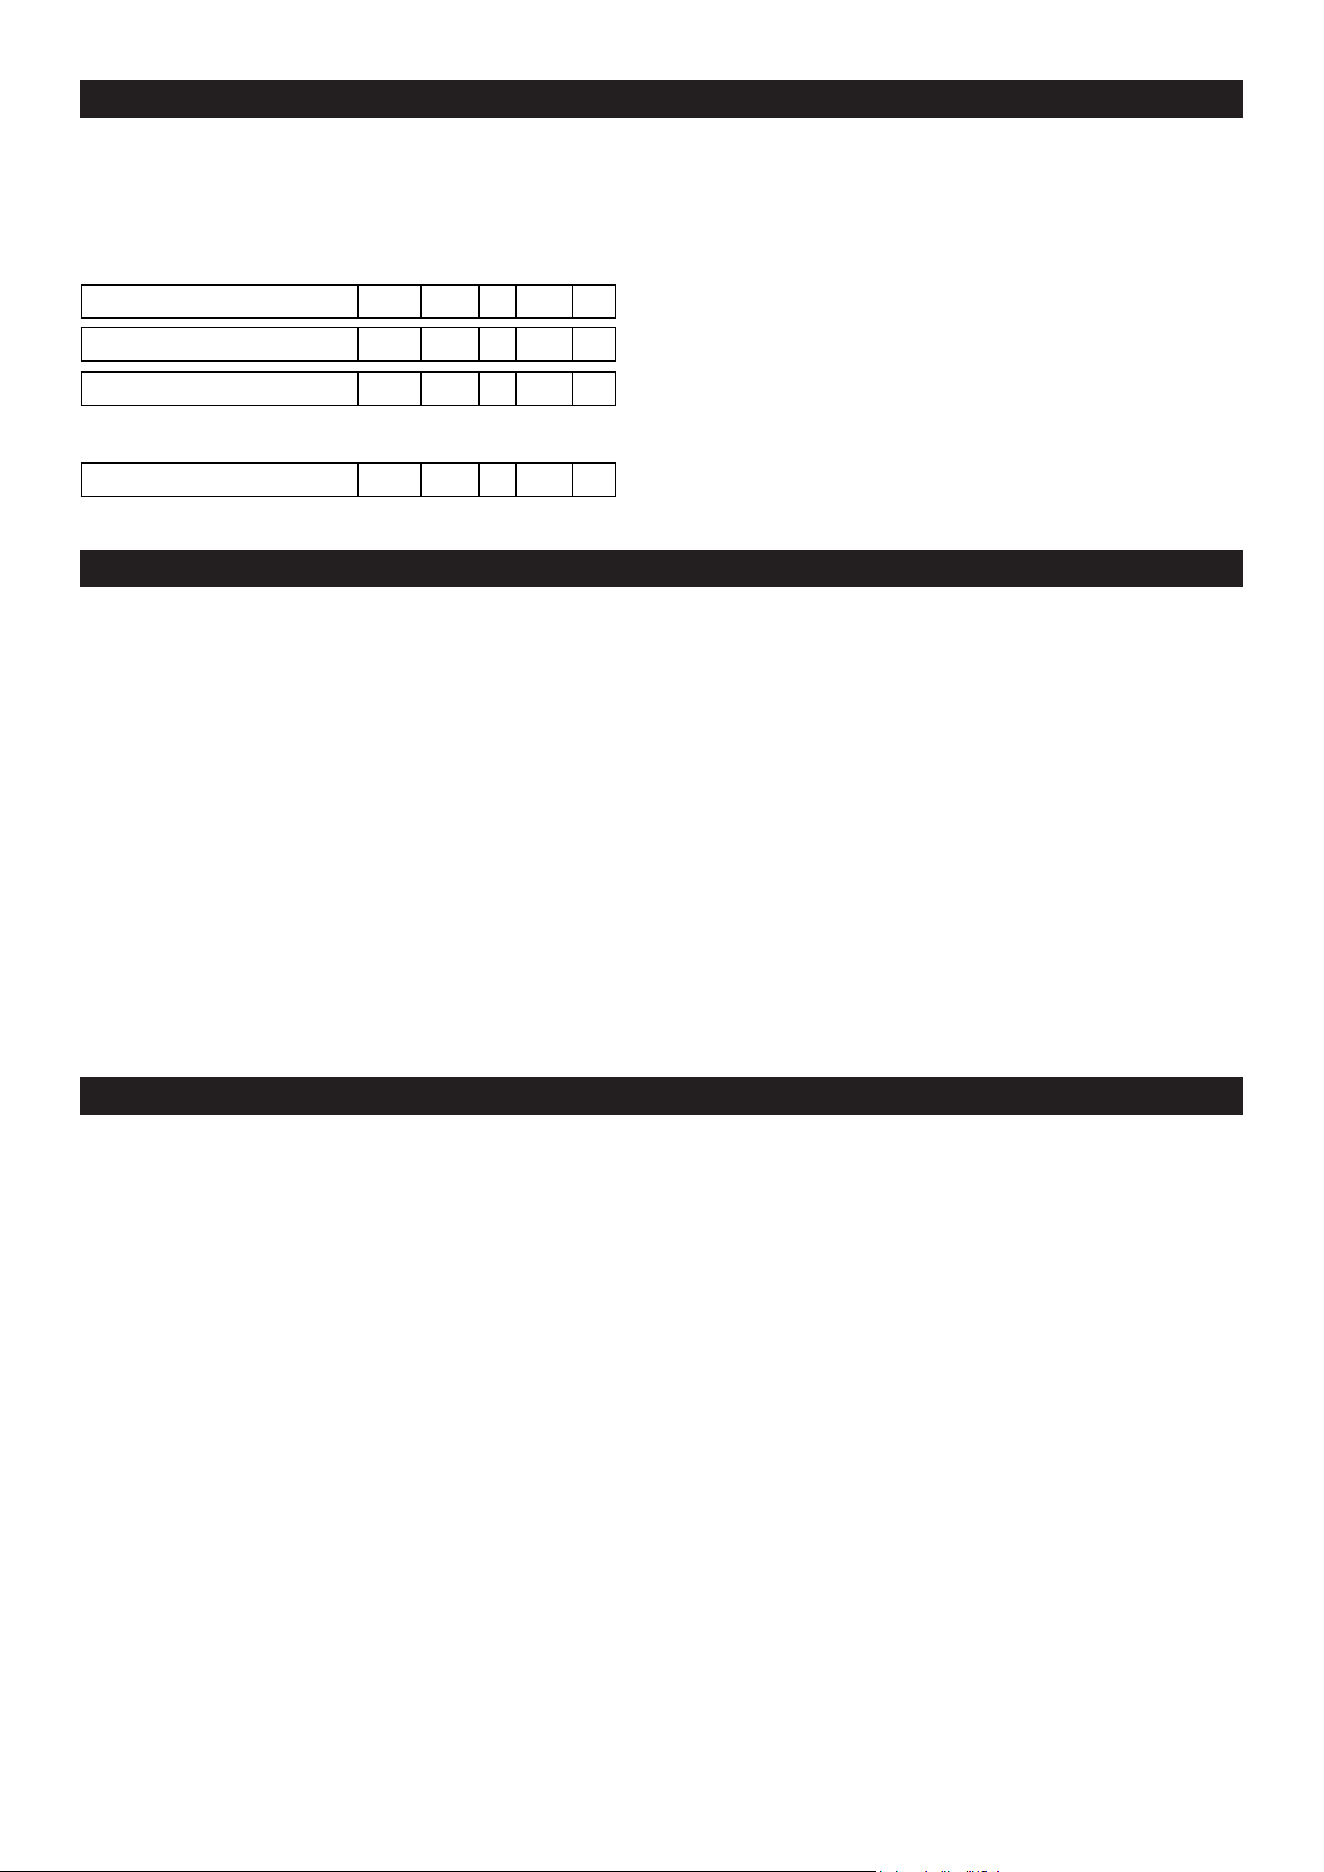
Heat Output 230V 240V
Nominal Heat Output P
Nom
1.7 - 1.9 kW
Minimum Heat Output P
min
0.9 - 1 kW
Maximum Continous Heat Output P
max,c
1.7 - 1.9 kW
Auxiliary Electricity Consumption
In Standby mode el
SB
0.02 - 0.02 W
with mechanic thermostat room temperature control.
Loading ...
Loading ...
Loading ...