Loading ...
Loading ...
Loading ...
12 English
23 ** Round brush (small, yellow)
24 ** Power nozzle
25 ** Round brush (large)
26 Manual nozzle
27 Microfibre cover for manual nozzle
28 Extension tubes (2 x)
29 Unlocking button
30 Floor nozzle
31 Hook and loop fastener
32 Microfibre floor cloth (1 x)
33 ** Microfibre floor cloth (2 x)
34 ** Carpet glider
** optional
Installation
Installing accessories
1. Insert and engage the steering roller and non-driven
wheels.
Illustration B
2. Push the open end of the accessory onto the steam
gun so that the unlocking button on the steam gun
engages.
Illustration I
3. Push the open end of the accessory onto the spot-
light nozzle.
Illustration J
4. Connect the extension tubes with the steam gun.
a Push the 1st Push the first extension tube onto
the steam gun so that the unlocking button on the
steam gun engages.
The connection pipe is connected.
b Push the 2nd extension tube onto the
1st extension tube.
The connection pipes are connected.
Illustration K
5. Push the accessory and / or the floor nozzle onto the
free end of the extension tube.
Illustration L
The accessory is connected.
Disconnecting accessories
1. Set the selector switch for the steam volume to the rear.
The steam lever is locked.
2. Push the unlocking button and pull the parts apart.
Illustration P
Operation
Filling water
The water reservoir can be removed at any time for fill-
ing or be filled directly at the device.
ATTENTION
Damage to the device
Unsuitable water can block the nozzles or damage the
water level indicator.
Do not fill in pure distilled water. Use a maximum of 50%
distilled water mixed with tap water.
Do not use condensation from the clothes dryer for filling.
Do not use collected rain water for filling.
Do not use cleaning agents or other additives (e.g.
scents) for filling.
Remove the water reservoir for filling
1. Pull the water reservoir vertically upwards.
Illustration C
2. Fill the water tank vertically with tap water or a mix-
ture of tap water and no more than 50% distilled wa-
ter up to the "MAX" mark.
3. Insert the water reservoir and press downwards until
it locks into place.
Filling the water reservoir directly on the device
1. Fill tap water or a mixture of tap water and no more
than 50% distilled water from a vessel into the filling
hole of the water reservoir up to the "MAX" mark.
Illustration D
Switching on the device
Note
If there is no or too little water in the steam boiler, the
water pump starts to run and pumps water from the wa-
ter reservoir into the steam boiler. The filling process
can take several minutes.
Note
The device briefly closes the valve every 60 seconds
causing an audible soft click. Closing prevents the valve
from clogging. This does not affect the steam output.
1. Place the device on a firm surface.
2. Insert the mains plug into a socket.
Illustration E
3. Press the ON switch.
The green heating indicator light flashes.
Illustration F
4. Wait until the green heating indicator stays on.
Illustration G
5. Press the steam lever.
Illustration H
Steam leaks out.
Regulating the steam volume
The expelled steam volume is regulated using the se-
lector switch for steam volume. The selector switch has
3 positions:
1. Set the selector switch for the steam volume to re-
quired steam volume.
2. Press the steam lever.
3. Before starting cleaning, point the steam gun at a
cloth until steam is expelled evenly.
Refilling water
If there is not enough water, the water shortage indicator
lamp flashes red and a signal tone sounds.
Note
The water pump fills the steam boiler at intervals. If the
filling is successful, the red water shortage indicator
lamp goes out.
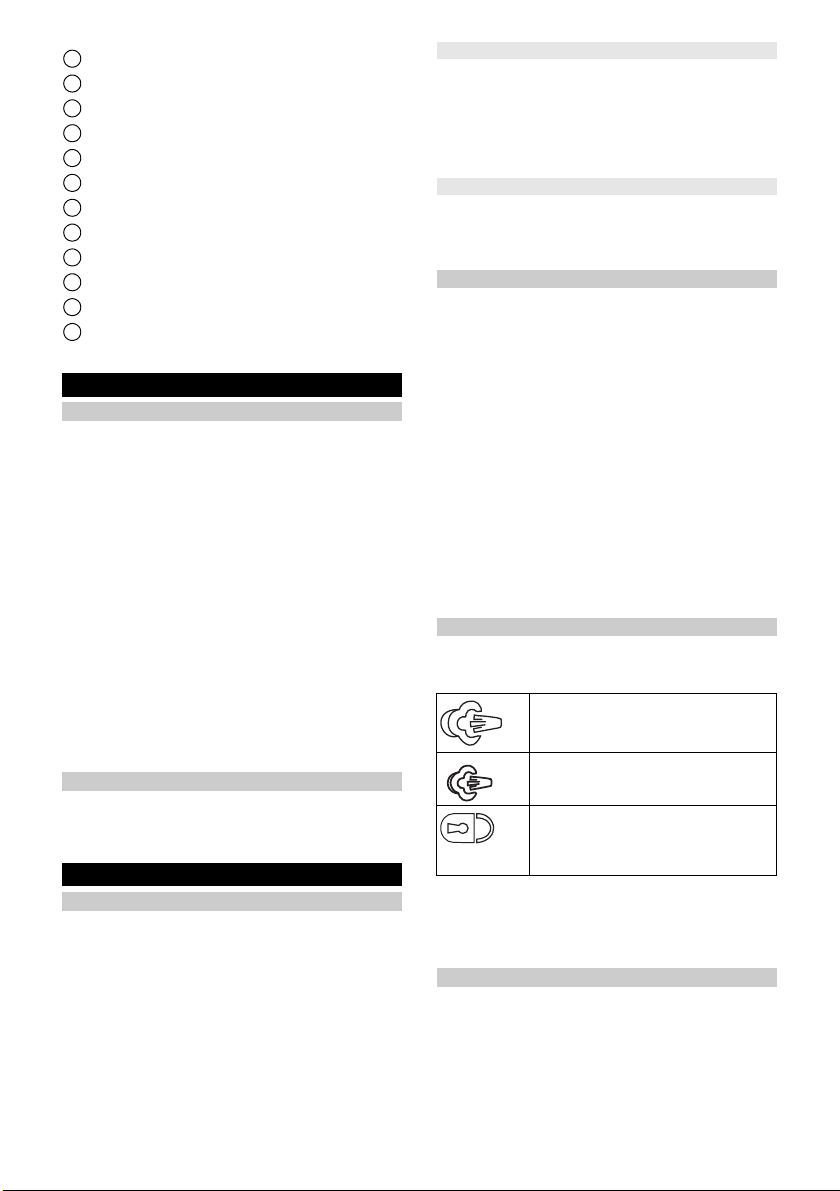
Maximum steam volume
Reduced steam volume
No steam - child lock
Note
In this position, the steam lever cannot
be operated.
Loading ...
Loading ...
Loading ...