
Loading ...
Loading ...
Loading ...
PERLICK RESIDENTIAL INSTALLATION MANUAL
4
perlick.com
SAFETY
PLEASE READ all instructions completely before attempting
to install or operate the unit. Take particular note of the
DANGER, WARNING and CAUTION information in the
manual. The information is important for the safe and
ecient installation, operation and care of your Perlick unit.
DANGER
Indicates a hazard that WILL result in serious injury or
death if precautions are not followed.
Indicates a hazard MAY cause serious injury or death if
precautions are not followed.
WARNING
Indicates a hazard where minor injury or product
damage may occur if precautions are not followed.
CAUTION
OPERATION
MASTER SWITCH
Signature Series products come equipped with a master
power switch located behind the louvered toe kick.
Remove the toe kick to turn power on or o to the unit.
INTERIOR LIGHT
Door units are equipped with an interior light that
illuminate when the door is opened. All HP24 and HH24
models come standard with adjustable blue and white
LED lighting. HC and HA come with a specialty appliance
light located on back wall or ceiling depending on the
model. The cabinet also comes equipped with a manual
light switch for displaying the products through a glass
door.
Always ensure that the manual light switch is in the OFF
position before closing a solid wood or stainless steel
door. If manual light switch is left on for an extended
period of time, it may increase the cabinet temperature,
and cause the refrigeration system to run harder.
LOADING PRODUCT
Before storing perishables, turn unit on and allow it to
operate for a minimum of 24 hours to allow temperatures
to stabilize.
When loading items into the unit, do not block internal
louvers and fan guard openings or performance will be
decreased.
CHECKING PRODUCT TEMPERATURE
1). To accurately check the temperature of product stored
in the refrigerated compartment, insert an accurate
thermometer into a plastic unbreakable bottle, partially
lled with water. Tighten bottle cap securely.
2). Place the bottle in the desired area for 24 hours. Refrain
from opening the unit during the testing period. After
24 hours, check the temperature of the water. Adjust the
temperature accordingly using the following procedures:
DIGITAL TEMPERATURE CONTROL
Signature Series Models
Perlick Signature Series, C-Series and ADA Compliant
freezer units come standard with state-of-the-art digital
control. Please note there are two sets of instructions; one
for 24” Signature Series Dual-Zone models, and another
set for 15”, 24” Single-Zone and Sottile, and 48” Signature
Series, C-Series and ADA-Compliant Freezer models.
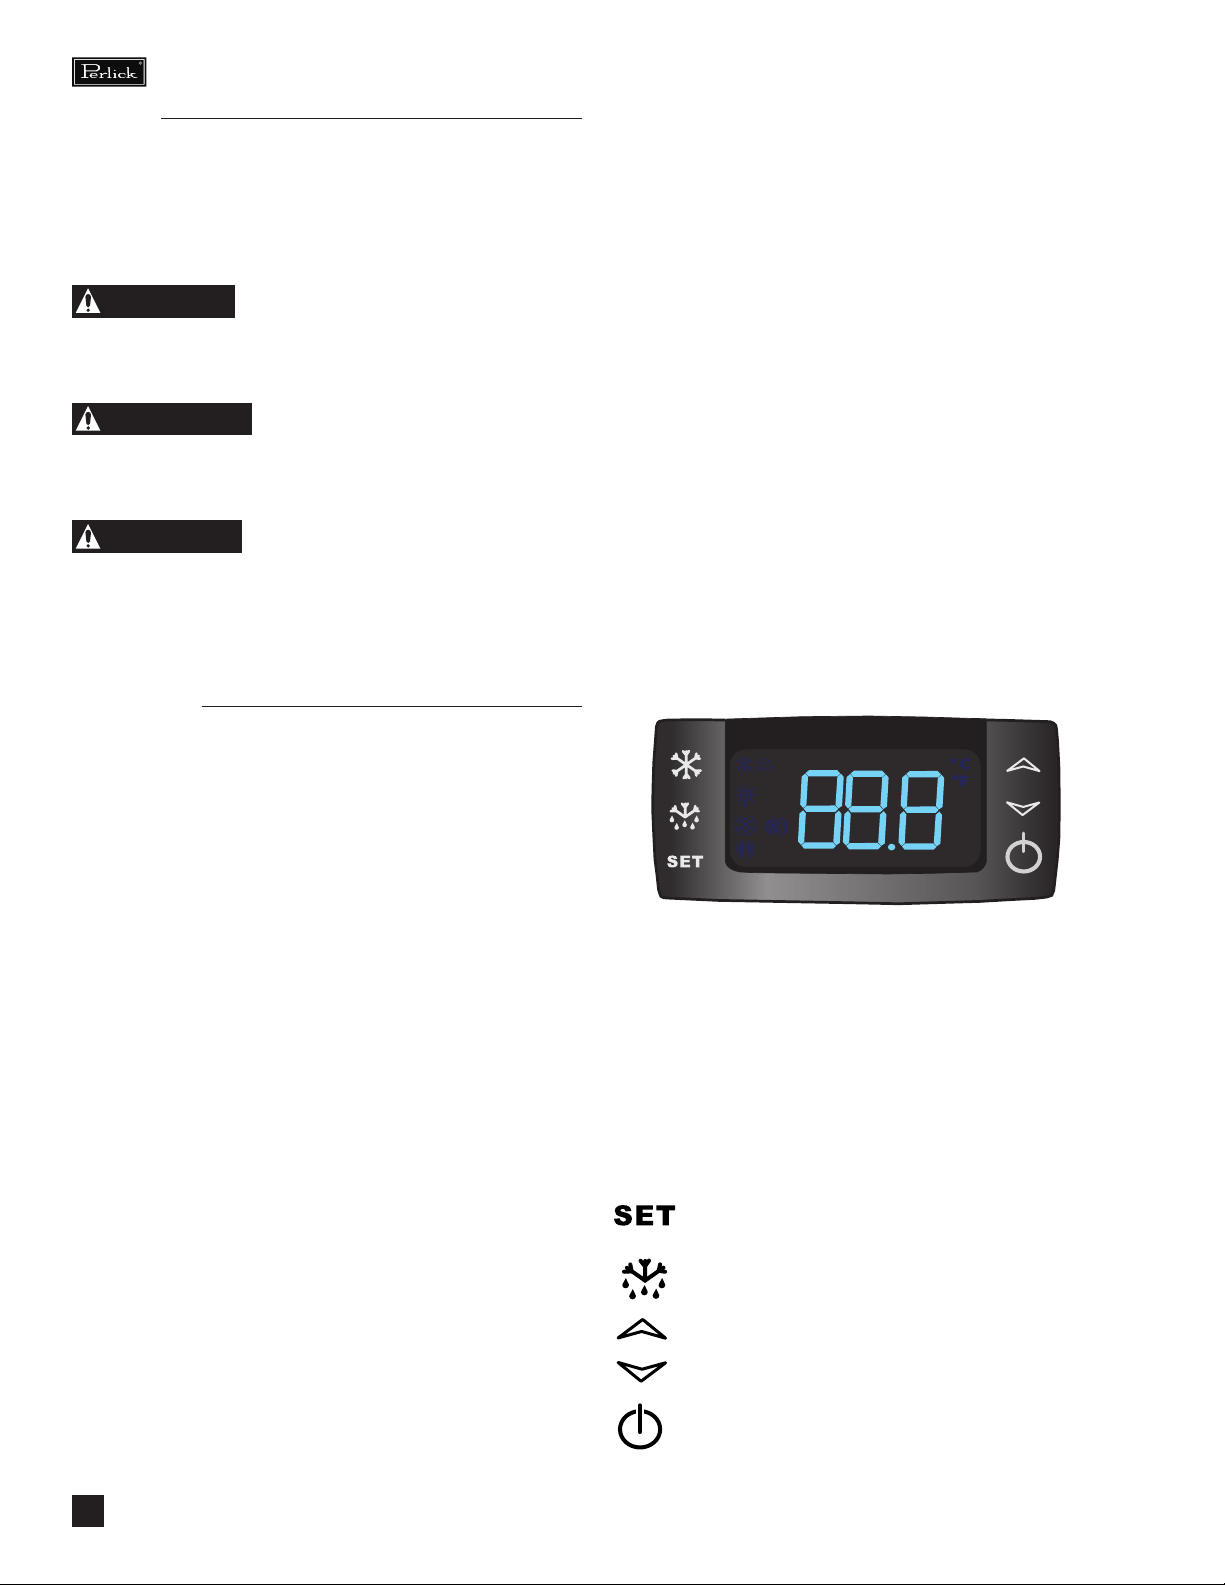
Programming Button Denitions:
Figure 1. Digital Temperature Controller
SET button
DEFROST button (melting snowake)
UP arrow
DOWN arrow
ON/OFF button
Loading ...
Loading ...
Loading ...