Loading ...
Loading ...
Loading ...
5
ASSEMBLY INSTRUCTION
Estimated Time for Assembly
20:00
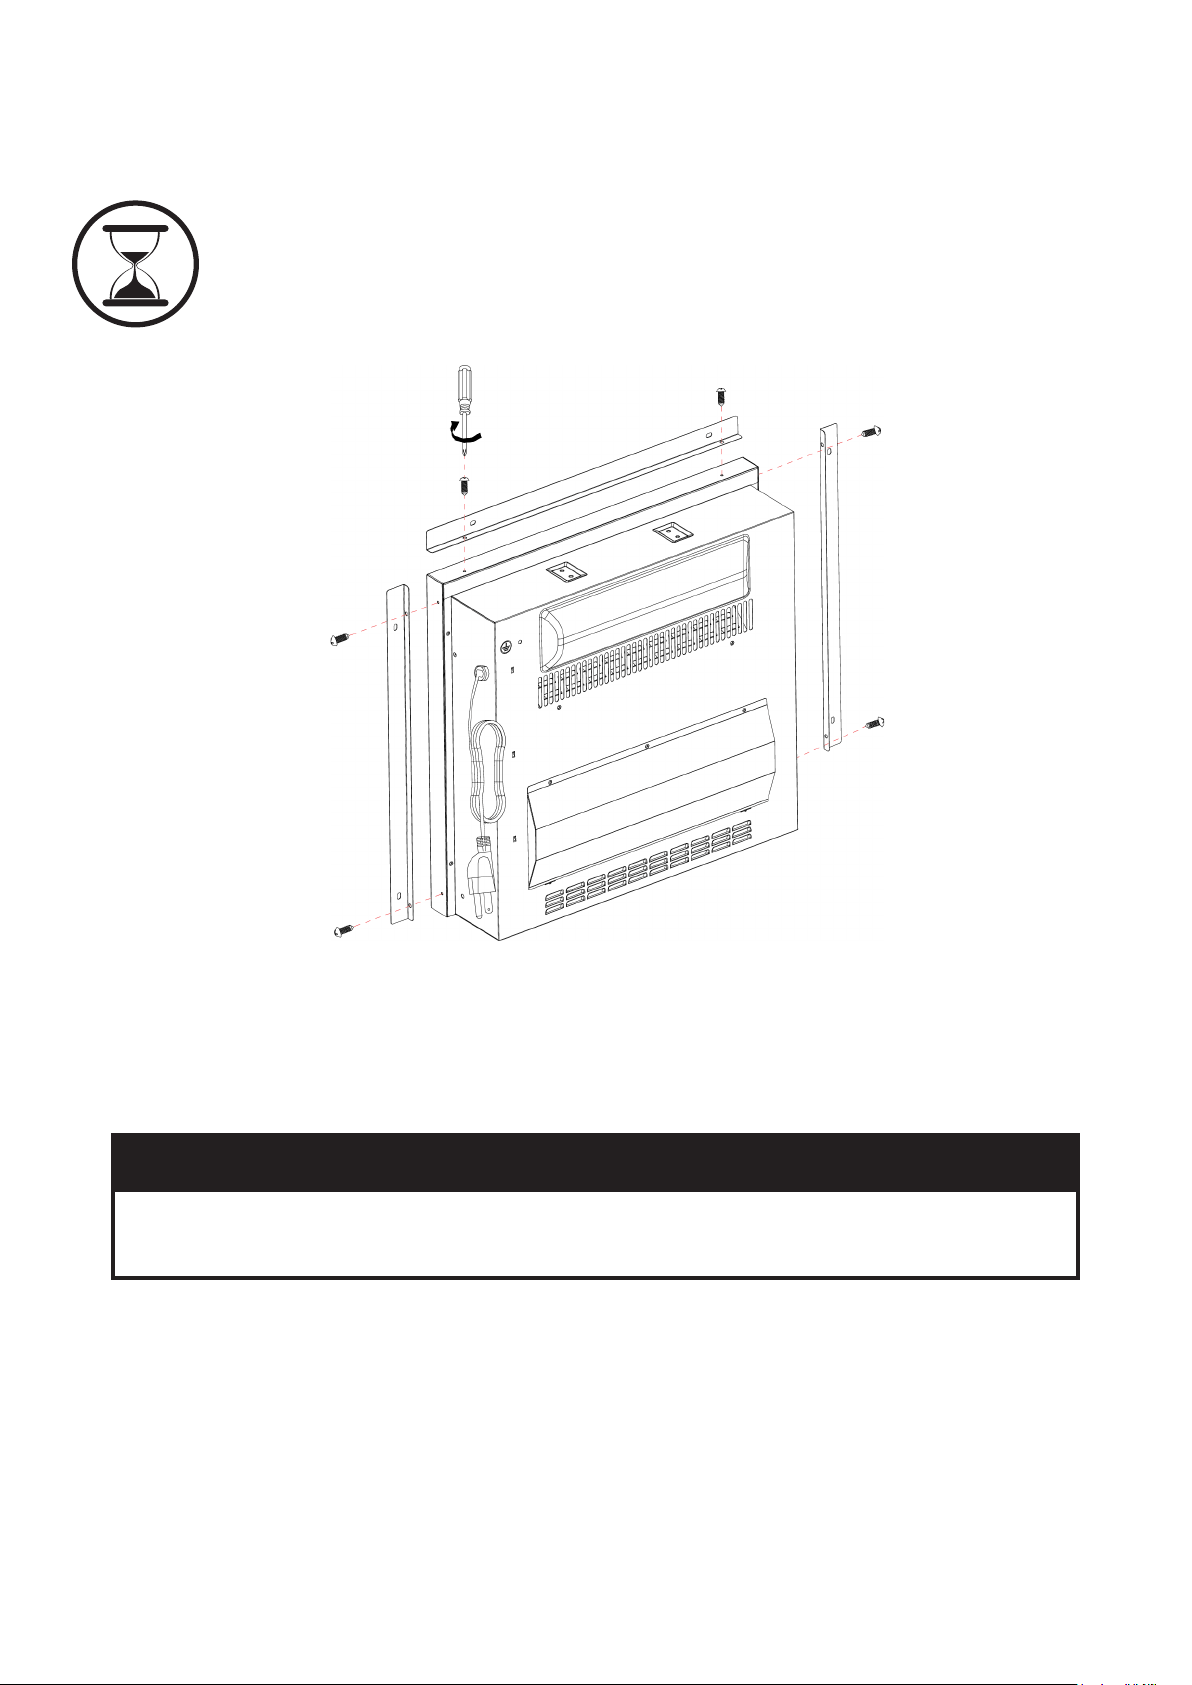
STEP 1
Take out the unit from the box and layout all the spare parts for easy assembly. Make sure all
small items are not left in packaging materials.
STEP 2
Attach the top trim to the top of the unit and secure it by tightening 2 screws. Make sure the right
angle side faces toward the front of the unit.
Align and attach two side trims to the sides of the replace unit. Identify the right and the left and
make sure the right angle side is faces toward the front of the unit.
• This unit has a glass front panel. Use extreme caution when handling glass to
prevent personal injury or damage.
⚠CAUTION
Loading ...
Loading ...
Loading ...