Loading ...
Loading ...
Loading ...
14
Commissioning
7.1 Verify Electronic Operation
After the plumbing of the cylinder has been fully
commissioned and the appliance connected to a
suitable electrical supply, the electrical supply to
the unit can be turned on.
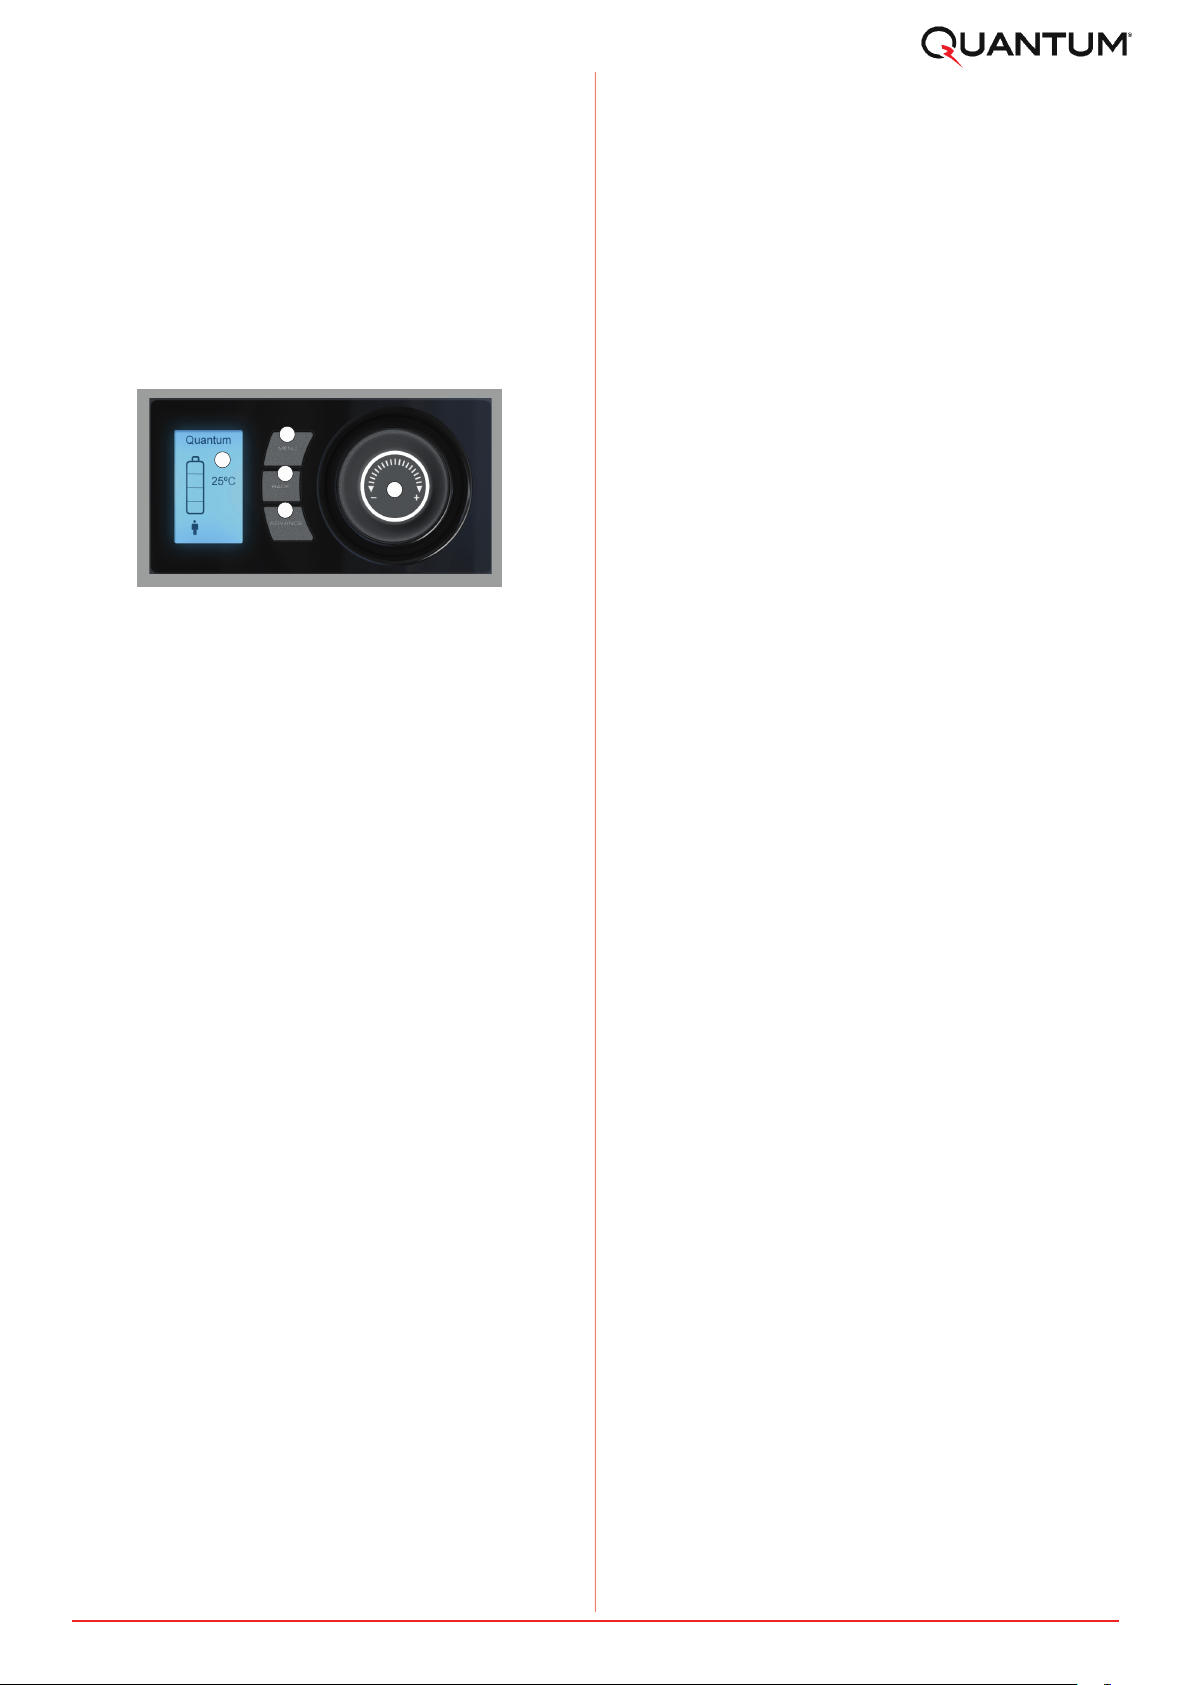
The user interface should power up and a battery
symbol and temperature should be visible on the
display screen.
The user interface consists of the following
components as shown:
Figure 11: User Interface
1. Display Screen
2. “Menu” Button
3. “Back” Button
4. “Advance” Button
5. “Selector Dial”
1
3
44
45
2
7.2 Initialise System Settings and
Communications
The system settings of the cylinder can now be
menu of the appliance the back button, menu
button and selector dial, should be pressed for 10
seconds.
- Enter the service menu.
- Ensure that reset is highlighted, and press the
selector dial.
- Select using the selector dial if you want to reset
the temperature log, the energy log or the full
system to the factory defaults. Once the required
option is highlighted press and hold the selector
dial for 5 seconds (see Figure 12 for how to
access the reset function).
7.2.6 Reset
- Enter the service menu.
- Rotate the dial to select hygiene and press the
dial to select.
- Hygiene mode can be set to either Daily, Weekly,
operation can then be set between a range of
hygiene function).
Note: Hygiene settings can be changed using
the app.
7.2.2 Set Hygiene Mode
The cylinder heating can be controlled by a utility
company, via the transceiver and gateway, to align
heating periods with low cost electricity availability
and reduce costs for the customer. This is “Normal
mode” and how the cylinder will operate under
normal circumstances. When a connection to the
gateway is unavailable, the cylinder will go into
standalone mode and follow the time periods set
section 7.2.1). The communication mode can also
7.2.3 Set Communication Mode
- enter the service menu.
- rotate the dial to select appropriate cylinder size
and press the dial to select.
7.2.4 Set Cylinder Size
Calibration of the Real Time Clock is performed on
initial commissioning and should not be required
by the user unless changes are required to the
electronic components on the cylinder.
7.2.5 RTC Calibration
- Enter the service menu.
to select.
- A series of 4 time periods will be shown which
can be set by the user.
- These time periods are when the cylinder will
charge and should be aligned with low cost energy
Note: When the cylinder is in normal mode,
this will be controlled through the gateway,
thistarionlytakeseectifthecylinderis
in standalone mode.
7.2.1 Set Tari
7.3 ConrmationofOperation
a cold tank, use a current tester or verify that the
outlet pipe feels warm within 1hr of start-up.
Note: This should only be attempted if the
insulation may be disturbed slightly without
damage.
Loading ...
Loading ...
Loading ...