Loading ...
Loading ...
Loading ...
Page 8
OPERATION
WARNING:
If any part is broken
or missing, DO NOT attempt to attach the
battery pack, or operate the tool until the
broken or missing part is replaced. Failure
to do so could result in possible serious
injury.
WARNING:
Do not attempt to
modify this tool or create accessories not
recommended for use with this tool. Any
such alteration or modication is misuse
and could result in a hazardous condition
leading to possible serious injury.
WARNING:
To prevent accidental
starting that could cause serious personal
injury, always remove the battery pack
from the drill/driver when you are
assembling parts, making adjustments,
installing or removing bits, or when it is
not in use.
ASSEMBLY
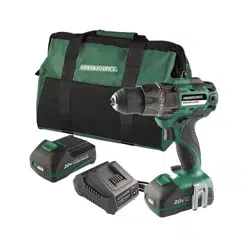
CONTENTS
Brushless drill/driver, belt clip, bit holder,
PH2 bit and instruction manual
UNPACKING
1. Carefully remove the tool and any
accessories from the carton. Make sure
that all items listed in the packing list are
included.
2. Inspect the tool carefully to make sure
that no breakage or damage occurred
during shipping.
3. Do not discard the packing material
until you have carefully inspected and
satisfactorily operated the tool.
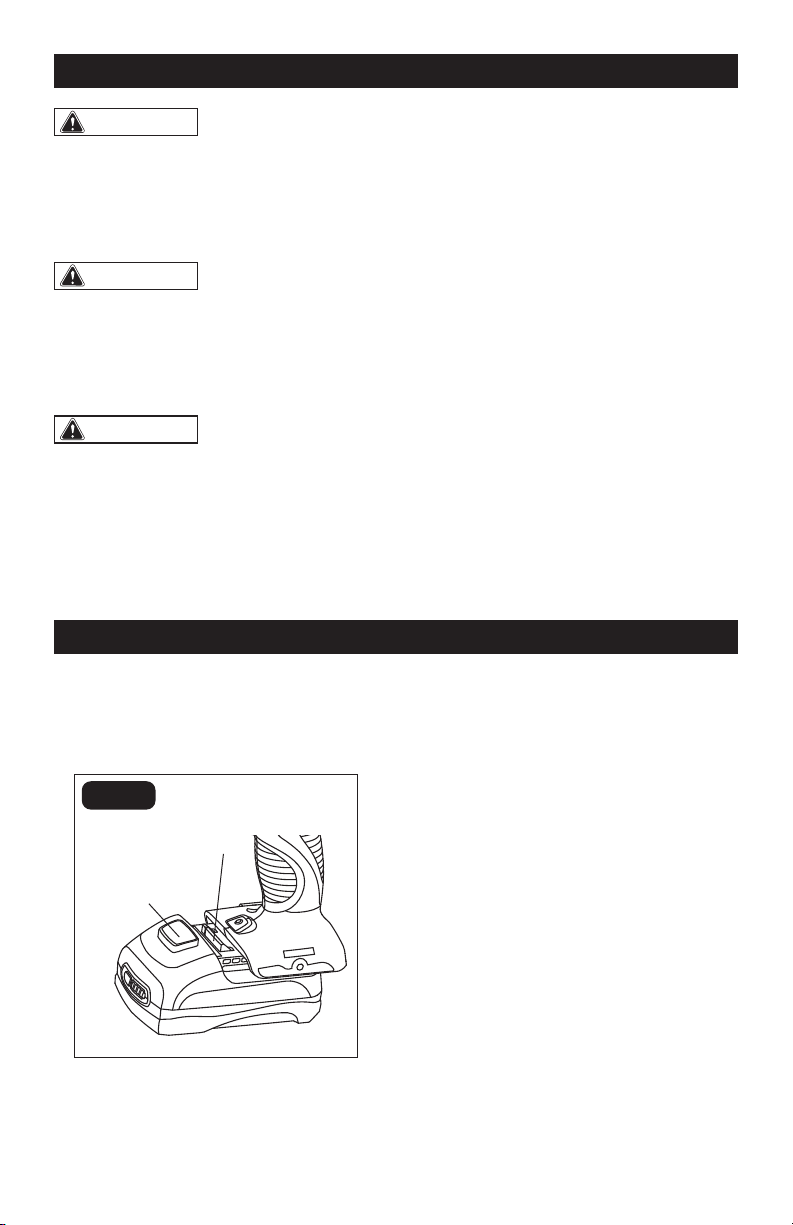
TO ATTACH BATTERY
PACK (FIG. 1)
FIG. 1
Battery-release
Button
1. Lock the trigger switch on the drill/driver
by placing the direction-of-rotation
(forward/center-lock/reverse) selector in
the center position.
2. Align the raised ribs on the battery pack
with the grooves on the bottom of the
drill/driver, and then slide the drill/driver
forward to attach the battery pack to the
drill/driver.
NOTICE: Make sure that the latch on the
battery pack snaps into place and the bat-
tery pack is secured to the tool before
beginning operation. Improper assembly
of the battery pack can cause damage to
internal components.
TO DETACH BATTERY
PACK (FIG. 1)
1. Lock the trigger switch on the drill/driver
by placing the direction-of-rotation
(forward/center-lock/reverse) selector in
the center position.
Latch
Loading ...
Loading ...
Loading ...