Loading ...
Loading ...
Loading ...
3. Installation Continued
Installation & Owner’s Guide 8
3.3 Installing the Units
Installation Sequence
The sequence of installation should be as follows:
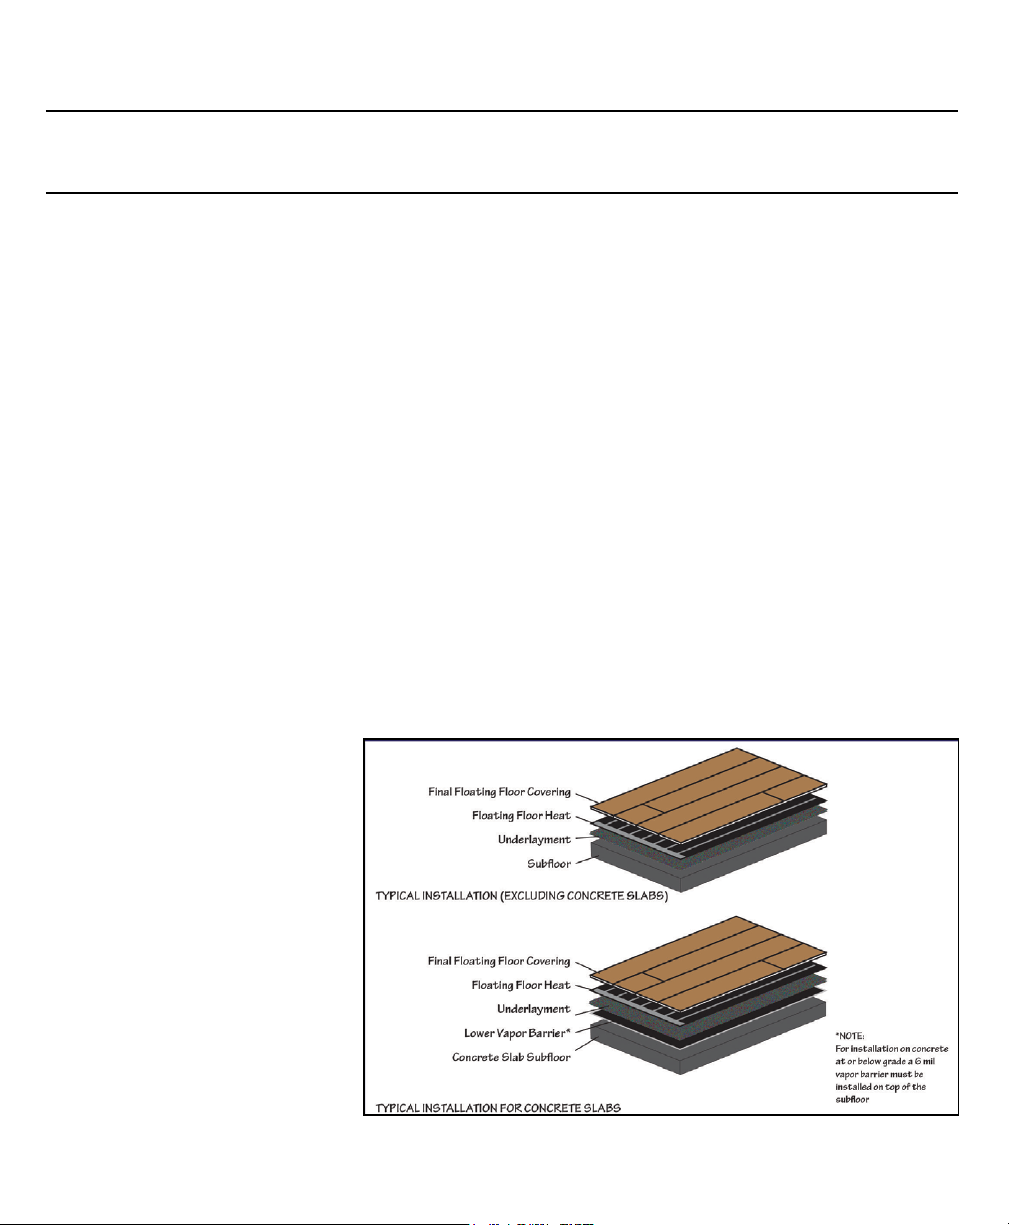
1. Apply lower vapor barrier if installing over concrete slab using underlayment without a built-in vapor barrier.
2. Install insulating underlayment.
3. Install heating mats.
4. Install finished floor covering.
Step 1. Inspect and Test Mats
1. Visually inspect each mat for any signs of damage that may have occurred during shipping.
2. The individual mats provided with each kit have resistance readings (in ohms) on a sticker on the mat. Using
an ohm meter, check and verify the resistance of each mat. If any reading is significantly different from the value
on the mat, contact the technical hotline at 1-888 WARM PAD.
Step 2. Install Lower Vapor Barrier
For installations on concrete slabs, or at below grade, ensure the lower 6 mil (0.15 mm) vapor barrier is com-
pletely and properly installed.
Step 3. Install Underlayment
For all floors, install a suitable underlayment over the subfloor and over any vapor barriers that needed installed
over concrete or at below grade. Some underlayments provide a suitable pre-attached vapor barrier built into
the underlayment. Refer to all floor-
ing manufacturer’s underlayment
recommendations.
For under floating tile systems, no
underlayment is needed. For instal-
lations over concrete slabs in cold
regions, it is highly recommended
that an insulating underlayment be
installed over the entire floor. Follow
all installation instructions of the un-
derlayment manufacturer. The Radi-
ant Heat Film film mat(s) then install
directly on top of the underlayment
layers.
Loading ...
Loading ...
Loading ...