Loading ...
Loading ...
Loading ...
13
Burner “ON” light
An “On” light is located on the cooktop. When
illuminated, it indicates at least one burner is in use (no
light on the 500 Series).
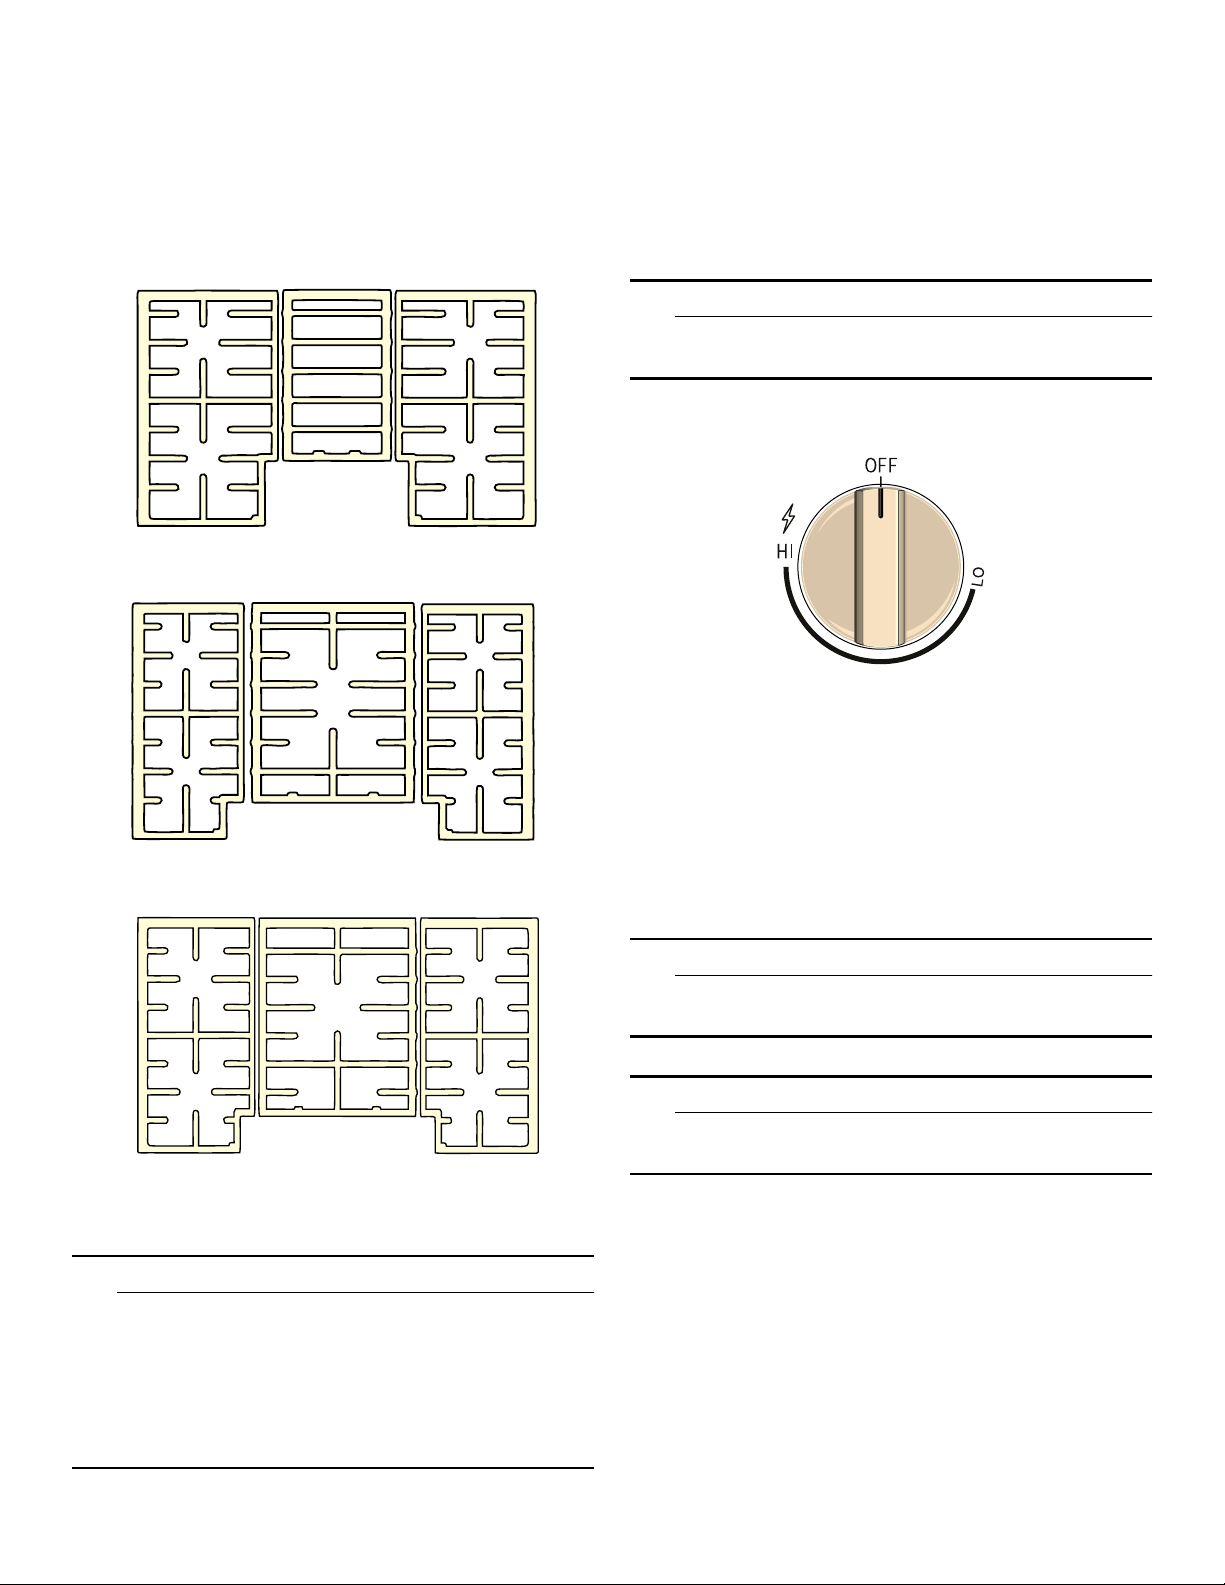
Install Burner Grates
Properly position and install each burner grate as shown
in the illustration below.
30” 4 Burner
30” 5 Burner
36” 5 Burner
9 WARNING
To prevent flare-ups, properly support pots and
avoid spills, all grates must be properly positioned
on the cooktop whenever the cooktop is in use.
Each of the four feet must be placed into the
corresponding dimples in the cooktop. Do not use a
grate if the rubber feet are missing or damaged.
For replacement of rubber feet: Call Customer Support
at 1-800-944-2904.
Control Knobs
The cooktop has one control knob for each burner. Push
down and turn to the left to light and set the desired heat
setting.
9 WARNING
Failure to operate knobs properly may result in
personal injury and damage to the appliance.
The cooktop has standard burner controls and rubber
grommets.
The standard burner controls have an infinite number of
heat settings.
To operate: Select the appropriate control knob, push
down and turn counterclockwise to the desired flame
size. Turn off by turning the control knob clockwise to
OFF.
Control Knob Removal
To remove knob: With control knob in the OFF position,
gently lift knob up and off.
9 WARNING
To avoid possible electric shock, do not reach
through control opening into rough-in box.
9 WARNING
Do not use the appliance without the knobs in
place.
To replace knob: Replace control knob by placing
indicator line at the OFF position. Press down firmly.
Loading ...
Loading ...
Loading ...