Loading ...
Loading ...
Operating Instructions
Electrical Safety
Grounding
This dehumidifier must be grounded.
Grounding reduces the risk of electric shock by
providing an escape wire for the electric current.
The power cord has a grounding wire with a
grounding plug. Plug it into an outlet that is
properly installed and grounded.
WARNING
—Improper use of the grounding
plug can result in a risk of electric shock.
Call a qualified electrician if you don’t under-
stand the grounding instructions or if you are not
sure if the dehumidifier is properly grounded.
If the wall outlet is not grounded, you are
responsible for having it replaced with a properly
grounded outlet.
Do not, under any circumstances, cut or remove the
third (ground) prong from the power cord.
Adapter Plug
Because most 2-prong outlets are not grounded,
we strongly advise against using an adapter plug.
However, a temporary connection may be made
where local codes permit and if the 2-prong wall
outlet is properly grounded.
Make sure the larger prong of the adapter goes
into the larger slot to provide proper polarity.
FOR PROPER GROUNDING:
1 Screw the adapter to the outlet, using the outlet
cover screw.
2 Ground the outlet through the house wiring.
If the grounding connector breaks,
DO NOT USE
the dehumidifier until a proper ground has
again been made.
Extension Cord
Use only a UL-listed, 3-wire grounding type,
14 gauge, 15A, 125V appliance extension cord.
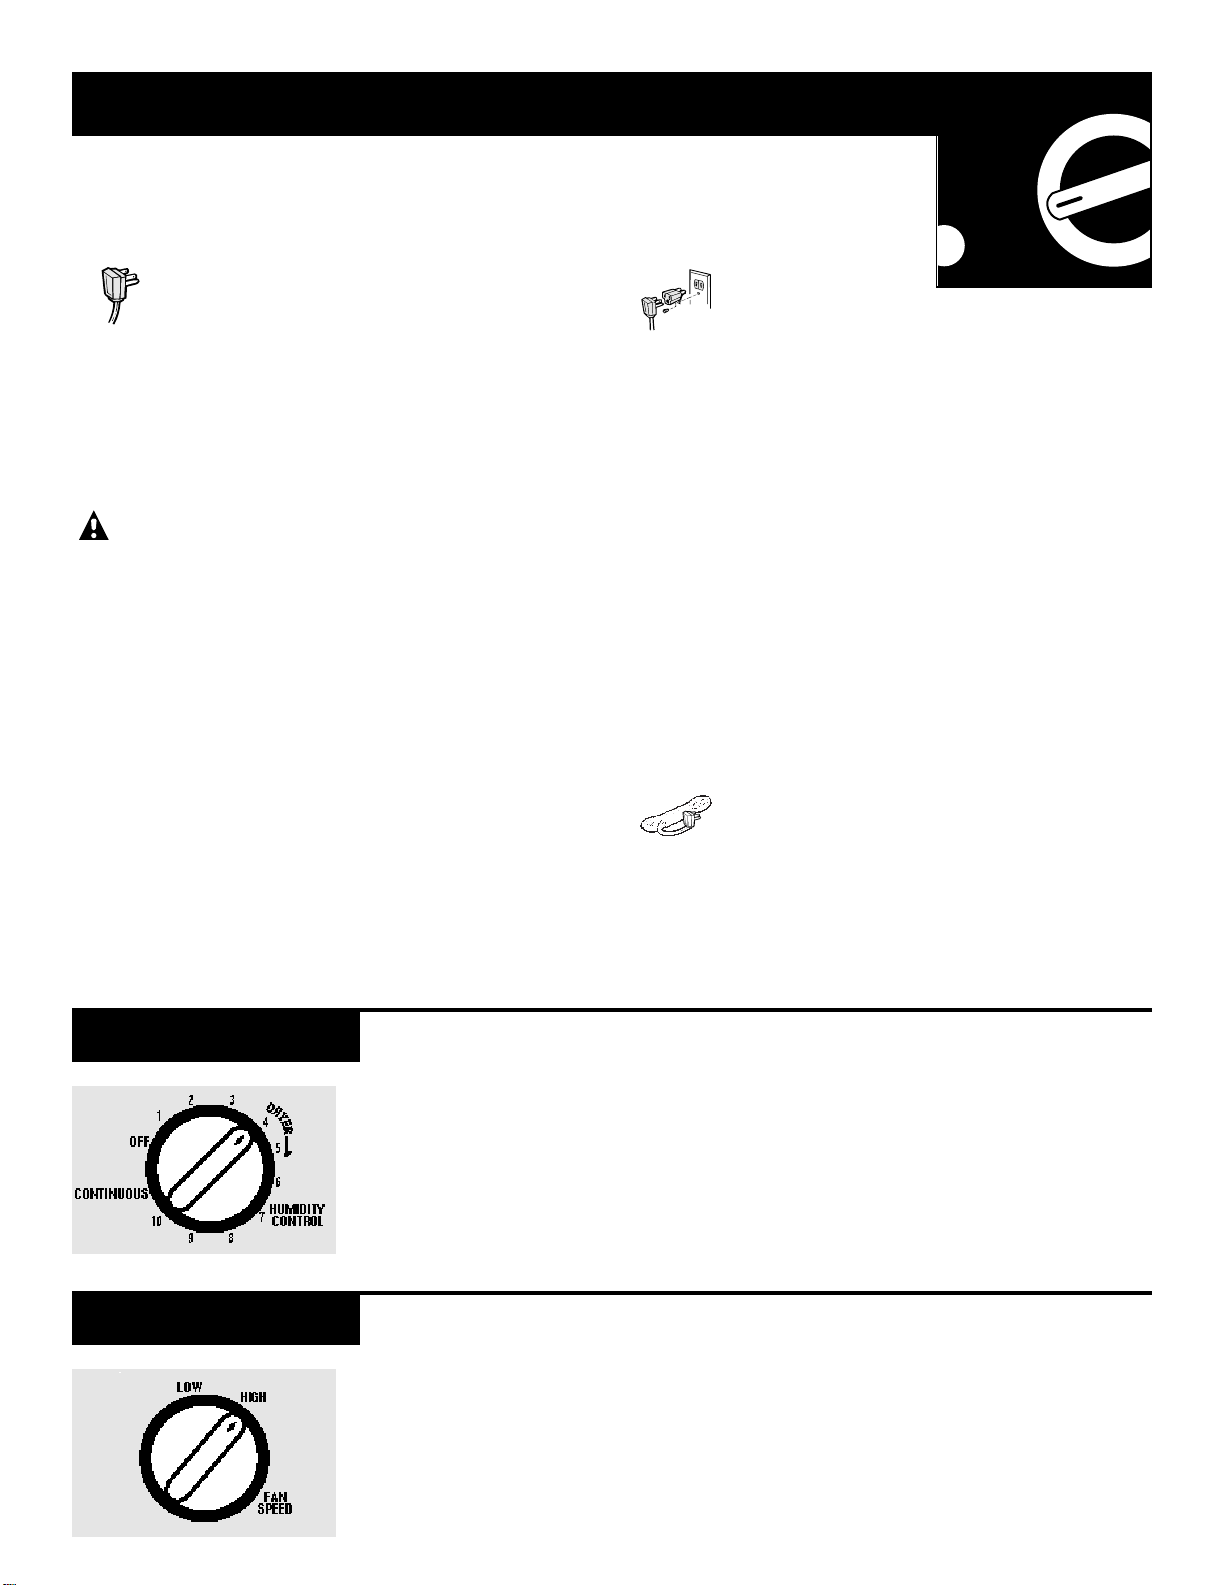
When you first use the dehumid-
ifier, turn the humidity control to
the highest setting. At this setting,
the unit will operate continuously.
Keep it at this setting for three to
four days.
When the excess moisture and
dampness odors are gone, adjust
the control to a lower setting. Use
the dehumidifier as long as excess
moisture is present.
Humidity Control
The controls on your dehumidifier
The fan control adjusts the fan
speed. Set the fan control to
HIGH
for maximum moisture removal.
When the humidity has been
reduced and quiet operation is
preferred, set the fan control
to
LOW
.
Fan Speed
(on some models)
3
Loading ...
Loading ...
Loading ...