Loading ...
Loading ...
Loading ...
16
Connecting the Drain
After ensuring that the drain system is adequate, follow these
steps to properly place the ice maker:
1. Style 1—For a gravity drain system, be sure that the ice
maker drain tube is positioned over the PVC drain reducer.
See the “Gravity Drain System” section.
Style 2—For a drain pump system, connect the drain
pump outlet hose to the drain. Refer the “Drain Supply
Requirements” section.
NOTE: Do not connect outlet end of drain tube to a closed
pipe system to avoid drain water from backing up into the ice
maker.
2. Plug in ice maker or reconnect power.
3. Turn on ice maker. Wait for rinsing cycle, approximately
5 minutes, to be sure the ice maker is operating properly.
4. If it is required by your local sanitation code, seal the cabinet
to the oor with an approved caulking compound after all
water and electrical connections have been made.
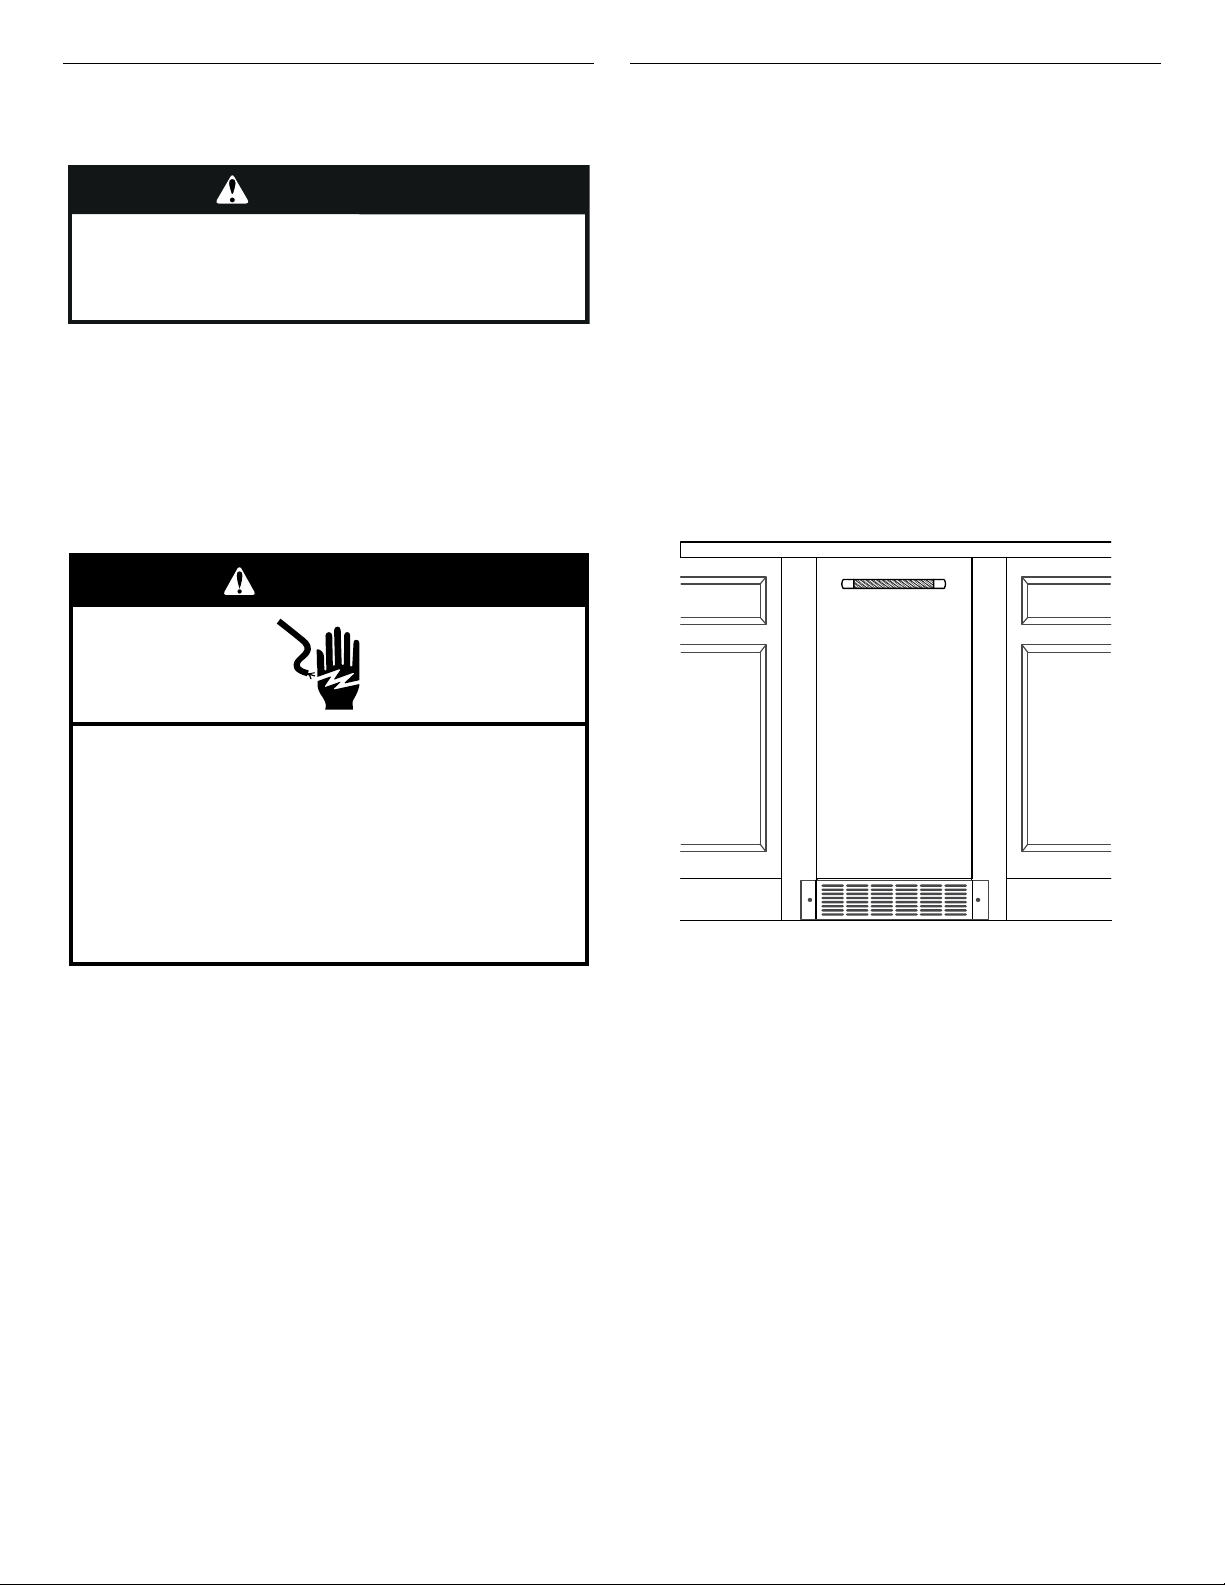
Auxiliary Grill Installation
The auxiliary grill is an optional part that can be used to align
the toe grill with the rest of the cabinets (while not obstructing
ventilation of the ice maker).
Tools required:
■ Torx T20 screwdriver
■ 1/8" straight drill bit and power drill
1. First, complete all installation steps and install leveled ice
maker into the cabinet. Ensure ice maker is ush with the
adjacent cabinets.
2. Unpack kit by removing outer cushion packaging and discard
packaging material.
3. Remove screws that are taped onto the inside of the auxiliary
grill.
4. Place grill onto cabinetry. Align part so that grating pattern on
the auxiliary grill matches that of the toe grill on the ice maker.
5. Center auxiliary grill on cut out for ice maker. Mark hole
locations on each side of auxiliary grill on cabinet.
6. Using power drill and a 1/8" drill bit, drill holes in cabinet. This
is to t screws of size 8-18 x 0.750.
7. Using the Torx T20 screwdriver, screw auxiliary grill into
cabinet.
NOTE: For future service of ice maker, auxiliary kit must be
removed prior to the removal of the ice maker from the cabinets.
WARNING
Excessive Weight Hazard
Use two or more people to move and install ice maker.
Failure to do so can result in back or other injury.
Electrical Shock Hazard
Plug into a grounded 3 prong outlet.
Do not remove ground prong.
Do not use an adapter.
Do not use an extension cord.
Failure to follow these instructions can result in death,
fire, or electrical shock.
WARNING
Loading ...
Loading ...
Loading ...