Loading ...
Loading ...
Loading ...
Function
28
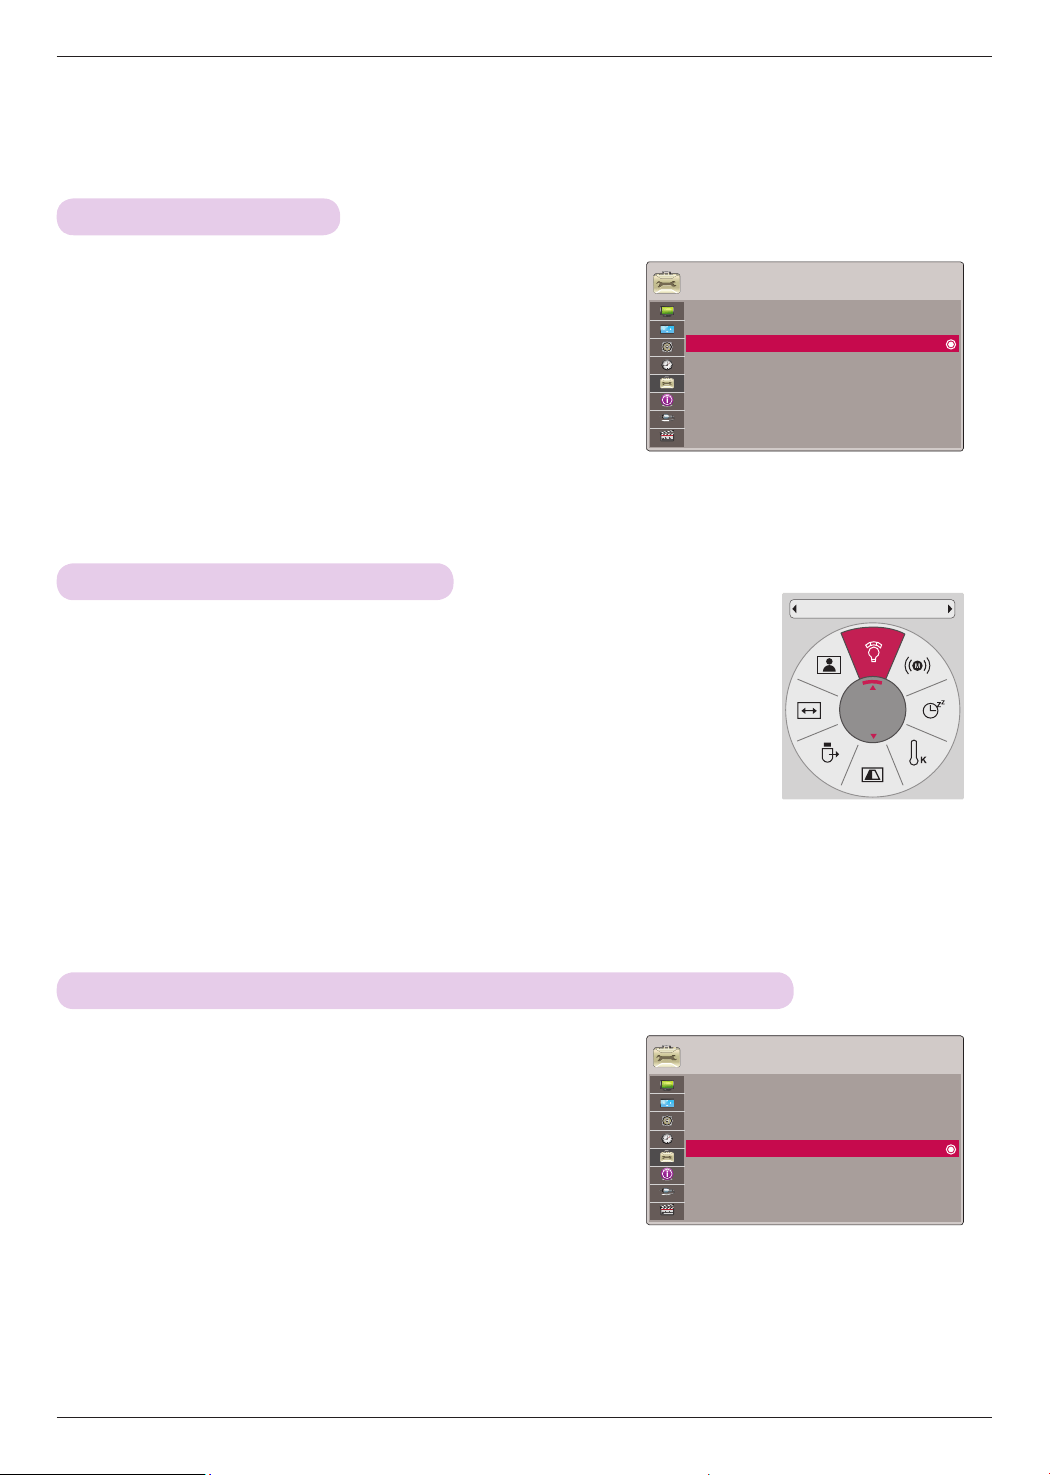
1 . Press the MENU button. Then, move to OPTION with the
∧, ∨, <, > buttons and press the ◉OK button.
2 . Press the ∧, ∨ buttons to move to Auto Power and
press the ◉OK button.
3 . Press the ∧, ∨ buttons to move to On and press the
◉OK button.
• On: Connecting DC cable to the projector turns on the projector.
• Off: Connecting DC cable to the projector makes the projector in standby state.
• Press the BACK button to exit the menu screen.
To make the power of the projector turn on automatically when power is in
OPTION
Menu Language : English
Blank Image : Blue
Screen Capture
LED Mode : Normal
Auto Power : Off
Demo Mode : Off
Initial Setting : Home Use
1 . Press the Q.MENU button on the remote control.
2 . Press the <, > buttons to move to LED Mode.
3 . Move to a desired item with the <, > buttons.
• LED Mode changes into Dimming mode automatically at specific temperatures (37°C or
higher). Dimming mode gets about 90% brightness of original led mode.
• LED Mode changes into Dimming mode automatically if use a optical battery.
• You can use this function through the MENU button.
• Press the BACK button to exit the menu screen.
To adjust the brightness of the screen
ꔂMove ꔉOK
LED Mode
Normal
1 . Press the MENU button. Then, move to OPTION with
the ∧, ∨, <, > buttons and press the ◉OK button.
2 . Press the ∧, ∨ buttons to move to Screen Capture
and press the ◉OK button.
• It can only be elected when there is an input signal.
• It takes up to 2 minutes when capturing screen.
• Press the BACK button to exit the menu screen.
Screen Capture Function
OPTION
Menu Language : English
Blank Image : Blue
Screen Capture
LED Mode : Normal
Auto Power : Off
Demo Mode : Off
Initial Setting : Home Use
ꔂMove ꔉOK
Loading ...
Loading ...
Loading ...