Loading ...
Loading ...
Loading ...
Customer Service Troubleshooting Tips
Operating Instructions
Safety InstructionsInstallation InstructionsCustomer Service Troubleshooting Tips Installation Instructions Safety Instructions
Operating Instructions
Customer Service Troubleshooting Tips Installation Instructions Safety Instructions
Operating Instructions
Preparing to install the refrigerator.
8
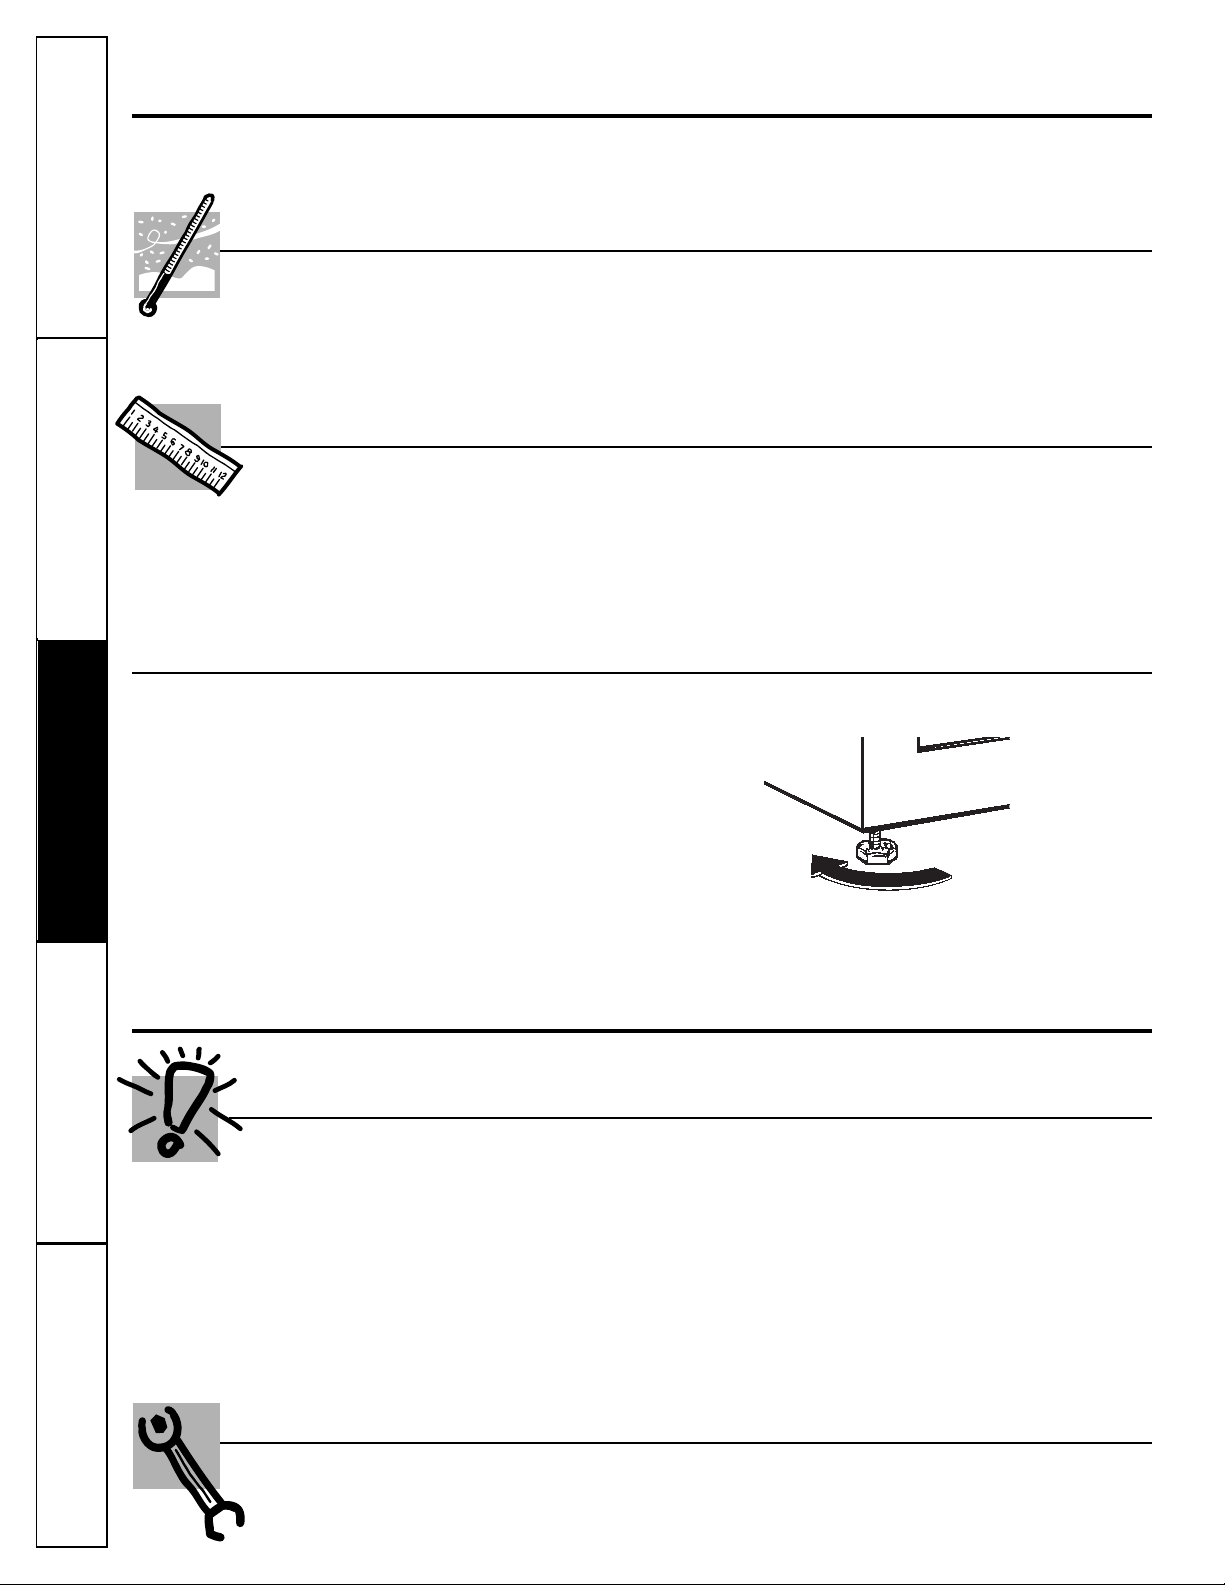
To raise the refrigerator
Leveling Legs
Adjustable legs
at the front corners of the
refrigerator should be set so the refrigerator is firmly
positioned on the floor and the front is raised just
enough that the door closes easily when opened
about halfway.
To adjust the leveling legs,
turn the legs
clockwise to
raise
the refrigerator,
counterclockwise to lower
it.
About reversing the door swing.
Read these instructions completely and carefully.
Refrigerator Location
Do not install the refrigerator where the
temperature will go below 55°F (13°C) because
it will not run often enough to maintain proper
temperatures.
Install it on a floor strong enough to support it
fully loaded.
Do not install it closer than 5″(13 cm) next to a
range.
Clearances
Allow the following clearances for ease of
installation and proper air circulation.
Sides 1″(25 mm)
Top 4″(102 mm)
Back 3″(76 mm) from the rear cabinet surface
to the wall
To help with proper spacing and ventilation, make
sure the metal spacer or twist-on rubber bumper (at
the back of some models) is in place.
Before You Begin
When reversing the door swing:
■Read the instructions all the way through before
starting.
■Handle parts carefully to avoid scratching paint.
■Set screws down by their related parts to avoid
using them in the wrong places.
■Provide a non-scratching work surface for the
doors.
These instructions are for changing the hinges from the
right side to the left side.
If you ever want to change the hinges back to the
right side, follow these same instructions (merely
reverse all references to left and right).
Unplug the refrigerator from its electrical outlet.
Empty all door shelves, including the dairy
compartment.
What You Will Need
Tools required:
■Phillips screwdriver
■Putty knife or thin-blade screwdriver
■5/16″ hex head socket driver
■7/32″ hex head socket driver
Loading ...
Loading ...
Loading ...