Loading ...
Loading ...
Loading ...
5
4. Mark on the countertop the location of the 4 mounting holes
at the corners of the cooktop. Set cooktop aside on a
covered surface.
5. Use ¹⁄₈" (3 mm) drill bit and drill 4 pilot holes.
6. Using 2 or more people, gently place the cooktop in cutout so
that the cooktop mounting holes align with the 4 pilot holes.
7. Attach the cooktop base to countertop with the 4 mounting
screws.
8. Reattach the cooktop to the cooktop base using the
4screws.
9. Replace the coil elements and burner bowls.
■ Line up openings in the burner bowl with the coil element
receptacle.
■ Holding the coil element as level as possible, slowly push
the coil element terminal into the receptacle.
■ When the terminal is pushed into the receptacle as far as
it will go, push down the edge of the coil element
opposite the receptacle.
Make Electrical Connection
This cooktop is manufactured with the frame connected to the
bare ground wire. Connect the cooktop cable to the junction box
through the UL listed or CSA approved conduit connector.
1. Disconnect power.
2. Remove junction box cover, if present.
3. Connect the flexible cable conduit from the cooktop to the
junction box using a UL listed or CSA approved conduit
connector.
4. Tighten screws on conduit connector if present.
5. See “Electrical Connection Options” chart to complete
installation for your type of electrical connection.
Electrical Connection Options
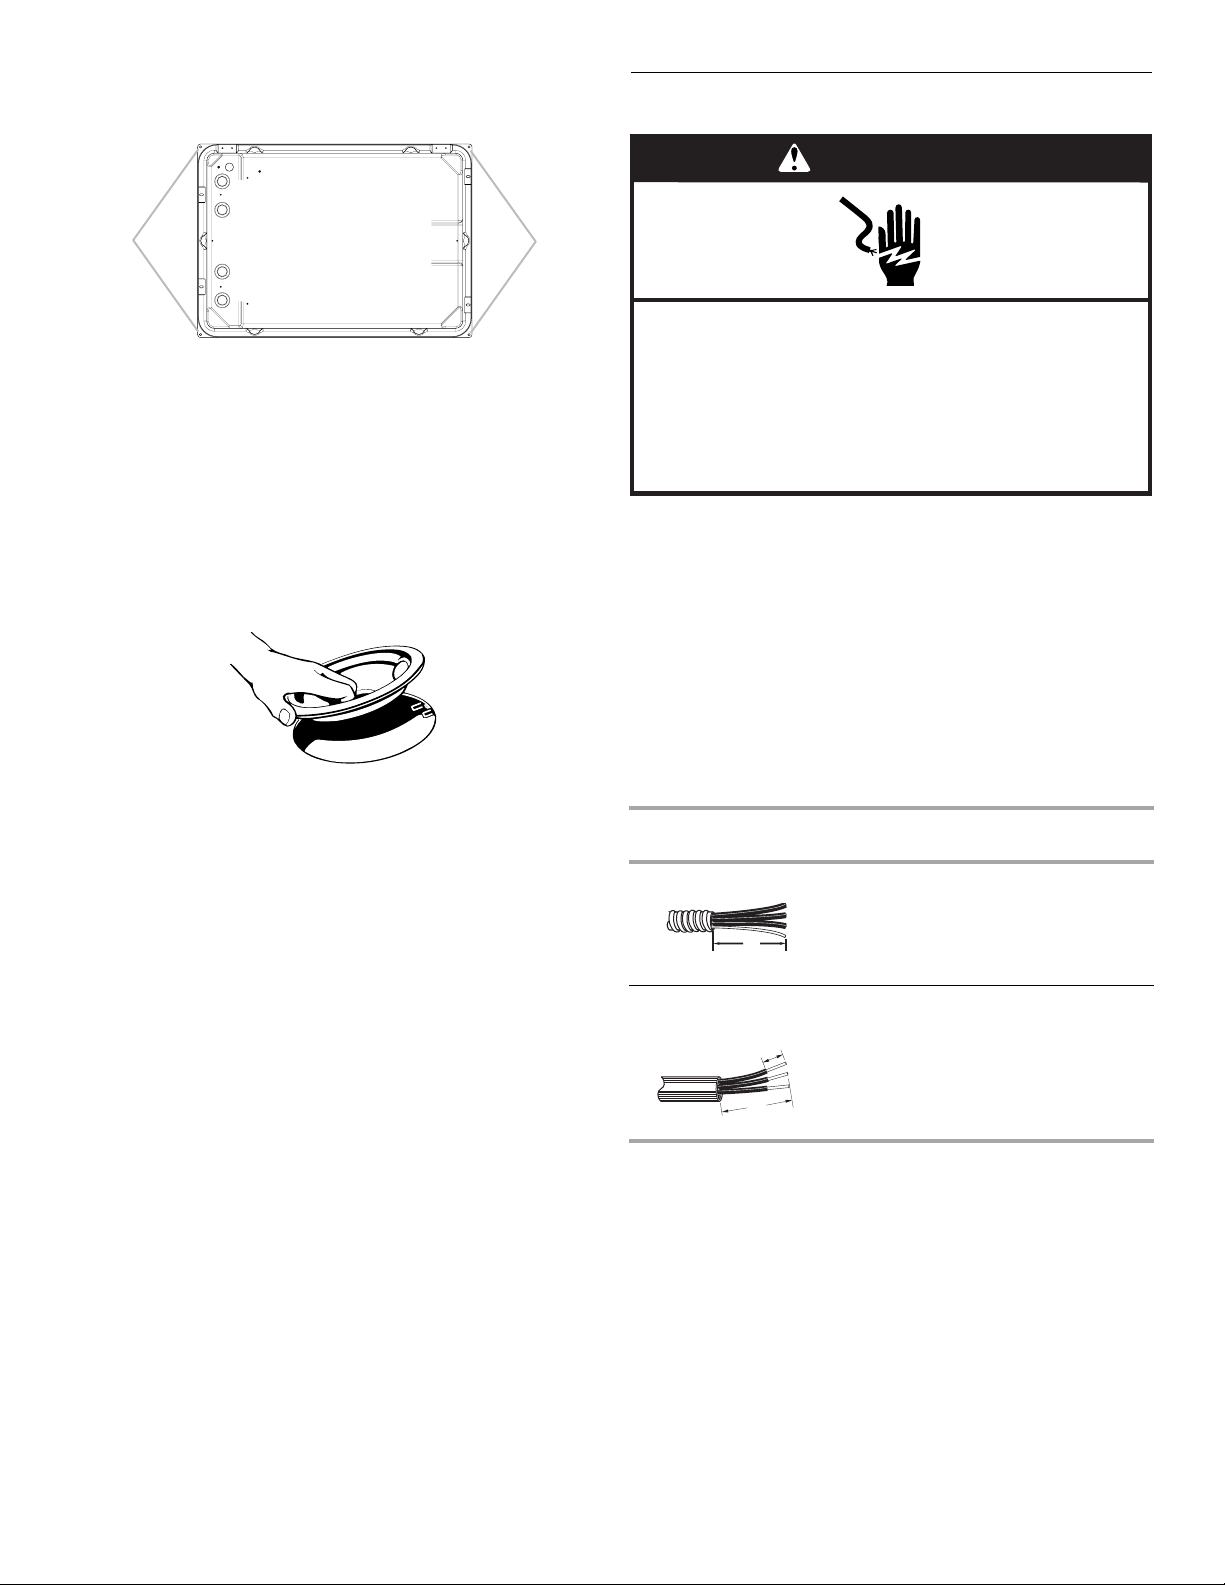
A. Mounting holes
A
A
If your home has: And you will be
connecting to:
Go to Section:
4-wire A fused
disconnect or
circuit breaker
box
4-Wire Cable from
Home Power
Supply
3-wire A fused
disconnect or
circuit breaker
box
3-Wire Cable from
Home Power
Supply
WARNING
Electrical Shock Hazard
Disconnect power before servicing.
Use 8 gauge copper wire.
Electrically ground cooktop.
Failure to follow these instructions can result in death,
fire, or electrical shock.
(12.7 cm)
5"
3"
(7.6 cm)
1"
(2.5 cm)
Loading ...
Loading ...
Loading ...