Loading ...
Loading ...
Loading ...
USING ATTACHMENTS AND APPLICATIONS ————————————————————————————————————————————————————————————————————————————————————————————————————————————————————————————————
—
————————————————————————————————
—————
39
Using the blind stitch foot
This foot comes in handy not only for stretch blind hem
stitching, but also for sewing fabric edges and seams.
■ When edge stitching
a
Turn off the machine.
b
Attach the blind stitch foot.
Turn on the machine.
CAUTION
c
Position the needle the distance you want
the stitch to be from the edge of the fabric,
and then lower the needle in that position.
d
Turn the foot guide screw and carefully
adjust to guide the fabric.
1 Screw
2 Guide
■ When sewing seams
a
Turn off the machine.
b
Attach the blind stitch foot.
Turn on the machine.
CAUTION
c
Align the foot guide with the needle
position.
d
Turn the pattern selection dial to set it to
the desired width.
e
Place the fabric under the foot so the foot
guide is aligned between both edges of the
fabric.
f
Lower the presser foot and start sewing.
Needle
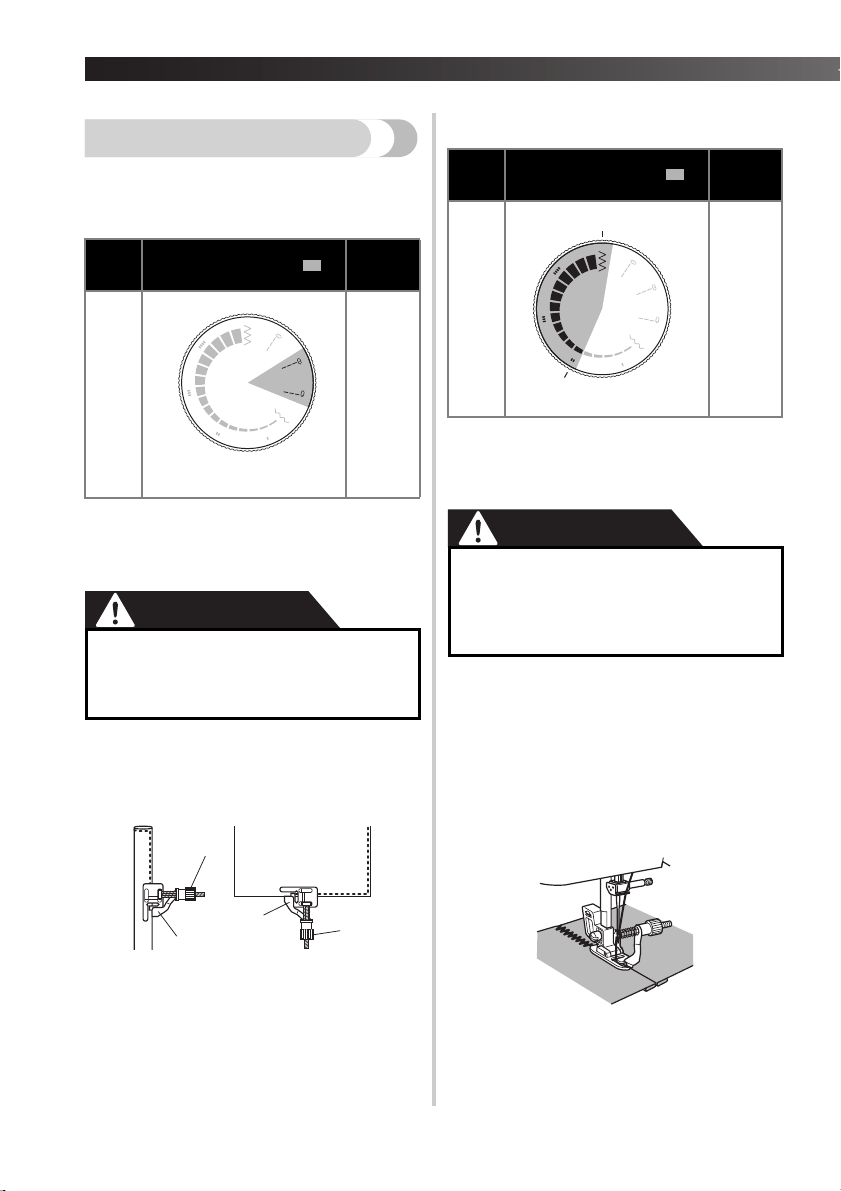
Available stitch width ( )
Available
stitch
length
Single
Straight stitch
(middle or right needle position)
F-4
●
Do not turn on the machine while pressing
down the foot controller. The machine
may start unexpectedly and cause
personal injury or damage to the machine.
1
2
1
2
Needle
Available stitch width ( )
Available
stitch
length
Single
2-5
1-2
●
Do not turn on the machine while
pressing down the foot controller. The
machine may start unexpectedly and
cause personal injury or damage to the
machine.
5
2
Loading ...
Loading ...
Loading ...