MOUNTING
Compact 3.5” Wall Mount Home Speakers
3-Way Indoor/Outdoor Speaker System, 200 Watt (Pair)
PLMR24 - PLMR24B - PLMR24S
FEATURES:
• Dual Passive Speaker System
• Universal Indoor/Outdoor Mountable
• Marine Grade Construction
• Waterproof Rated & Weather-Resistant
• Connect & Stream Audio from External Devices
• 3-Way Full Range Stereo Sound Reproduction
• Bass Reex Vent for Added Bass Response
• Built-in Capacitor Crossover Network
• Lightweight & Compact Size
• Removable Rustproof Mesh Grills
• Quick Connect/Disconnect Speaker Terminals
• Used for Home, Garage, Yard, Deck, Porch, Patio
TECHNICAL SPECS:
• Power: 200 Watt Peak (100 Watt RMS)
• Marine Grade Rating: IP-44
• Subwoofers: 3.5” Aluminum Injection Cones
• Midranges: 1.75” Wide Dispersion Cones
• Tweeters: 1.0” Superior Domes
• Construction Material: Engineered ABS
• Frequency Response: 70Hz - 21kHz
• Magnet Structure: 24 oz.
• Impedance: 4 Ohm
• Power Supply: 120V (DC 12V Power Adapter)
• Dimensions (L x W x H): 5.25’’ x 3.75’’ x 3.75’’ -Each
WHAT’S IN THE BOX:
• (2) Wall-Mount Speakers
• Speaker Wire, 11.5’ ft.
• Removable Mounting Brackets
Installation Guide:
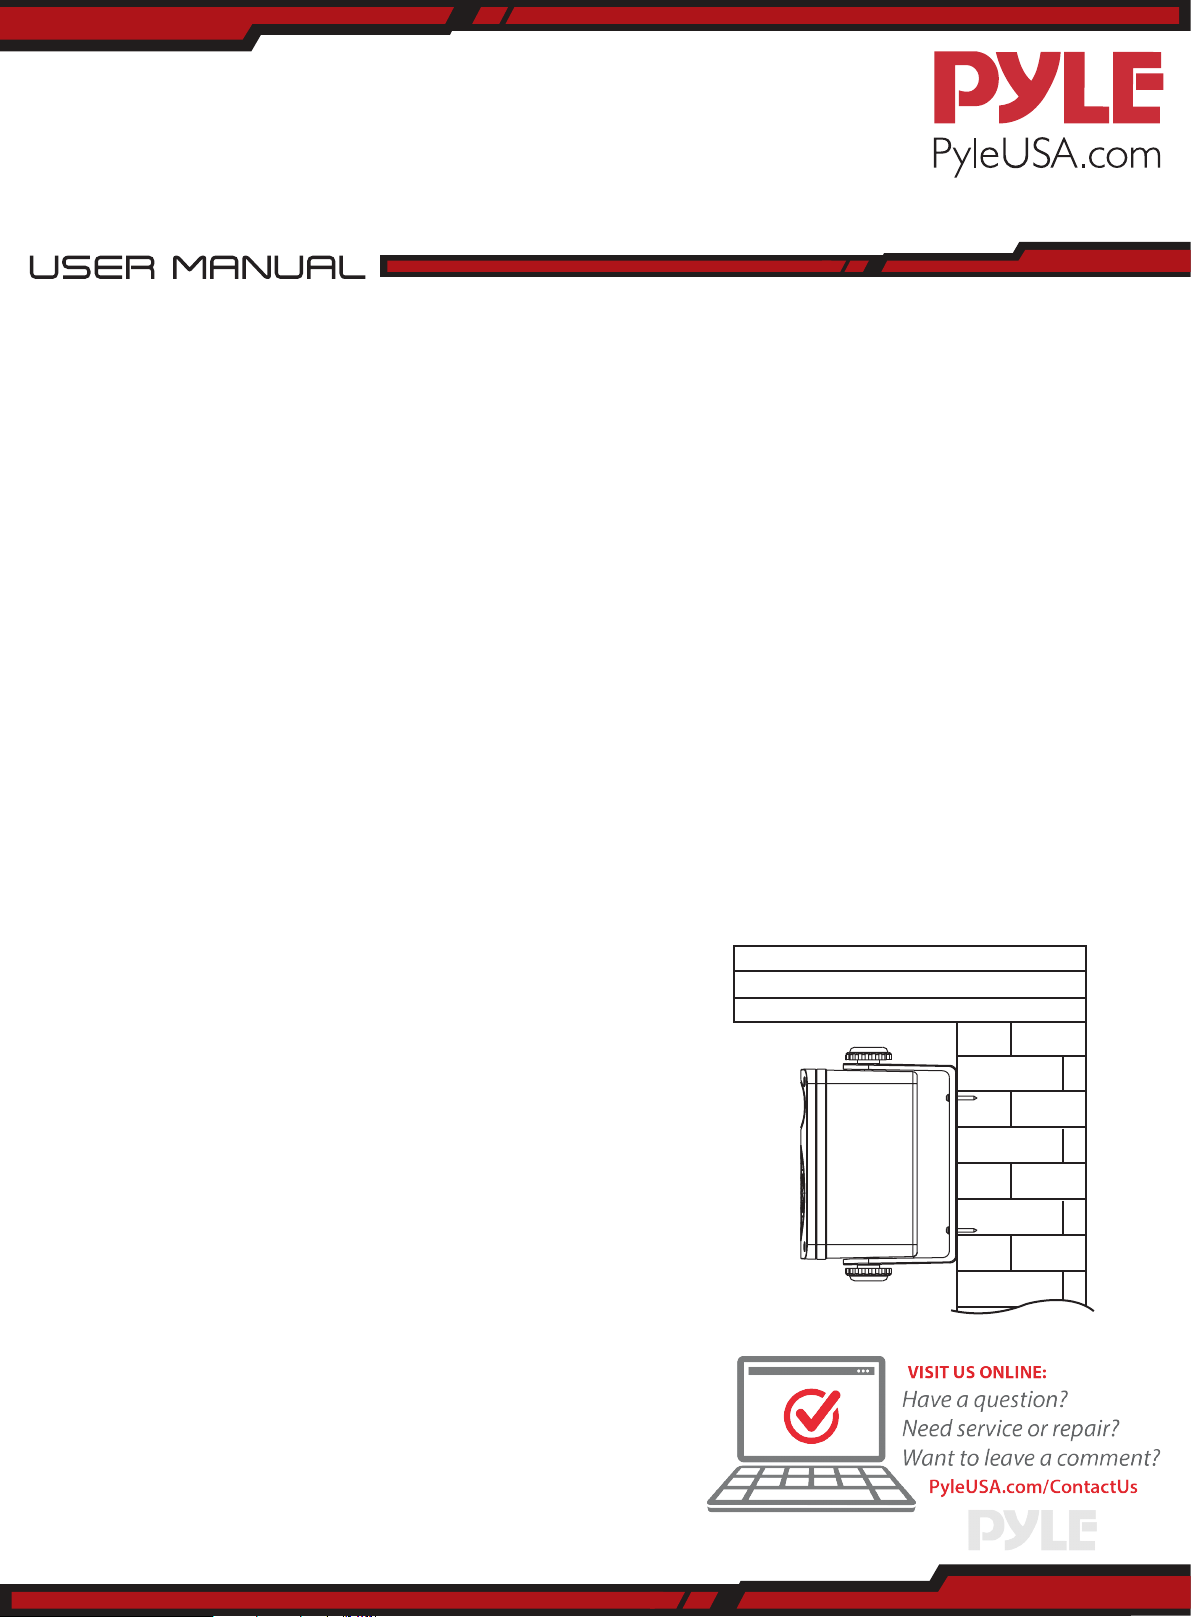
MOUNTING THE BRACKET
1. Remove the bracket knobs and the bracket from the speaker
2. Hold the bracket up to the mounting surface. “Plmr” can be
mounted either horizontally or vertically, hold the bracket so
that the speaker wire ts through the large, circular wire hole
in the bracket, align the bracket to be square with the
surrounding (Use A level for accuracy)
3. Mark the locations of the three shaped screw holes, use all of
the holes
4. Drill pilot holes into the mounting surface
5. Gently pull the speaker wire through the wire hole in the
center of the mounting bracket, the bracket so that the holes
all line up
6. Use your hardware to attach the bracket to the mounting
surface
FINAL ADJUSTMENTS
1. After checking that the speaker is in-phase and works
correctly, angle the speaker for the best sound
2. Hand tighten the bracket knobs only, power tools may
over-tighten the knob, and strip the threads of the insert
3. Check that the entire installation is safe and secure