Loading ...
Loading ...
Loading ...
Baking, Broiling and Toasting
Built-In Advantium Oven
1. Press the CONV BAKE/BROIL pad.
2. Press the dial to select BAKE.
3. Turn the dial to set the oven
temperature and press to enter.
To bypass preheating:
1. When the prompt shows PREHEAT
THE OVEN? turn the dial to NO. Press
the dial or press START/PAUSE to
begin cooking.
2.
Place the food in the oven, turn the dial
to set the cook time and press to enter.
The oven starts cooking immediately.
When cooking is complete, the oven
will signal and turn off.
To preheat:
1. When the prompt shows PREHEAT
THE OVEN? turn the dial to YES.
Press the dial or press START/PAUSE
to begin cooking.
The oven starts preheating
immediately. Do not place the food
in the oven. (You will be prompted to
enter the cook time, after the oven is
preheated.)
2. When the oven is finished preheating,
it will signal. If you do not open the
door within 1 hour, the oven will turn off
automatically. Open the oven door and,
using caution, place the food in the
oven.
3.
Close the oven door. Turn the dial to set
the cook time and press to enter and start
cooking. When cooking is complete, the
oven will signal and turn off.
You may change the oven temperature
during preheating by pressing the
POWER/TEMP pad and turning the dial to
select the new temperature.
If the oven door is opened during cooking,
PAUSE will appear in the display. Close
the door and press START/PAUSE.
Cook times are shown in minutes and can
be a maximum of 179 minutes. Time can be
changed during cooking by turning the dial.
1. Press the CONV BAKE/BROIL pad.
2. Turn the dial to BROIL or TOAST and
press to enter.
To bypass preheating:
1. When the prompt shows PREHEAT
THE OVEN? turn the dial to NO. Press
the dial or press START/PAUSE to
begin cooking.
2. Place the food in the oven, turn the dial
to set the cook time and press to enter.
Press the dial to start cooking. When
cooking is complete, the oven will
signal and turn off.
To preheat:
1. When the prompt shows PREHEAT
THE OVEN? turn the dial to YES.
Press the dial or press START/PAUSE
to begin cooking.
The oven starts preheating
immediately. Do not place the food
in the oven. (You will be prompted to
enter the cook time, after the oven is
preheated.)
2. When the oven is finished preheating,
it will signal. If you do not open the
door within 1 hour, the oven will turn
off automatically. Open the oven door
and, using caution, place the food in
the oven.
3. Close the oven door. Turn the dial to set
the cook time and press to enter and
start cooking. When cooking is complete,
the oven will signal and turn off.
If the oven door is opened during cooking,
PAUSE will appear in the display. Close
the door and press START/PAUSE.
How to
Bake
How to Broil
or Toast
Baking,
Broiling and
Toasting
Baking allows you to cook foods the same way
as a conventional oven, using a heating element
to raise the temperature of the air inside the
oven. Any oven temperature from 250°F to
450°F may be set.
Broiling allows you to broil foods in the same
way as a conventional oven.
Toasting allows you to toast foods the same way
as a conventional oven.
A fan gently circulates heated air throughout
the oven, over and around the food. Because
the heated air is kept constantly moving, not
permitting a layer of cooler air to develop around
the food, some foods cook slightly faster than in
regular oven cooking.
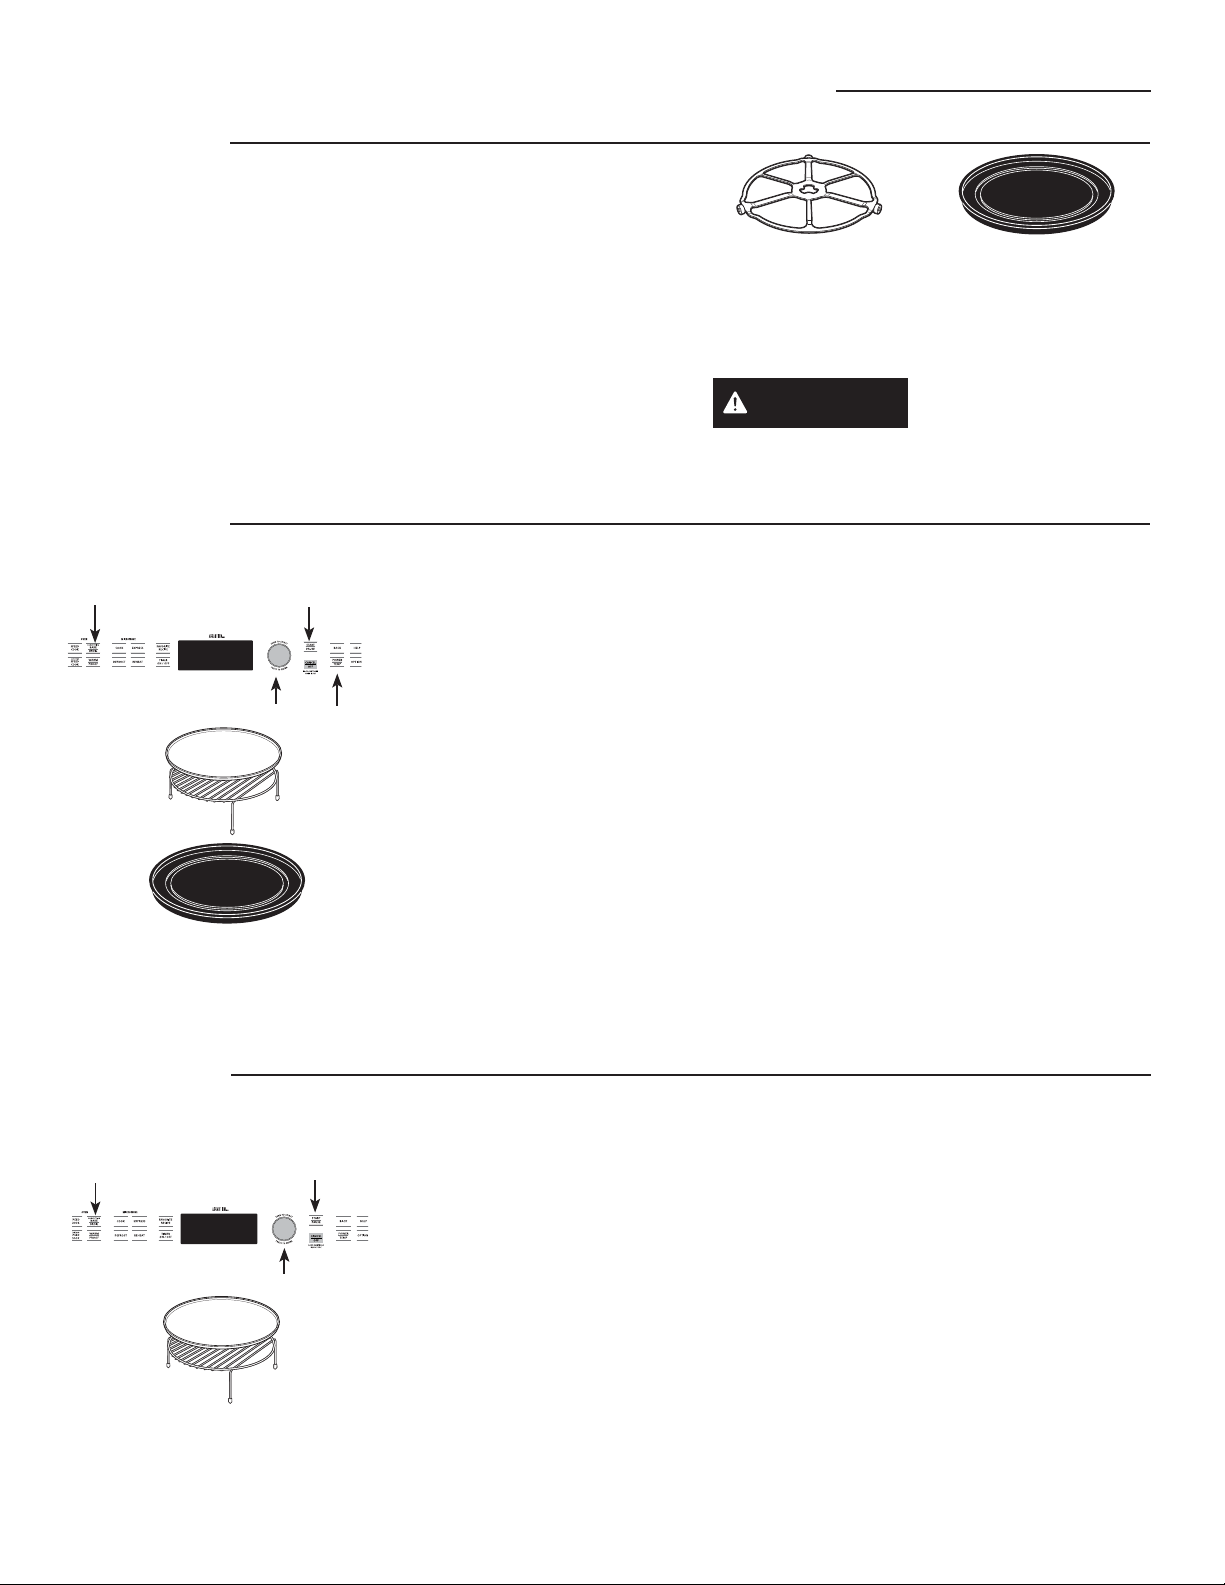
Before you begin, make sure the turntable is in
place. Use the non-stick metal tray at all times
when baking.
WARNING
When baking, remember
that the oven, door and
dishes will be very hot!
The turntable must
always be in place when
using the oven.
Put food or oven-safe
cookware directly on the non-
stick metal tray to bake.
For two-level baking, place food in a
metal baking dish or directly on the non-
stick metal tray. Place the aluminum
baking sheet or your baking dish with
food on top of the wire rack. Stand the
rack with food on the metal tray.
20
Loading ...
Loading ...
Loading ...