Loading ...
Loading ...
Loading ...
49-85213-4
23
Burner Grates
Grates should be washed in hot, soapy water and
rinsed with clean water. To soften burned-on food,
SODFHJUDWHVLQDSODVWLFEDJFRQWDLQLQJóFXSRI
household ammonia for several hours. Afterward, scrub
grates with a plastic scouring pad soaked in hot, soapy
water. Rinse well and dry.
When replacing the grates, be sure to locate them
correctly on the cooktop. Grates are identified by the
words LEFT and RIGHT on their bottom surfaces. Grate
should fit securely into the cooktop.
Grates will gradually lose their shine due to their
continual exposure to high temperatures.
Griddles (on some models)
Non-Stick Aluminum Griddle: Avoid scraping the
griddle surface with metal utensils. Wash your griddle
with dish detergent and hot water. If necessary, scrub
with a non-abrasive plastic pad.
Cast-Iron Reversible Griddle: clean your cast-iron
reversible griddle with a stiff brush and hot water. Using
soap is not recommended, and harsh detergents should
never be used as they will remove the seasoning. Rinse
with hot water and dry thoroughly. Apply a light coat of
cooking oil to the griddle surface. Wipe off excess oil
with a paper towel.
Store in a cool, dry place.
Griddle Precautions:
If something has spilled under the griddle, it should be
cleaned up as soon as possible to prevent the spill from
getting baked onto the cooktop.
Do not allow grease to accumulate under the griddle as
it can be a fire hazard. Clean under the griddle with hot
soapy water as soon as it is cool.
Do not wash your griddle in the dishwasher.
Do not place your griddle in a microwave oven.
Grate Support Bumpers
If any of the rubber grate support bumpers in the cooktop
are missing or damaged, replacement parts can be
REWDLQHGE\FDOOLQJ*(&$5(6
To insert the new bumpers, simply place the
cone-shaped end of the bumper into the hole in the
cooktop and push down while gently twisting the bumper.
Cleaning the Grates in the Self-Clean Oven (on some models)
If your cooktop grates do not have rubber bumpers on
their bottom surface and your oven racks are coated
with black porcelain, your grates may be cleaned in
the oven using the self-clean cycle. If your grates have
rubber bumpers, do not attempt to clean your grates in
the oven. Doing so will destroy the rubber bumpers and
may affect the function of your surface burners.
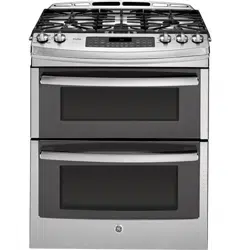
Place oven racks in the positions labeled “R”, “2” and
“4” in the illustration. Place a single grate on each
rack. Follow instructions for the self-clean mode in the
Cleaning the Oven section of this manual.
NOTE: Use caution when
removing the grates from the
oven after the self-clean cycle
has ended. The grates may
still be hot.
After cleaning, you may
notice a white residue on the
grates. Wipe it off with a damp
sponge. If white spots persist,
ZHWWKHVSRQJHZLWKD
solution of vinegar and water.
Cleaning The Door
CARE AND CLEANING: Cleaning The Cooktop / Cleaning The Door
Cleaning The Cooktop (Cont.)
The oven has 6 rack positions.
Place the gray porcelain-coated
racks in positions “R”, “2” and “4”
for self-cleaning the grates.
The gasket is designed with a gap at the bottom to
allow for proper air circulation.
'RQRWUXERUFOHDQWKHGRRUJDVNHW³LWKDVDQ
extremely low resistance to abrasion.
If you notice the gasket becoming worn, frayed or
damaged in any way or if it has become displaced on
the door, you should have it replaced.
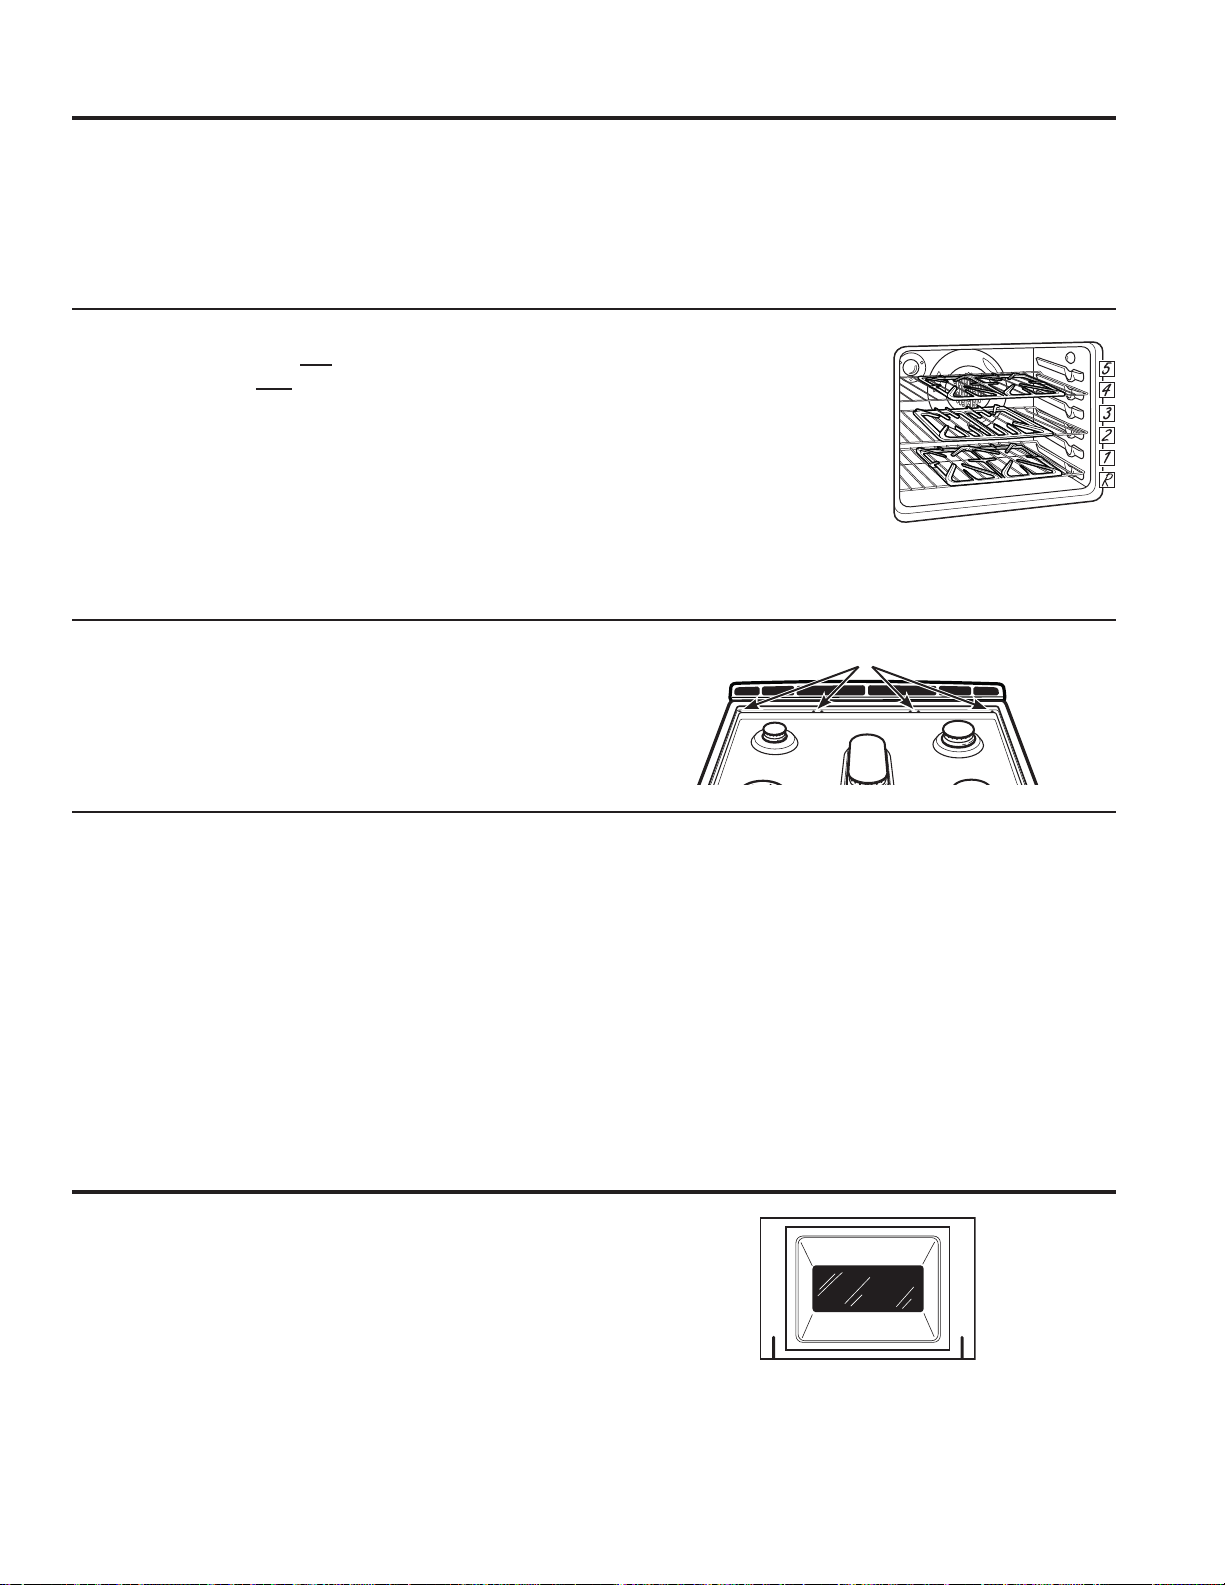
To clean the inside of the door
Do not allow excess water to run into any holes or slots
in the door .
Wipe dishwashing detergent over any baked-on spatters
on the glass. Use a single sided safety razor blade to
clean it off. Then wipe over the glass with a soapy cloth
to remove any residue and dry off.
The area outside the gasket can be cleaned with a
soap-filled plastic scouring pad.
Grate Support Bumpers
Loading ...
Loading ...
Loading ...