Loading ...
Loading ...
Loading ...
11
Insignia NS-LCD42HD-09 42” LCD HD TV
www.insignia-products.com
3 Press or to select a channel, then
press ENTER to toggle between viewable
and not viewable.
4 Press MENU or EXIT to close the menu.
Changing channels
To change channels:
• Press CH – or CH + on the remote control to
go to the next lower or higher channel.
- OR -
Press the number buttons to directly select a
channel (for example, if you want channel 83,
press 8, then press 3).
- OR -
Press RECALL to go to the last viewed
channel.
Selecting a digital sub-channel
Most digital TV channels have more than one
channel. The main channel carries the signal for
the main TV program. The sub-channels carry
signals for additional or alternate programming,
such as a radio or news broadcast.
For example, if the main channel number is 8,
the sub-channel number might be 8-1, 8-2, or
8-3.
To select a sub-channel:
1 Press the number buttons for the main
channel (for example 8).
2 Press –, then press the sub-channel button
(for example 1).
Adjusting the volume
To adjust the volume:
• Press VOL – or VOL + to decrease or
increase the volume.
• Press MUTE to turn off the sound. Press
MUTE again to turn the sound back on.
Displaying status information
To display status information:
• Press DISPLAY. Your TV displays status
information, such as the channel number or
signal source.
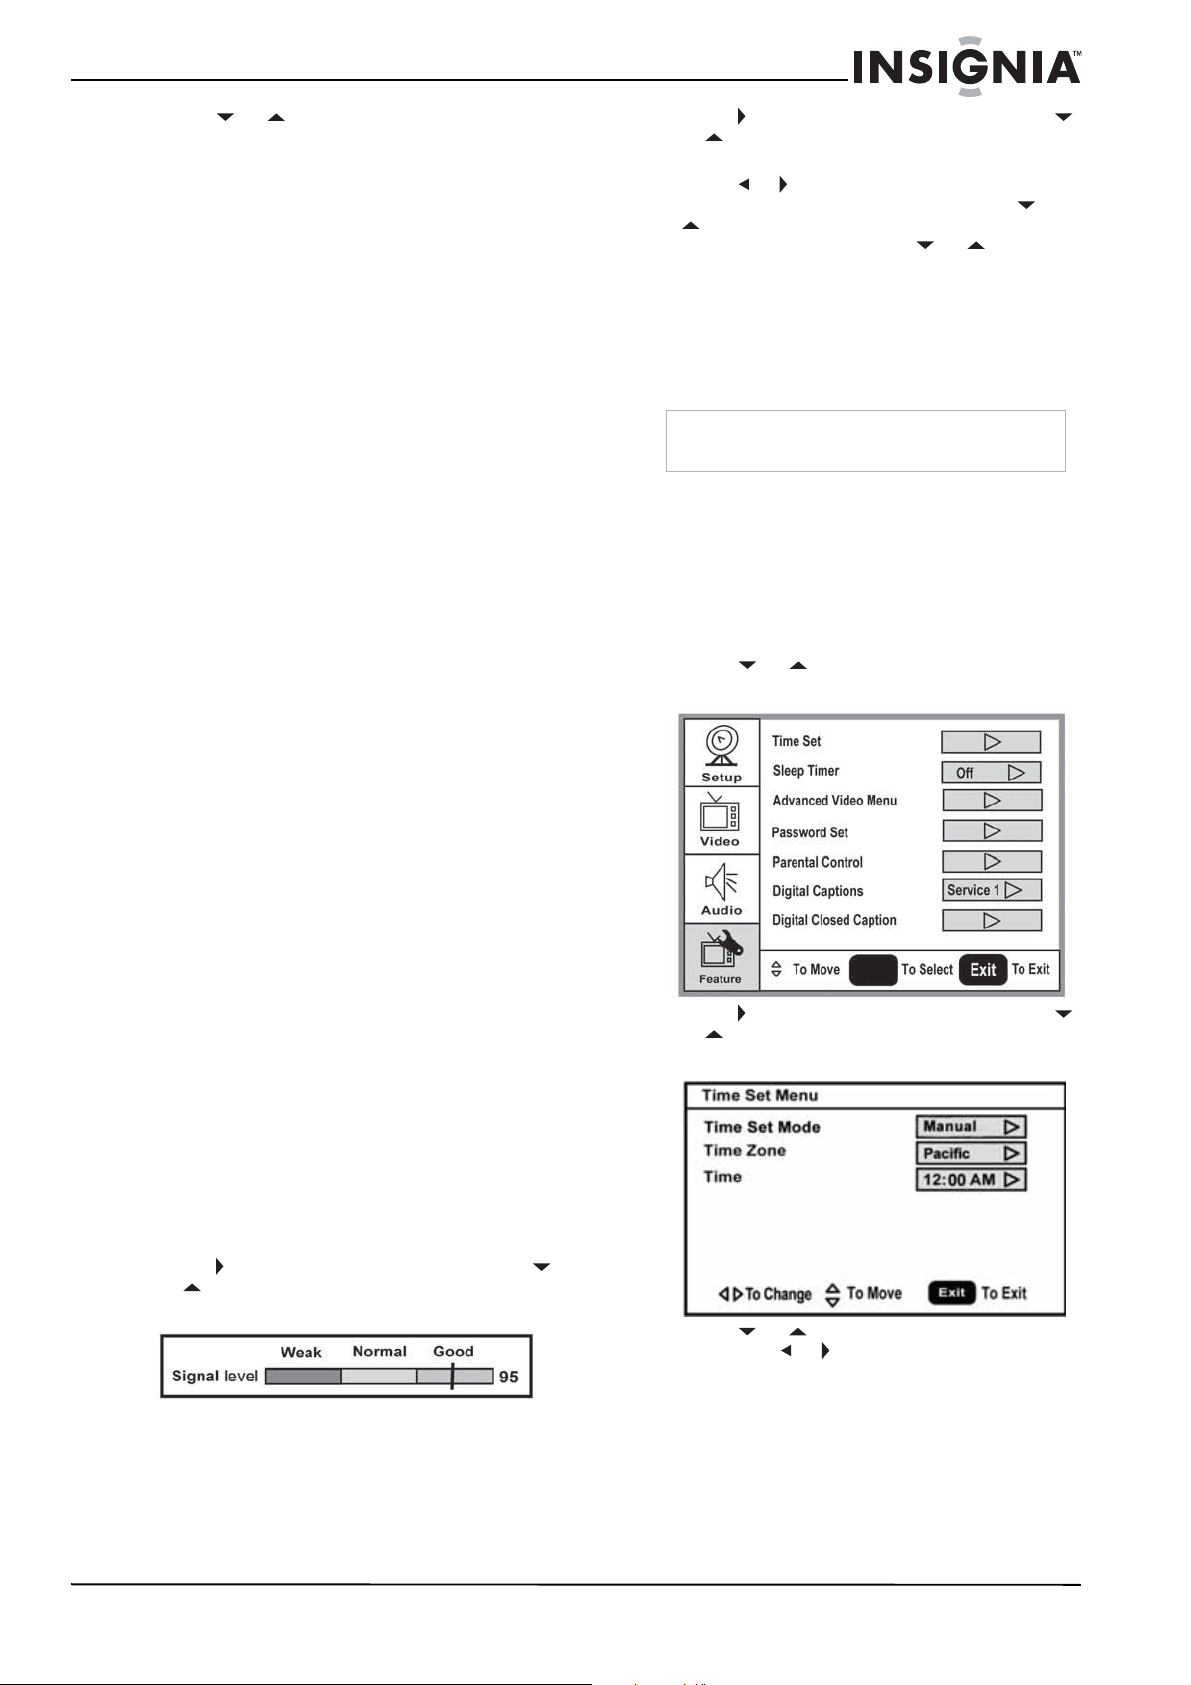
Checking the DTV signal strength
To check the DTV signal strength:
1 Press MENU. The Main OSD (On-Screen
Display) menu opens with Setup highlighted.
2 Press to enter the sub-menu, then press
or to highlight DTV Signal. The DTV
Signal meter opens.
3 Press MENU or EXIT to close the menu.
Adding a channel label
To add a label to a channel:
1 Press MENU. The Main OSD (On-Screen
Display) menu opens with Setup highlighted.
2 Press to enter the sub-menu, then press
or to highlight Channel Labels. The
Channel Label
menu opens.
3 Press or to move the cursor to the
channel field or label field, then press or
to select a channel while the cursor is in
the channel field, or press or to select
the character while the cursor is in the label
field.
4 Press ENTER to return to the previous menu.
Freezing the picture
You can freeze (still) the screen image.
To freeze or unfreeze the picture:
• Press FREEZE.
Setting the clock
To set the clock:
1 Press MENU. The Main OSD (On-Screen
Display) menu opens with Setup highlighted.
2 Press or repeatedly to highlight
Feature. The
Feature
menu opens.
3 Press to enter the sub-menu, then press
or to highlight Time Set. The
Time Set
menu opens.
4 Press or to move to the different fields,
then press or to change the settings.
5 Press MENU or EXIT to close the menu.
Setting the sleep timer
The sleep timer lets you select the amount of
time before your TV turns off automatically.
To set the sleep timer:
1 Press MENU. The Main OSD (On-Screen
Display) menu opens with Setup highlighted.
Caution
To protect your TV, do not freeze the screen image
for long periods of time.
ENTER
Loading ...
Loading ...
Loading ...