Loading ...
Loading ...
Loading ...
147
You can cut out a portion of a recorded image and save it as a new image file.
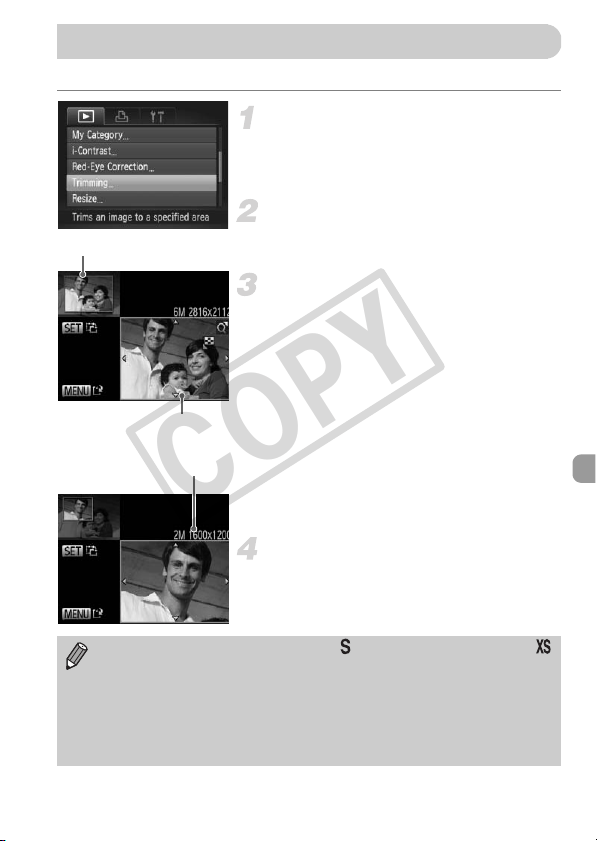
Choose [Trimming].
z Press the n button to choose
[Trimming] from the 1 tab, then press the
m button.
Choose an image.
z Press the qr buttons to choose an image,
then press the m button.
Adjust the trimming area.
X A frame will appear around the portion of
the image to be trimmed.
X The original image will display in the upper
left and the trimmed image will display in
the lower right.
z If you move the zoom lever, you can
change the frame size.
z If you press the opqr buttons, you can
move the frame.
z If you press the m button, you can change
the frame orientation.
z Press the n button.
Save as a new image and display.
z Follow Steps 4 and 5 on p. 146.
Trimming
Trimming Area
Trimming Area Display
Recorded pixels after
trimming
• Images recorded at a pixel setting of (p. 62), or images resized to
(p. 146) cannot be edited.
• Images that can be trimmed will have the same width and height ratio
after trimming.
• The number of recorded pixels in a trimmed image will be smaller than
before trimming.
• Movies cannot be edited.
COPY
Loading ...
Loading ...
Loading ...