Loading ...
Loading ...
Loading ...
49
Setting the angle icon display
The angle icon can be set so it appears on scenes where the
angle can be switched.
p This setting is available when the selected source is “
Disc
”,
“
CD
”, “
Video CD
” or “
DVD
”.
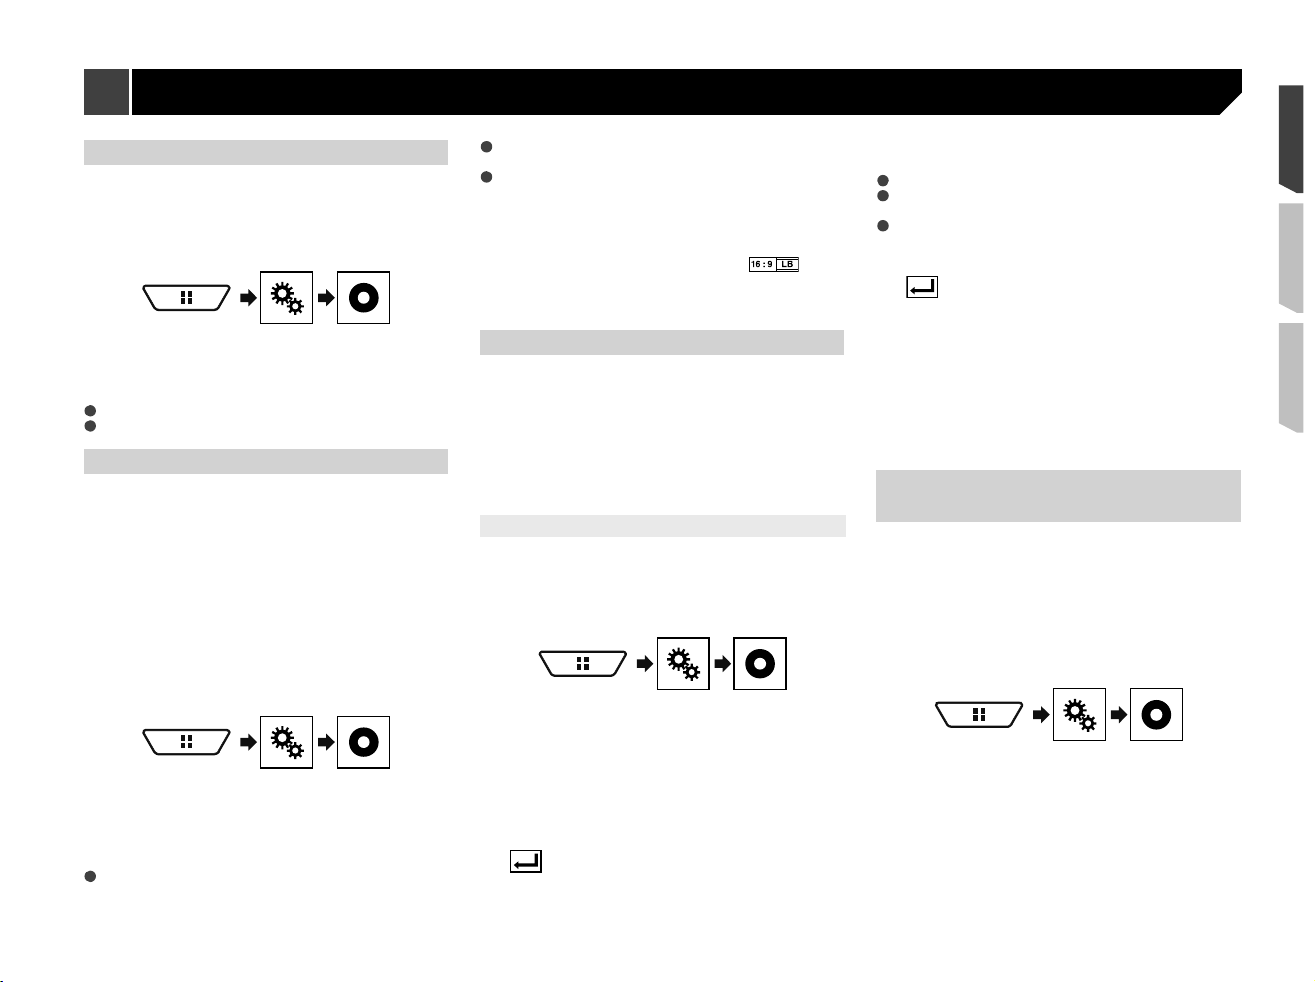
1 Display the “
Video Setup
” screen.
2 Touch [
DVD/DivX Setup
].
3 Touch [
Multi Angle
] repeatedly until the
desired setting appears.
On
(default): Turns the multi-angle setting on.
Off
: Turns the multi-angle setting off.
Setting the aspect ratio
There are two kinds of displays. A wide screen display has a
width-to-height ratio (TV aspect) of 16:9, while a regular display
has a TV aspect of 4:3. If you use a regular rear display with a TV
aspect of 4:3, you can set the aspect ratio suitable for your rear
display. (We recommend use of this function only when you want
to fit the aspect ratio to the rear display.)
p When using a regular display, select either “
Letter Box
”
or “
Pan Scan
”. Selecting “
16:9
” may result in an unnatural
image.
p If you select the TV aspect ratio, this product’s display will
change to the same setting.
p This setting is available when the selected source is “
Disc
”,
“
CD
”, “
Video CD
” or “
DVD
”.
1 Display the “
Video Setup
” screen.
2 Touch [
DVD/DivX Setup
].
3 Touch [
TV Aspect
].
The pop-up menu appears.
4 Touch the item you want to set.
16:9
(default): Displays the wide screen image (16:9) as it is
(initial setting).
Letter Box
: Makes the image in the shape of a letterbox with
black bands on the top and bottom of the screen.
Pan Scan
: Cuts the image short on the right and left sides of
the screen.
When playing discs that do not have a panscan
system, the disc is played back with “
Letter Box
”
even if you select the “
Pan Scan
” setting. Confirm
whether the disc package bears the mark.
The TV aspect ratio cannot be changed for some
discs. For details, refer to the disc’s instructions.
Setting parental lock
Some DVD-Video discs let you use parental lock to set restric-
tions so that children cannot watch violent or adult-oriented
scenes. You can set the parental lock level in steps as desired.
p When you set a parental lock level and then play a disc fea-
turing parental lock, code number input indications may be
displayed. In this case, playback will begin when the correct
code number is input.
p This setting is available when the selected source is “
Disc
”,
“
CD
”, “
Video CD
” or “
DVD
”.
Setting the code number and level
When you first use this function, register your code number.
If you do not register a code number, the parental lock will not
operate.
1 Display the “
Video Setup
” screen.
2 Touch [
DVD/DivX Setup
].
3 Touch [
Parental
].
The “
Parental
” screen appears.
4 Touch [
0
] to [
9
] to input a four-digit code
number.
5 Touch the following key.
Registers the code number, and you can now
set the level.
6 Touch any number between [
1
] to [
8
] to select
the desired level.
[
8
]: Enables playback of the entire disc (initial setting).
[
7
] to [
2
]: Enables playback of discs for children and non-
adult oriented discs.
[
1
]: Enables only playback of discs for children.
7 Touch the following key.
Sets the parental lock level.
p We recommend to keep a record of your code number in
case you forget it.
p The parental lock level is recorded on the disc. You can con-
firm it by looking at the disc package, the included literature
or the disc itself. You cannot use parental lock with discs that
do not feature a recorded parental lock level.
p With some discs, parental lock operates to skip certain
scenes only, after which normal playback resumes. For
details, refer to the disc’s instructions.
Displaying your DivX VOD reg-
istration code
If you want to play DivX
®
VOD (video on demand) content on this
product, you must first register this product with your DivX VOD
content provider. You do this by generating a DivX VOD registra-
tion code, which you submit to your provider.
p Keep a record of the code as you will need it when you
register this product to the DivX VOD provider.
p This setting is available when the selected source is “
Disc
”,
“
CD
”, “
Video CD
” or “
DVD
”.
1 Display the “
Video Setup
” screen.
2 Touch [
DVD/DivX Setup
].
3 Touch [
DivX® VOD
].
The “
DivX® VOD
” screen appears.
p If a registration code has already been activated, it cannot be
displayed.
4 Touch [
Registration Code
].
Your 10-digit registration code is displayed.
p Make a note of the code as you will need it when you deregis-
ter from a DivX VOD provider.
Setting up the video player
Loading ...
Loading ...
Loading ...