Loading ...
Loading ...
Loading ...
8
7
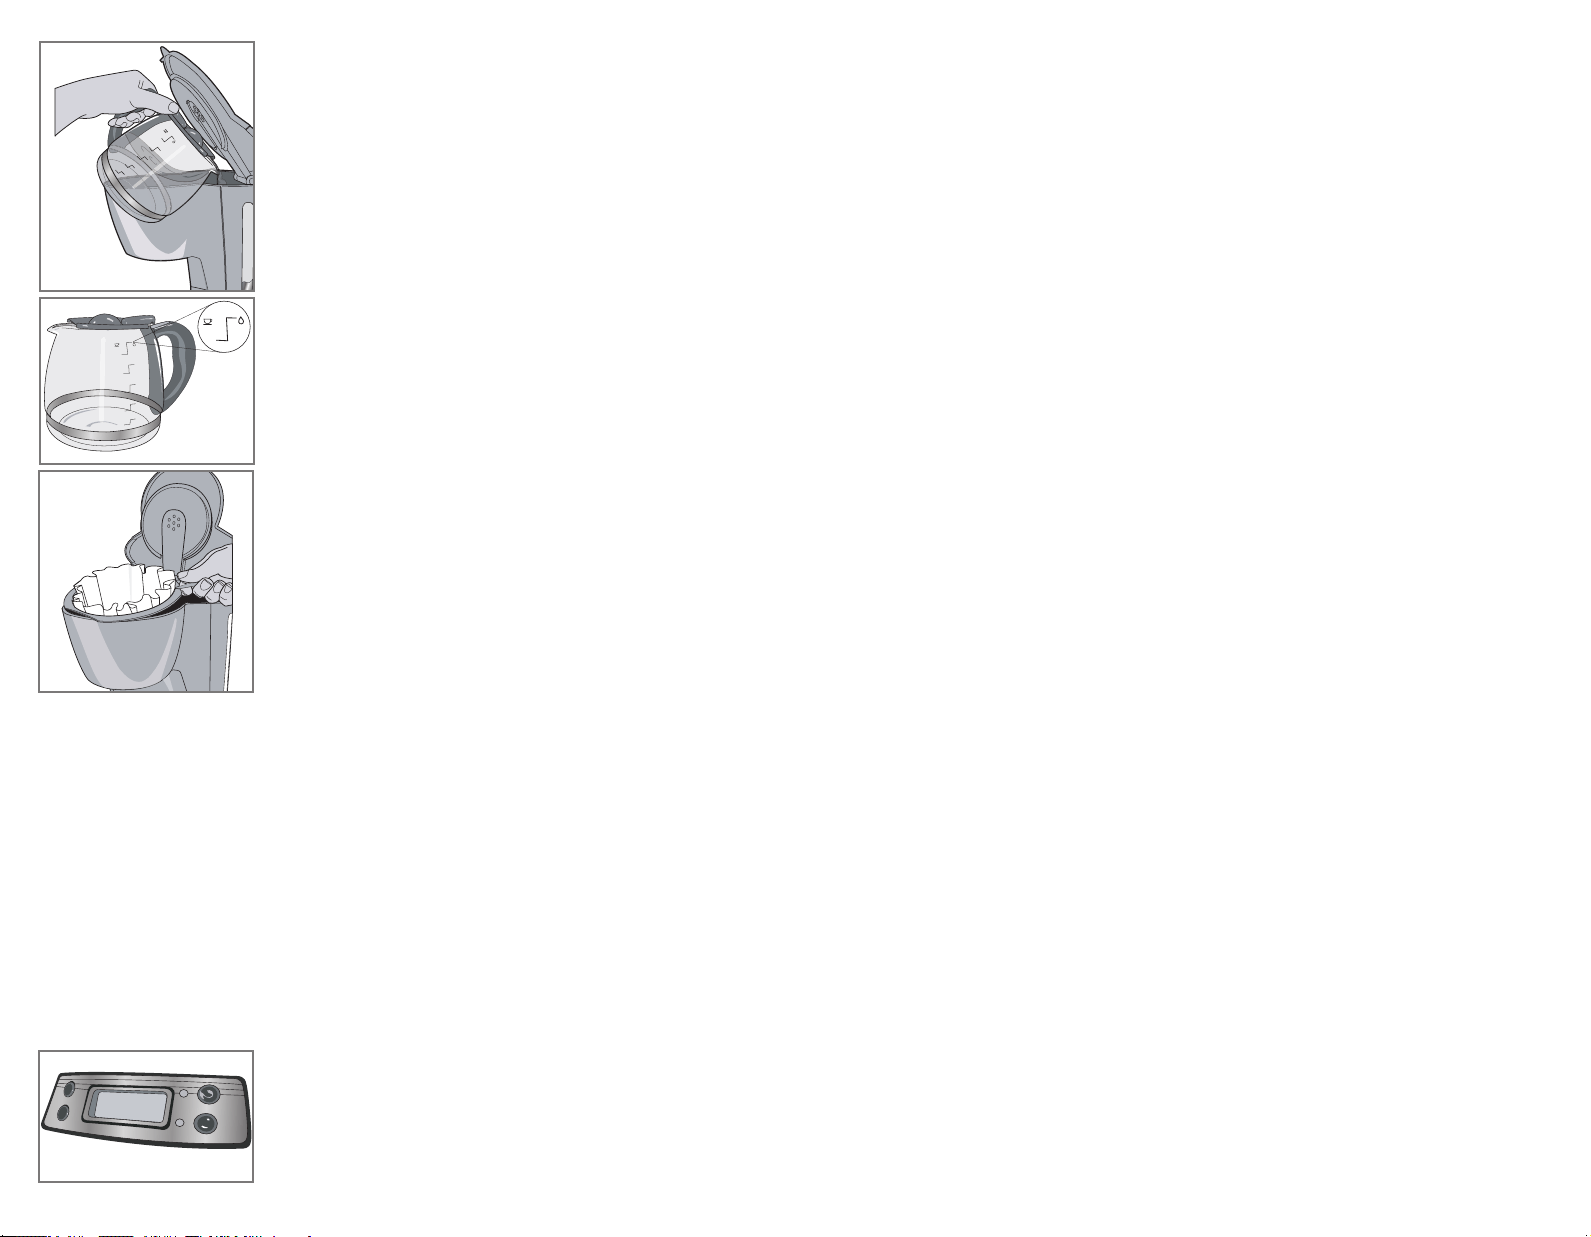
BREWING COFFEE:
1. Fill water reservoir with cold tap water using water
markings on carafe for desired amount (F). Do not
exceed the 12-cup maximum level (G).
2. Place basket style paper lter into the removable lter
basket.
3. Place the lter basket into the lter basket
compartment (H).
4. Add desired amount of ground coffee.
5. Close the lter basket cover securely.
6. Place empty carafe on “Keep Hot” plate.
7. Plug cord into standard electrical outlet.
8. Press ON/AUTO/OFF button; red power light comes on and brewing begins.
OR set the Auto function and the green light comes on. (See below for
Auto Brew)
9. Once brewing cycle is complete keep coffee on “Keep Hot” plate between
servings to keep hot.
10. Once coffee grounds have cooled, carefully open lter basket cover. Using
basket handle, remove and discard used grounds and paper lter. Close lter
basket cover.
11. Coffee maker will automatically turn off after 2 hours.
SNEAK-A-CUP
®
INTERUPT FEATURE
The Sneak-A-Cup® feature allows you to pour a cup of coffee from the carafe while
the coffee is brewing. When the carafe is removed the brewing process is paused.
Simply replace the carafe on the “Keep Hot” plate within 30 seconds and brewing
resumes.
AUTO BREW
1. Follow steps 1 through 7 under Brewing Coffee.
2. Press the Program button twice; the word TIMER
appears on the top left of the display.
3. The digital clock displays 12:00 A.M (J).
4. To change the time: Press HOUR button until the correct time appears on the
display. Repeat with the MIN button.
5. Press ON/AUTO/OFF button twice; the red power light comes on followed by
the green AUTO light.
6. When brewing begins at the pre-set time the green light goes off and the Red
power light comes on.
7. To cancel the AUTO brew, press the ON/AUTO/OFF button. All lights are off.
COFFEE BREWING TIPS:
1. Stir coffee in carafe before serving to evenly distribute the avor.
2. Coffee that is poured during brewing cycle may vary in strength from the
nished brew.
3. Not sure how much coffee to use – begin by using 1 level tablespoon of medium
grind coffee for each cup of coffee to be brewed.
4. Add some interesting avor to your coffee: add ½ teaspoon ground cinnamon
or allspice to the coffee grinds for 8 cups of coffee. Orange and lemon zest can
also be added to the grounds. Or stir a drop of vanilla extract into the brewed
coffee.
5. Use cinnamon sticks for stirrers for an added interest.
6. Like hot milk in your coffee – pour amount of milk desired into the carafe before
brewing. Make sure to leave enough room in the carafe for the amount of coffee
you wish to brew.
7. For great coffee avor make sure all the parts of the coffee maker are cleaned
after each use. The residual oils from previously brewed coffee can give your
next brew a rancid, bitter avor.
8. Coffee grounds stored in an airtight container can be held in the refrigerator for
up to 2 weeks.
Care and Cleaning
This product contains no user serviceable parts. Refer service to qualied service
personnel.
CLEANING
1. Be sure the unit is off and cooled.
2. Open the one piece water reservoir and lter basket cover, remove the lter
basket (lift straight up), and discard the coffee grounds.
3. The removable lter basket and carafe lid are all top rack dishwasher safe;
or they may be hand washed in warm, sudsy water. See below for carafe care.
4. The coffeemaker’s exterior, control panel area and "Keep Hot" plate may be
cleaned with a soft damp cloth.
Note: Do not use abrasive cleansers or scouring pads. Never immerse the
coffeemaker in water.
5. To clean the inside of one piece water reservoir, open the lter basket cover.
-12
-
-10-
- 8 -
- 6 -
- 4 -
-2-
C
OF
FE
E
WA
TE
R
12
10
8
6
4
F
C
OFFE
E
WA
T
ER
12
10
8
6
4
COFFEE
WA
TE
R
12
G
-1
2
-
-1
0
-
-8
-
-6
-
-4
-
H
HOUR
MIN
AU
TO
POWER
ON/A
U
TO
/OFF
PROG
TIME
R
AM
12:00
J
Loading ...
Loading ...
Loading ...