Loading ...
Loading ...
Loading ...
English 9
Illustrations on Page 3
Mount loose parts delivered with appli-
ance prior to start-up.
You will need the 2 included screws as
well as a Philips screwdriver PH 2.
Illustration
Secure the wheels using the includ-
ed plug. Align the plug properly!
Insert the cover and screw in.
Illustration
Insert base.
Insert the included dowels all the way
into the holes.
Secure the base with the enclosed
screws.
Illustration
Hook in storage for spray lance.
Secure the storage for the spray
lance by means of two screws.
Illustration
Attach the transport handle.
Secure the transport handle by
means of two screws.
Illustration
Hook the net into the hooks shown in
the illustration.
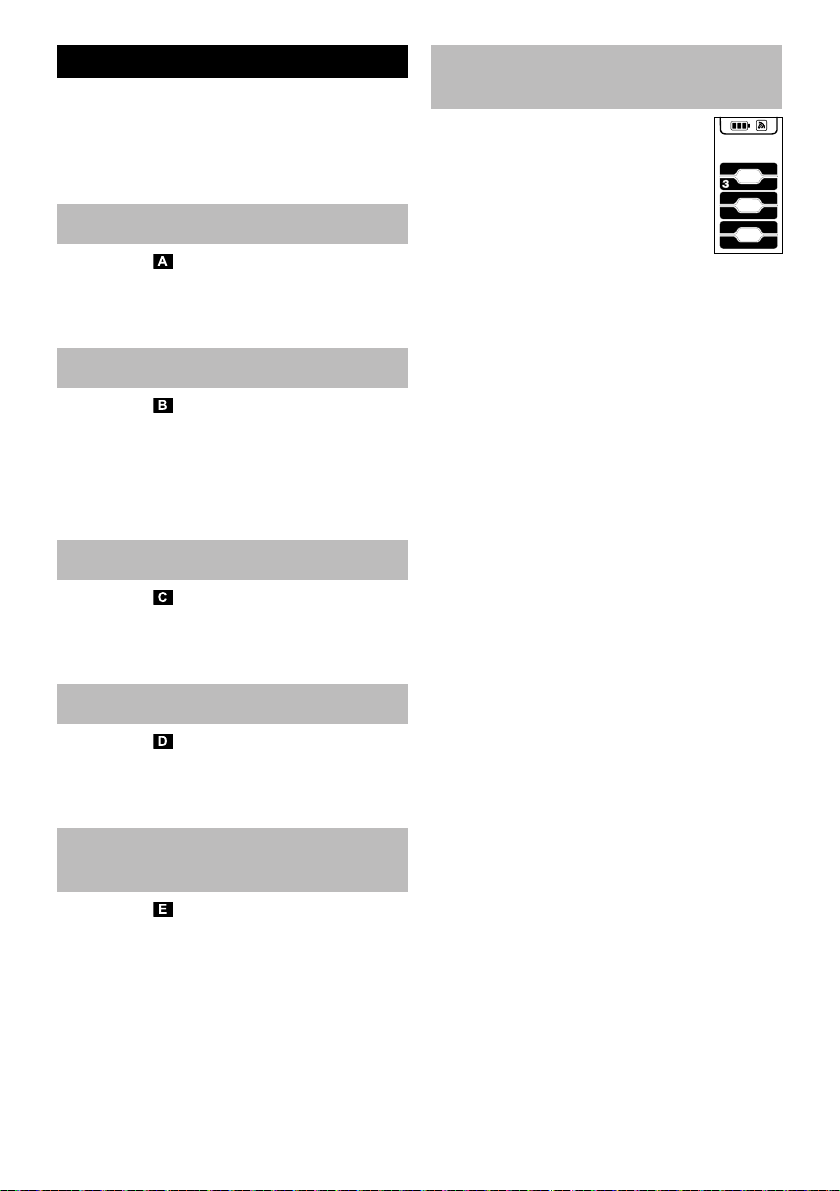
Before initial startup, the high-
pressure gun must be coupled
to the high-pressure cleaner.
Insert the mains plug into
the socket.
Within one minute, simulta-
neously press the + and - buttons on
the high-pressure gun.
Hold down the buttons until the entire
signal strength symbol flashes.
Once coupling is complete, all six
pressure levels will be displayed.
Note: You can find a detailed descrip-
tion of the coupling here: https//
www.kaercher.com/FCR
Assembly
Install wheels
Installing the base
Install storage for spray lance
Install the transport handle
Attach the net to the accessory
compartment
Coupling of the high-pressure
gun
Loading ...
Loading ...
Loading ...