Loading ...
Loading ...
Loading ...
9
3. Always pull the blades at the recommended speed and at a constant rate over length of blade. Never
interrupt or stop the motion of the blade when in contact with the abrasive disks.
4. Always alternate individual pulls in right and left slots (of any stage used). Specialized Japanese blades
are an exception and are sharpened primarily on one side of the blade.
5. The edge of the knife blade, while sharpening, should be held in a level position relative to the top of
the counter or table. To sharpen the blade near the tip of a curved blade, lift the handle up slightly as
you approach the tip so that each section along the curved length of the edge as it is being sharpened
is maintained “level” to the table.
6. There is no need or advantage to using a “sharpening steel” on knives sharpened on the Chef’sChoice
®
Model 320. Consider resharpening with the manual Chef’sChoice
®
sharpener Model 450 if you are us-
ing knives at a remote location away from electrical power. It is recommended that you keep the Model
320 readily accessible and resharpen often, as described in the Sections above.
7. Used correctly, you will find you can sharpen the entire blade to within 1/8” of the bolster or handle.
This is a major advantage of the Chef’sChoice
®
Model 320 compared to other sharpening methods –
especially important when sharpening chef’s knives where you need to sharpen the entire blade length
in order to maintain the curvature of the edge line. If your chef’s knives have a heavy bolster near
the handle extending to the edge, a commercial grinder can modify or remove the lower portion of
the bolster so that it will not interfere with the sharpening action allowing you to sharpen the entire
blade length.
8. To increase your proficiency with the Chef’sChoice
®
Model 320, learn how to detect a burr along the
edge (as described above). While you can sharpen well without using this technique, it is the best and
fastest way to determine when you have sharpened sufficiently in Stage 1. This will help you avoid
oversharpening and ensure incredibly sharp edges every time. Cutting a tomato or a piece of paper is
a convenient method of checking for blade sharpness.
NORMAL MAINTENANCE
NO lubrication is required for any moving parts, motor, bearings or sharpening surfaces. There is no
need for water on abrasives. The exterior of the sharpener may be cleaned by carefully wiping with a
damp cloth. Do not use detergents or abrasives.
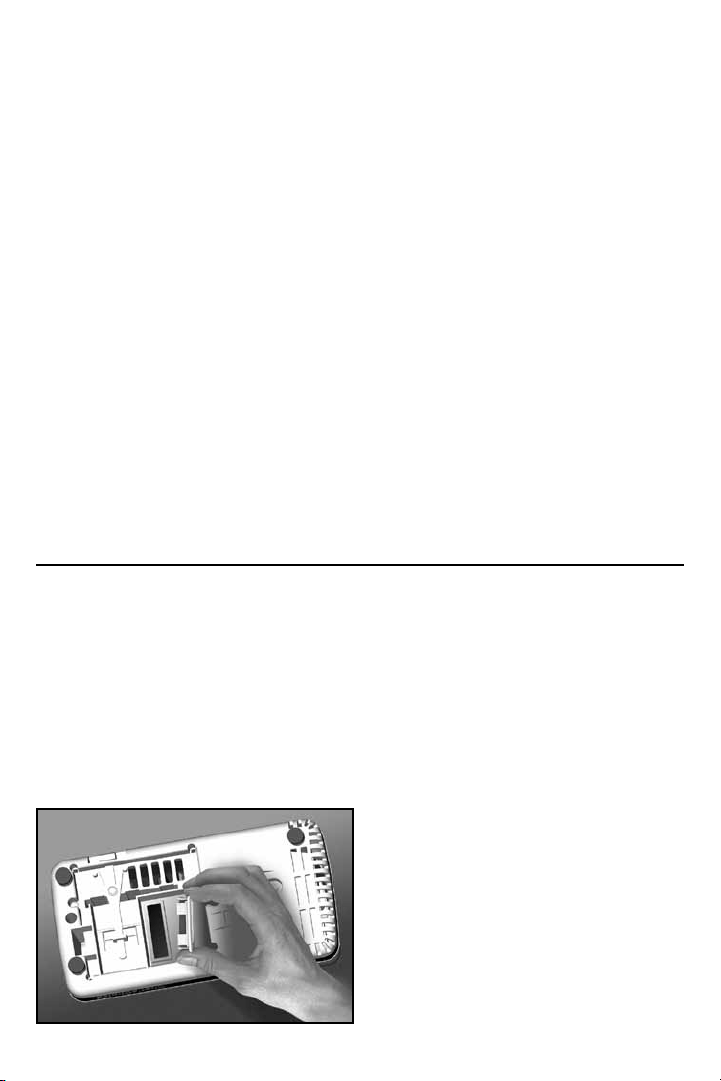
Once a year or so as needed, you can remove metal dust that will accumulate inside the sharpener
from repeated sharpenings. Remove the small rectangular clean-out cover (Figure 11) that covers an
opening on the underside of the sharpener. You will find metal particles adhered to a magnet attached
to the inside of that cover. Simply rub off or brush off accumulated filings from the magnet with a
paper towel or tooth brush and reinsert the cover in the opening. If larger amounts of metal dust
have been created or if the Stage 2 disk has been cleaned (using the cleaning/dressing tool) you can
shake out any remaining dust through the bottom opening when the cover is removed. After cleaning,
replace the cover securely with its magnet in place.
Figure 11. Clean-out cover.
Loading ...