Loading ...
Loading ...
Loading ...
Step 6:
Install shutoff and
tempering valves
1
If one is not already installed,
install a manual shutoff valve
in the cold water line that
supplies the water heater. Install the
shutoff valve near the water heater so
that it is readily accessible. Only use
valves that are compa ble with
potable water. Use only full-fl ow ball
or gate valves. Other types of valves
may cause excessive restric on to the
water fl ow.
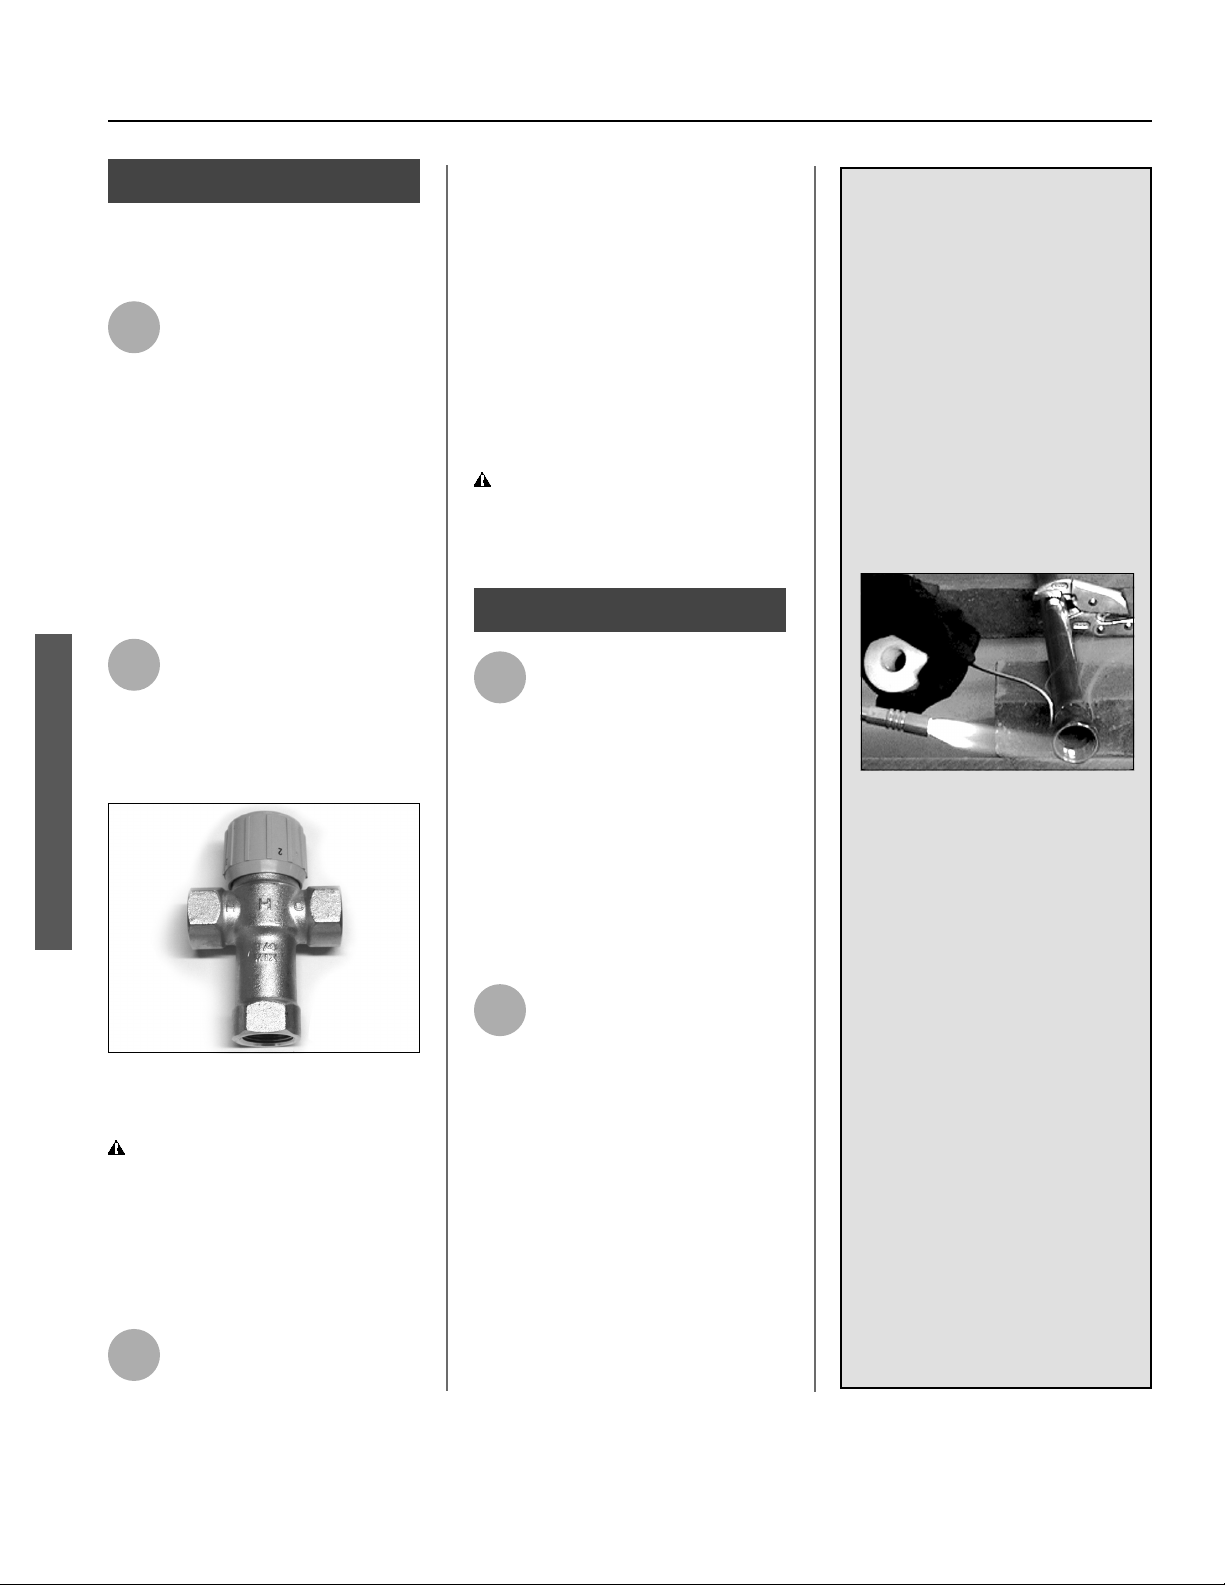
2
Install a Thermosta c Mixing
Valve at each point-of-use
(for example, kitchen sink,
bathroom sink, bath, shower).
Consult the valve manufacturer’s
instruc ons or a qualifi ed person.
Figure 14 - Install Thermostatic Mixing
Valves at each point where hot water will
be used.
WARNING! Even if the water
heater’s thermostat(s) are set to a
rela vely low temperature, hot water
can scald. Install Thermosta c Mixing
Valves at each point-of-use to reduce
the risk of scalding. (page 4.)
3
For water heaters that are fed
by a solar water hea ng
system (or any other pre-hea ng
system), always install a Thermosta c
Mixing Valve or other temperature
limi ng device in the inlet water supply
line to limit water supply inlet
temperature to 120°F. Solar water
hea ng systems can supply water with
temperatures exceeding 170°F and
may result in water heater
malfunc on.
WARNING! Hot water provided
by solar hea ng systems can cause
severe burns instantly, resul ng in
severe injury or death (page 4).
Step 7:
1
Connect the water
supply
Determine the type of water pipes in
your home. Most homes use copper
water pipes, but some use CPVC or
cross-linked polyethylene (PEX). Use
fi ngs appropriate for the type of pipe
in your home. Do not use iron or PVC
pipe – they are not suitable for potable
water.
2
Connect the cold water
supply using 3/4 inch
Na onal Pipe Thread “NPT”
to the cold water inlet nipple.
For ease of removing the water heater
for service or replacement, con-
nect the water pipes with a coupling
called a union. We recommend using
a dielectric-type union (available at
Lowe’s® ). Dielectric unions can help
prevent corrosion caused by ny elec-
tric currents common in copper water
pipes and can help extend the life of
the water heater.
12 • Residen al Electric Water Heater Use and Care Guide
IF YOU HAVE COPPER
PIPES:
If your home has copper water
pipes, you can solder the water
pipe connec ons or use compres-
sion fi ngs which don’t require
soldering. Compression fi ngs
are easier to install than soldering
pipe. Check with local plumbing
offi cials to determine what types
of pipe materials are suitable for
your loca on. Do not use lead-
based solder.
NOTICE: Do not solder pipes while
they are a ached to the water
heater. The water heater’s inlet
and outlet connec ons contain
non-metallic parts which could be
damaged. The proper way to con-
nect the water heater to copper
water pipes is as follows:
• Solder a short length of pipe
(about a foot or so) to a thread-
ed adapter using only 95/5 n-
an mony or equivalent solder.
A ach the threaded adapters to
the water heater’s connec ons
(using Tefl on® tape or pipe joint
compound). Connect the home’s
water pipes by soldering, keep-
ing the connec ons at the water
heater cool with wet rags.
INSTALLATION
INSTALLATION
Loading ...
Loading ...
Loading ...