Loading ...
Loading ...
Loading ...
en Installation and connection
38
Installation
The required installation dimensions can
be found in the installation instructions.
Level the appliance with the aid of the
height-adjustable feet. Ensure that the
appliance is situated securely on the
floor.
■ A built-under or integrated appliance
which is installed subsequently as a
free-standing appliance must be
secured to prevent it from
overturning, e.g. by screwing it to the
wall or by installing it under
a continuous worktop which is
screwed to adjacent cupboards.
■ The appliance can easily be
installed in a fitted kitchen between
wooden and plastic walls.
Waste-water connection
1. The required work sequence can be
found in the installation instructions.
If required, fit a siphon with an
drainage connection.
2. Connect the waste-water hose to the
drainage connection of the siphon
with the enclosed parts.
Ensure that the drainage hose is not
kinked, crushed or twisted and that
there is no cover plate in the
drainage to prevent the waste water
from flowing out!
Drinking water connection
1. Fasten the drinking water connection
to the tap according
to the installation instructions using
the enclosed parts.
Ensure that the drinking water
connection is not kinked, crushed
or twisted.
2. When replacing the appliance,
always use a new water supply hose.
Water pressure:
At least 0.05 MPa (0.5 bar), maximum
1 MPa (10 bar). At a higher water
pressure: connect pressure-reducing
valve ahead.
Inlet rate:
Minimum 10 litres/minute
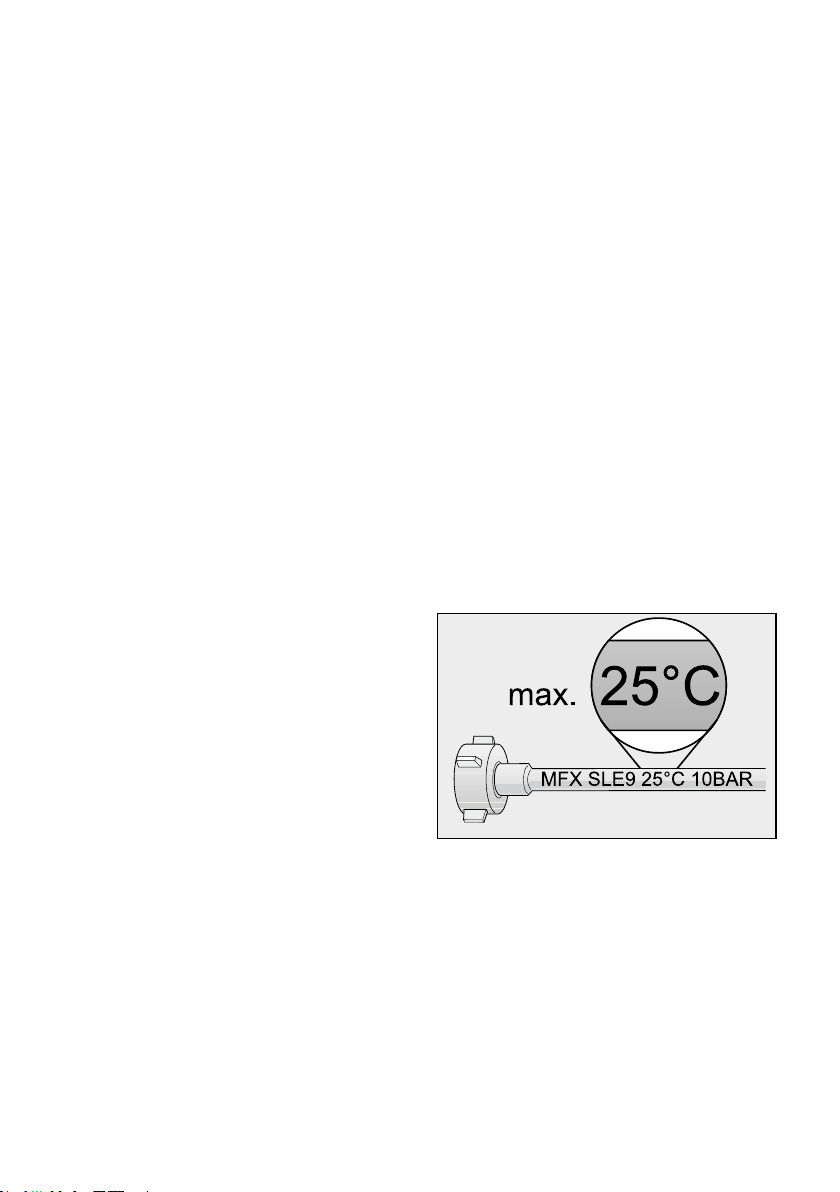
Water temperature:
Note printing on the water inlet hose!
If models are marked with 25°,
the water temperature may be max.
25 °C (cold water).
For all other models:
Cold water preferred; hot water max.
temperature 60 °C.
Loading ...
Loading ...
Loading ...