Loading ...
Parts and Material Included
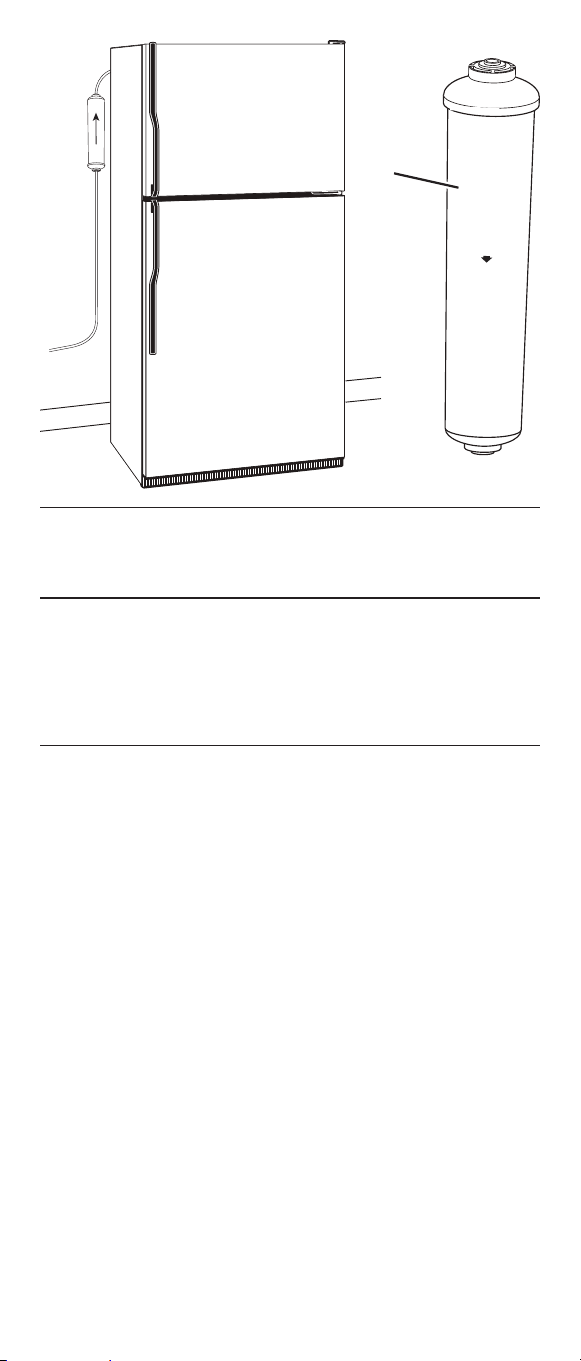
A. Filter Cartridge
Tools and Parts Needed
Gather the required tools before starting installation. Read and
follow the instructions provided with any tools listed here.
n Tube Cutter or Utility Knife
Installation Requirements
n Install in a location that is not susceptible to freezing
temperatures as damage to the housing could occur.
n Install away from direct sunlight as prolonged exposure to
light can weaken plastic components.
n A water supply line must be run to the refrigerator
(ice maker) according to the refrigerator manufacturer’s
instructions prior to installation of this filter.
n Some local codes may require the use of a licensed
plumber or certified installer when disrupting a potable
water line. Determine and follow any and all local codes and
requirements.
Installation Instructions
For Use With Cold Water Only
1. Turn off water supply to refrigerator.
2. Locate an easily accessible section of refrigerator water
supply tubing.
3. Cut and remove a 6" section of refrigerator water supply
tubing. Use a tube cutter for copper tubing and a utility
knife for plastic tubing. Make sure ends are square and
free from nicks and deep scratches (see Figure 1).
4. Referring to “Using Push-In Fittings” section below, insert
refrigerator water supply tubing into inlet push-in fitting on
filter (see Figure 2).
To Attach Tubing
Push tubing in as far as it will
go. Tubing must be inserted
past o-ring and hit backstop.
Pull tube to ensure it is secured.
To Release Tubing
Push in grey collet to release
tubing. With collet held, pull
tubing straight out.
“Using Push-In Fittings”
Backstop
Collet
FL
O
W
A
Figure 1
Correct Incorrect
FLOW
Inlet
Figure 2
FLOW
Water supply line
to refrigerator
Flow
Filter Inlet
Loading ...
Loading ...
Loading ...