Loading ...
Loading ...
Loading ...
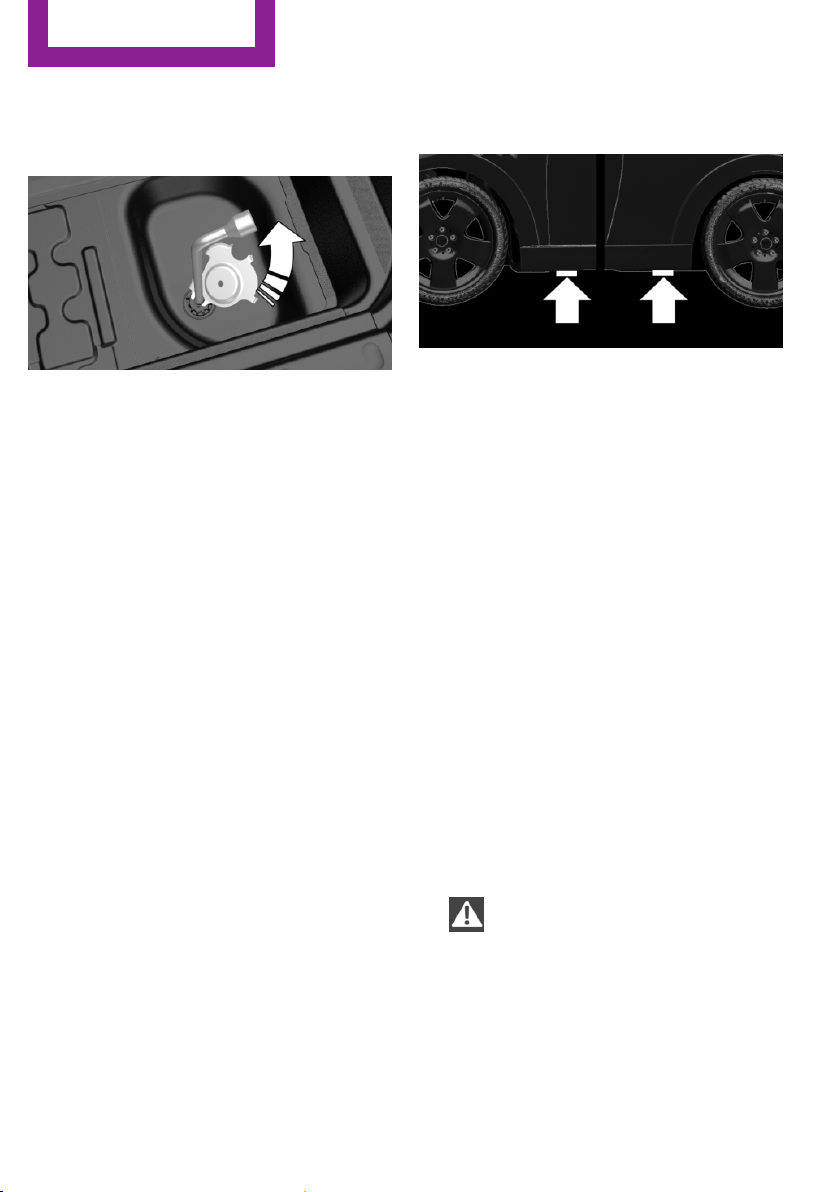
4. Unlock the locking hexagon of the emer‐
gency wheel well using the hexagon at‐
tached to retaining plate.
5. Lower the emergency wheel with the wheel
wrench.
6. Unscrewing the wheel wrench
7. Pull out the well with emergency wheel un‐
der the vehicle toward the rear.
8. Remove the spacer and emergency wheel
from the well.
9. Stow the well and spacer in the vehicle.
Prepare wheel change
1.
Follow the Safety instructions, refer to
page 205.
2. With the wheel chock from the wheel
change set, also secure the vehicle against
rolling away at the front wheel of the oppo‐
site side.
3. Loosen the wheel lug bolts a half turn.
Jacking up the vehicle
1.
Place the vehicle jack at the jacking point
closest to the wheel such that the vehicle
jack foot is vertically beneath the vehicle
jacking point with the entire surface on the
ground.
2. Insert the vehicle jack head in the rectan‐
gular recess of the jacking point for crank‐
ing it up.
3. Crank it up until the wheel in question lifts
off of the ground.
Wheel mounting
1.
Unscrew the wheel lug bolts and remove
the wheel.
2. Put the new wheel or emergency wheel on
and screw in at least two bolts.
If original MINI light alloy wheels are not
mounted, any accompanying lug bolts also
have to be used.
3. Screw in the remaining the lug bolts and
tighten all bolts well in a crosswise pattern.
4. Lower the vehicle and remove the vehicle
jack.
After the wheel change
1.
Tighten the lug bolts crosswise. The tight‐
ening torque is 101 lb ft/140 Nm.
Check for secure seating of the lug
bolts
For safety reasons, have the secure seating
of the lug bolts checked with a calibrated
torque wrench; otherwise, a safety hazard
results from incorrectly tightened lug
bolts.◀
2. Stow the defective wheel in the trunk.
Seite 206
MOBILITY
Replacing components
206
Online Edition for Part no. 01 40 2 961 168 - II/15
Loading ...
Loading ...
Loading ...