Loading ...
Loading ...
Loading ...
25
1) Choose either short or long center location for pulley depending on preference
2) Select desired sharpening angle by moving the Angle Adjustment lever
3) Tighten Angle Selection Clamp Knob to secure selected angle
4) Mount the belt of your choice based on task at hand (see chart left)
5) Turn on power to medium speed and press switch lock out button
6) Ensure belt is properly tracking so it is centered on the pulleys
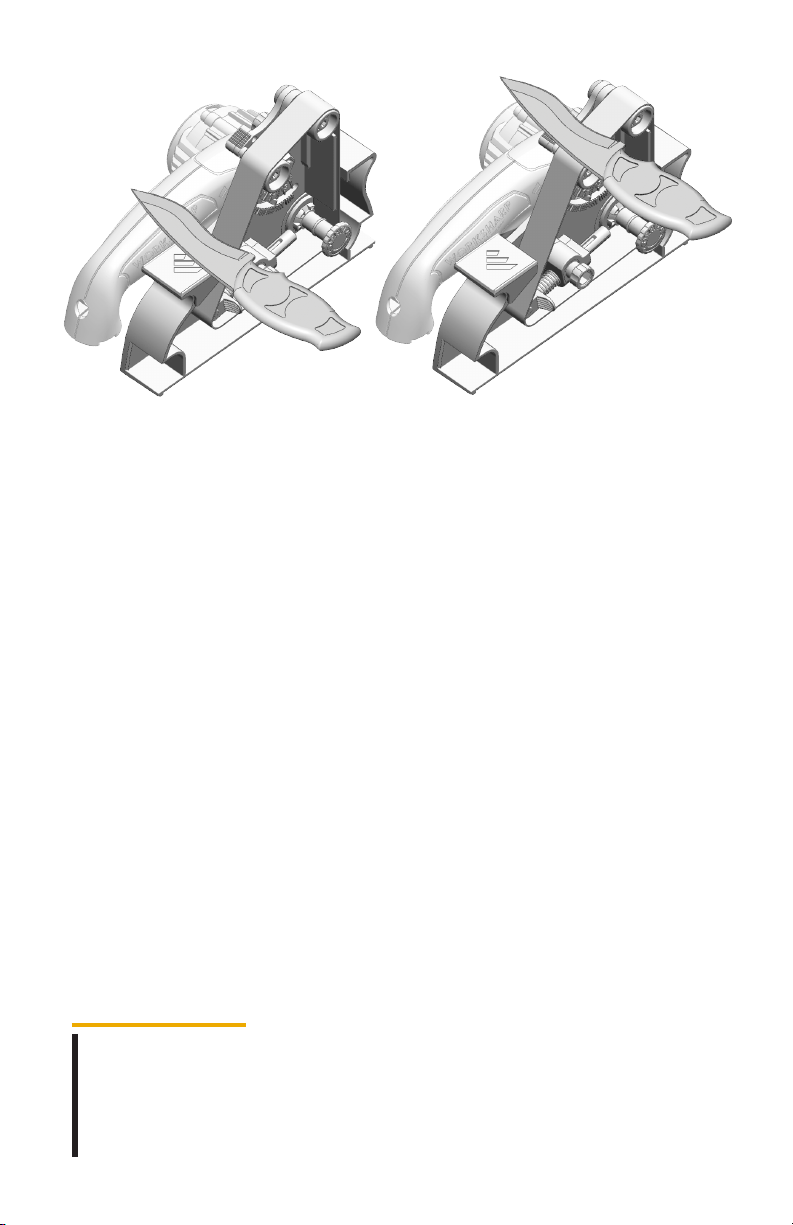
7) Place blade flat onto reference plate
(see fig. 1)
8) While keeping blade flat, move up onto belt surface and place the heel of the
blade edge onto the abrasive. Use very light pressure on belt (3/16” deflection)
9) Move blade flat across abrasive (1” per second) and stop the tip on the middle of
the belt. Then pull blade away from the belt
10) Continue until a burr is raised along entire edge (count strokes)
11) Repeat same number of strokes on other side of blade
12) Continue up the grit scale until desired sharpness is achieved
13) Ensure tracking and tension is properly set when you change belts
Be mindful that accommodations will need to be made for every blade such as
thumb studs, pocket clips, blade profile or handle design. Test run the blade through
the process on both bevels without power first to ensure accommodations can be
made before sharpening.
Do not over tension belt or it may negatively affect belt tracking.
fig. 1 fig. 2
Best Techniques:
Loading ...
Loading ...
Loading ...