Loading ...
Loading ...
Loading ...
11
RANGE HOOD USE
The range hood is designed to remove smoke, cooking vapors
and odors from the cooktop area. For best results, start the
hood before cooking and allow it to operate several minutes
after the cooking is complete to clear all smoke and odors from
the kitchen.
The hood controls are located on the front panel on the right
side of the range hood.
A. Fluorescent lamp housing
B. Grease filter handle
C. Blower and light controls
D. Grease filter
Range Hood Controls
A. On/Off light button
B. Blower Off and speed minimum button
C. Blower speed medium button
D. Blower speed maximum button
Operating the light
The On/Off light button controls the light. Press once for On
and again for Off.
Operating the blower
The BLOWER SPEED buttons turn the blower on and control
the blower speed and sound level for quiet operation. The
speed can be changed anytime during fan operation by
pressing the desired blower speed button.
Press the BLOWER OFF button a second time to turn the
blower off.
RANGE HOOD CARE
Cleaning
IMPORTANT: Clean the hood and grease filters frequently
according to the following instructions. Replace grease filters
before operating hood.
Exterior Surfaces:
IMPORTANT: Do not use soap-filled scouring pads, abrasive
cleaners, Cooktop Polishing Creme, steel wool, gritty
washcloths or paper towels.
To avoid damage to the stainless steel, do not use cleaners that
contain chlorine.
Cleaning Method:
■ Rub in direction of grain to avoid scratching or damaging
the surface.
■ Stainless Steel Cleaner and Polish Part Number 31462A
(not included): See “Assistance or Service” section to order.
■ Liquid detergent or all-purpose cleaner:
Rinse with clean water and dry with soft, lint-free cloth.
■ Glass cleaner to remove fingerprints.
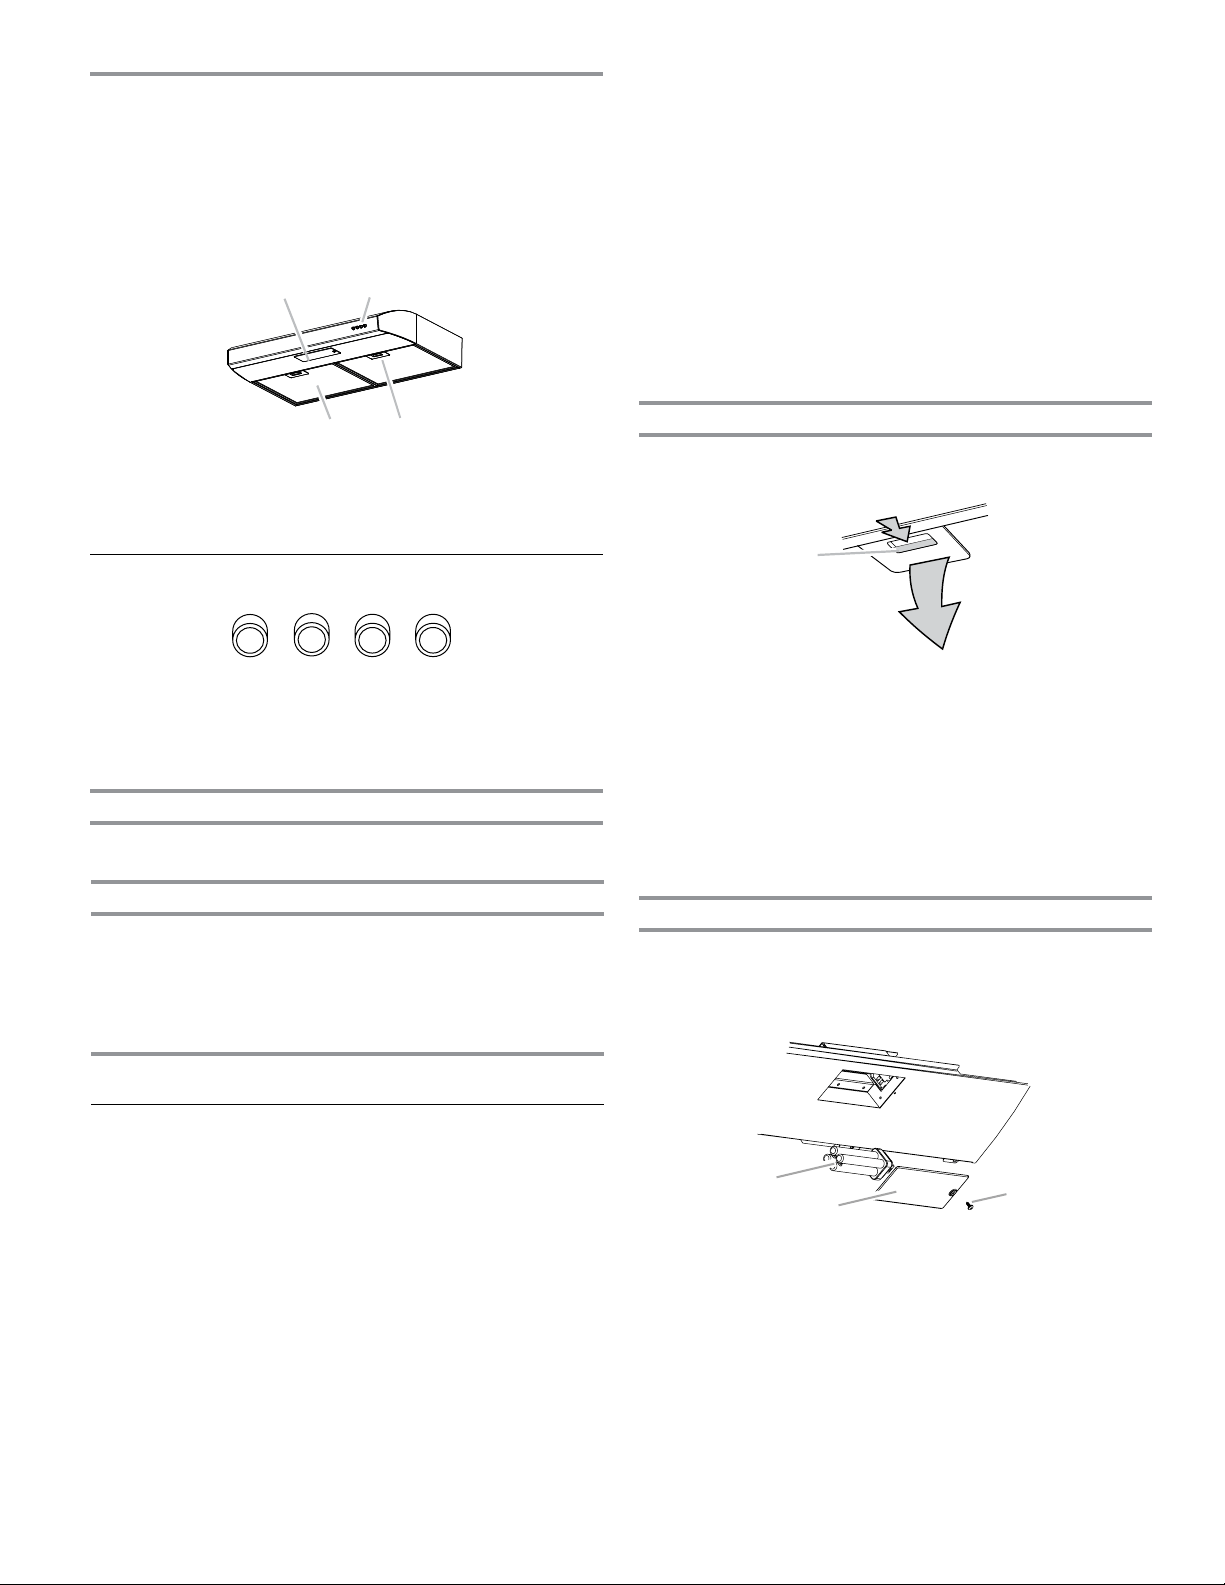
Metal Grease Filter
1. Remove each filter by pulling the spring release handle and
then pulling down the filter.
A. Spring release handle
2. Wash metal filters as needed in dishwasher or hot detergent
solution.
3. Reinstall the filter by making sure the spring release handles
are toward the front. Insert aluminum filter into upper track.
4. Push in spring release handle.
5. Push up on metal filter and release handle to latch into
place.
6. Repeat steps 1-5 for the other filter.
Replacing a Fluorescent Lamp
Turn off the range hood and allow the fluorescent lamp to cool.
1. Disconnect power.
2. Remove the screw from the lens cover and remove the
cover.
A. Screw
B. Lens cover
C. Fluorescent lamp
3. Remove the light from the socket and replace with a 120
volt, 13-watt (maximum), 50° fluorescent light for GX24
base.
4. Replace the lens cover and screw. Tighten the screw.
5. Reconnect power.
If new light does not operate, make sure the lamp is inserted
correctly before calling service.
D B
AC
A
B
C
D
A
A
B
C
Loading ...
Loading ...
Loading ...