Loading ...
Loading ...
Loading ...
12
OPERATING INSTRUCTIONS
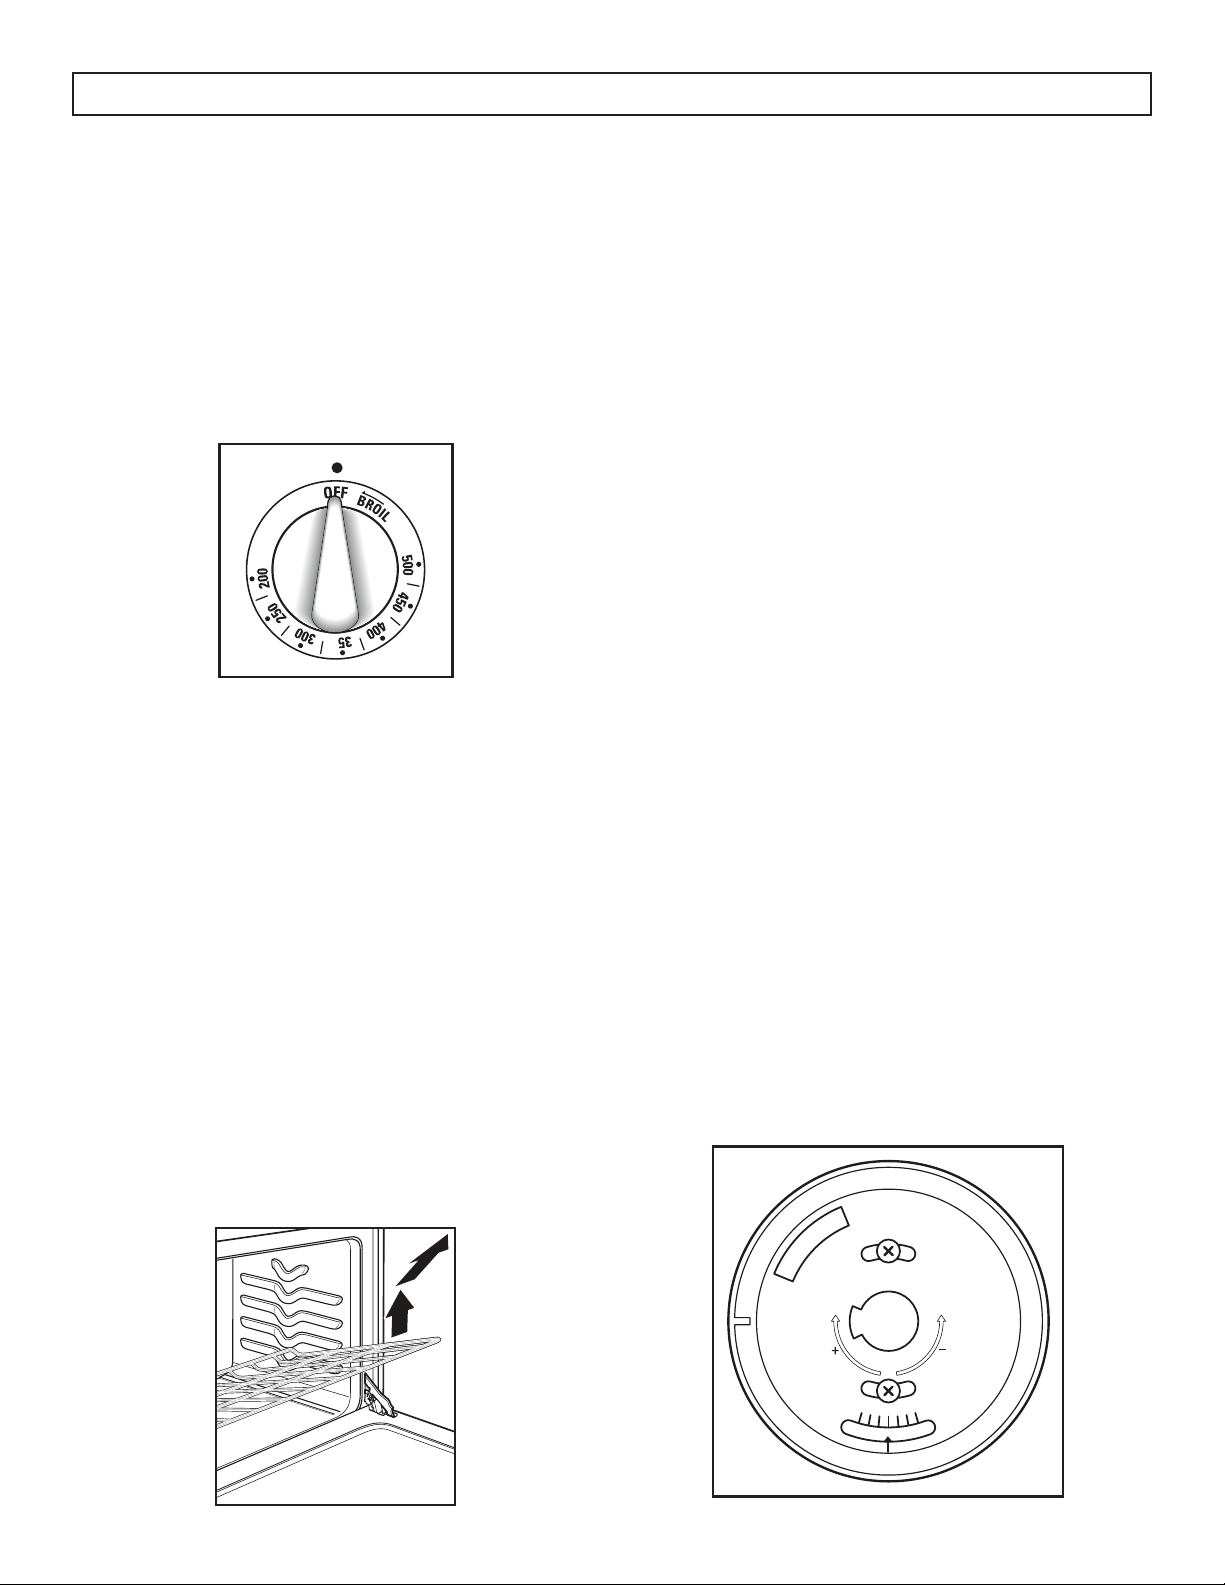
OVEN COOKING CONTROLS
To use the oven, turn the oven temperature knob to
the desired cooking temperature. The oven knob
is marked in 25 degree increments, from 200°F to
BROIL.
The oven light glows until the oven reaches the
selected temperature and then will turn off. During
cooking, the light will turn on any time the oven
needs to add more heat to maintain the selected
temperature.
OVEN SHELVES
The oven shelves are designed with stop-locks so
that when they are placed correctly on the shelf
supports, they will stop before coming completely
out of the oven and will not tilt when food is being
removed or added.
To remove the shelves from the oven, pull the shelf
outward, tilt the front end upward and pull it out.
To replace the shelves, place the shelf on the support
with the stop locks facing up and toward the back of
the oven. Tilt up the front and push the shelf toward
the back of the oven until it goes past the bump on
the shelf support, then lower the front of the shelf
and push it all the way into the oven.
The oven has four different shelf support positions to
accommodate different cooking requirements.
ADJUST THE OVEN THERMOSTAT
You may fi nd that the new oven cooks differently
than the one it replaced. Use the new oven for a
few weeks to become familiar with it. If you still fi nd
the oven is too hot or too cold, you can adjust the
thermostat.
Do not use thermometers, such as those found in
grocery stores to check the temperature of the oven.
They are not calibrated for high temperatures and
can vary from 20 - 40 degrees.
This adjustment will not affect the broiling
temperatures. The adjustment will be retained after
a power failure.
1. Pull the oven temperature knob off the
range and look at the back of it. To make an
adjustment, loosen by one turn the two screws
on the back of the knob. Do not completely
remove the screws.
2. With the back of the knob facing you, hold the
outer edge of the knob with one hand and turn
the front of the knob with the other hand.
3. To increase the oven temperature, move the top
screw toward the right.
4. To decrease the oven temperature, move the top
screw toward the left.
5. You will hear a click for each notch you move
the knob. Each click will change the oven
temperature approximately 10°F. The range is
plus or minus 60°F from the arrow. We suggest
that you adjust the temperature by one click and
then test the oven performance before adjusting
further.
6. After the adjustment is made, retighten the
screws so they are snug. Be careful not to over-
tighten.
7. Replace the knob, matching the fl at area of the
knob to the shaft.
L
O
O
S
E
N
R
E
S
C
W
T
S
R
O
O
T
E
A
T
K
E
O
M
A
C
E
O
L
R
K
M
A
E
T
H
O
T
E
R
Loading ...
Loading ...
Loading ...