Loading ...
Loading ...
Loading ...
34
Auto Sync
(Auto Sync Adjustment)
Operating with the Remote Control
Freezing a Moving Image
• When the optimum image cannot be achieved
with Auto Sync adjustment, use the help menu
for manual adjustments. (See page 46.)
Auto Sync function works when detect-
ing input signal after the projector turns
on.
Press FAUTO SYNC to manually ad-
just with Auto Sync function.
Press NFREEZE.
• The projected image is frozen.
Press NFREEZE again to return
to the moving image from the cur-
rently connected device.
1
2
Note
Selecting the Picture Mode
Press GPICTURE MODE.
• When pressing GPICTURE MODE, the picture
mode changes in the following order:
Standard Presentation Movie Game sRGB
You can select the appropriate picture
mode for the projected image, such as
movie or video game.
• See page 39 for details on the picture mode.
Note
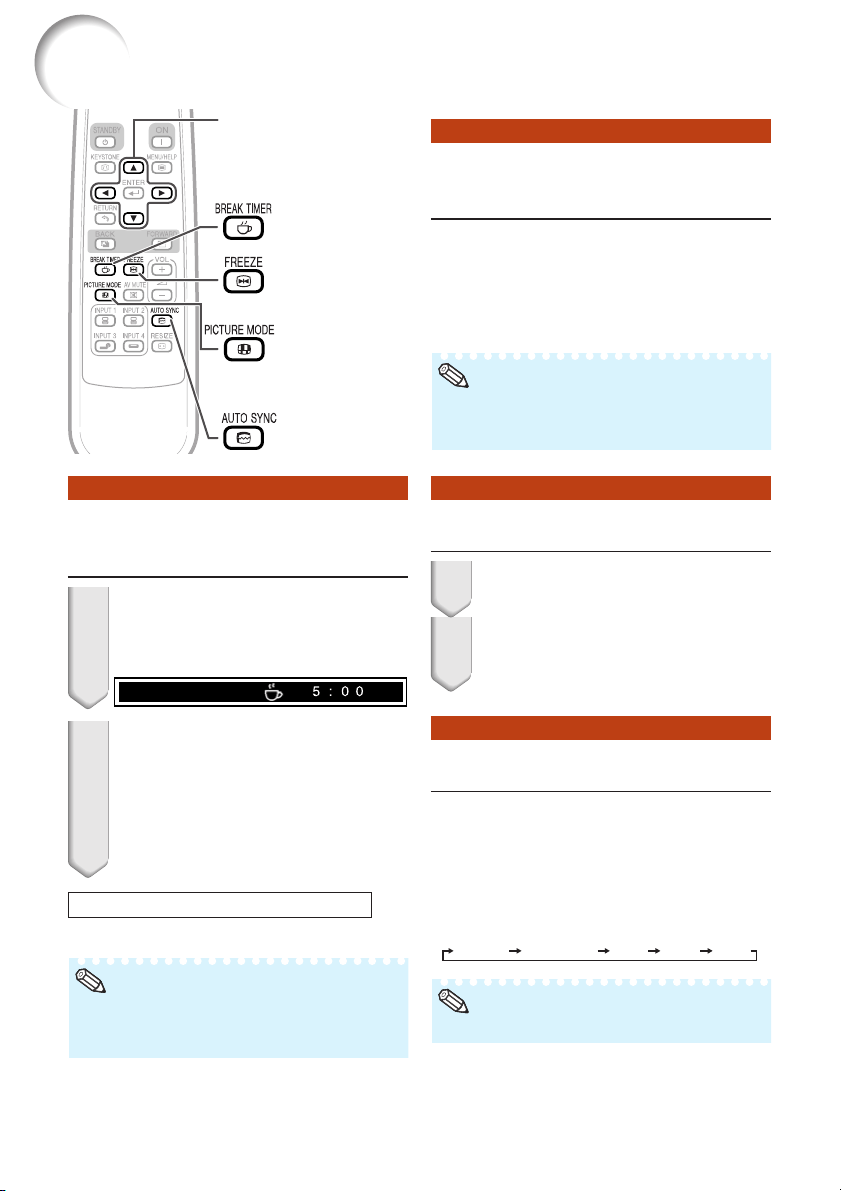
FREEZE button
AUTO SYNC
button
Adjustment buttons
(P/R/O/Q)
BREAK TIMER
button
PICTURE MODE
button
Displaying and Setting the
Break Timer
Press k BREAK TIMER.
• The timer starts to count down from 5
minutes.
1
2
Press P /R /O /Q to adjust the
length of the break time.
• Increases with P or Q
5 minutes s 6 minutes s 60 minutes
• Shortens with O or R
4 minutes s 3 minutes s1 minute
• The break time can be set in units of one
minute (up to 60 minutes).
ROn-screen display
Canceling the break time display function
Press k BREAK TIMER.
*
* “sRGB” is displayed only when RGB signal is
input.
• Break Timer does not function while the pro-
jector is operating the “Auto Sync”, “FREEZE”
or “AV MUTE” functions.
Note
Loading ...
Loading ...
Loading ...