Loading ...
Loading ...
Loading ...
29
Remove and Replace the Ice Storage Bin
■ Remove the ice storage bin by inserting your ngers into the
hole at the base of the bin and pulling the latch to release the
bin from the compartment. Lift the storage bin up and pull it
straight out.
■ Replace the storage bin inside the ice compartment and push
down to make sure it is rmly in place.
Ice Production Rate
■ The ice maker should produce approximately 3.2 lbs (1.5 kg)
of ice per day under normal operation.
■ To increase ice production, select the “Max Ice” feature
from the control panel. The ice maker should produce
approximately 4.2 lbs (1.9 kg) of ice per day. See the
“Using the Controls” section.
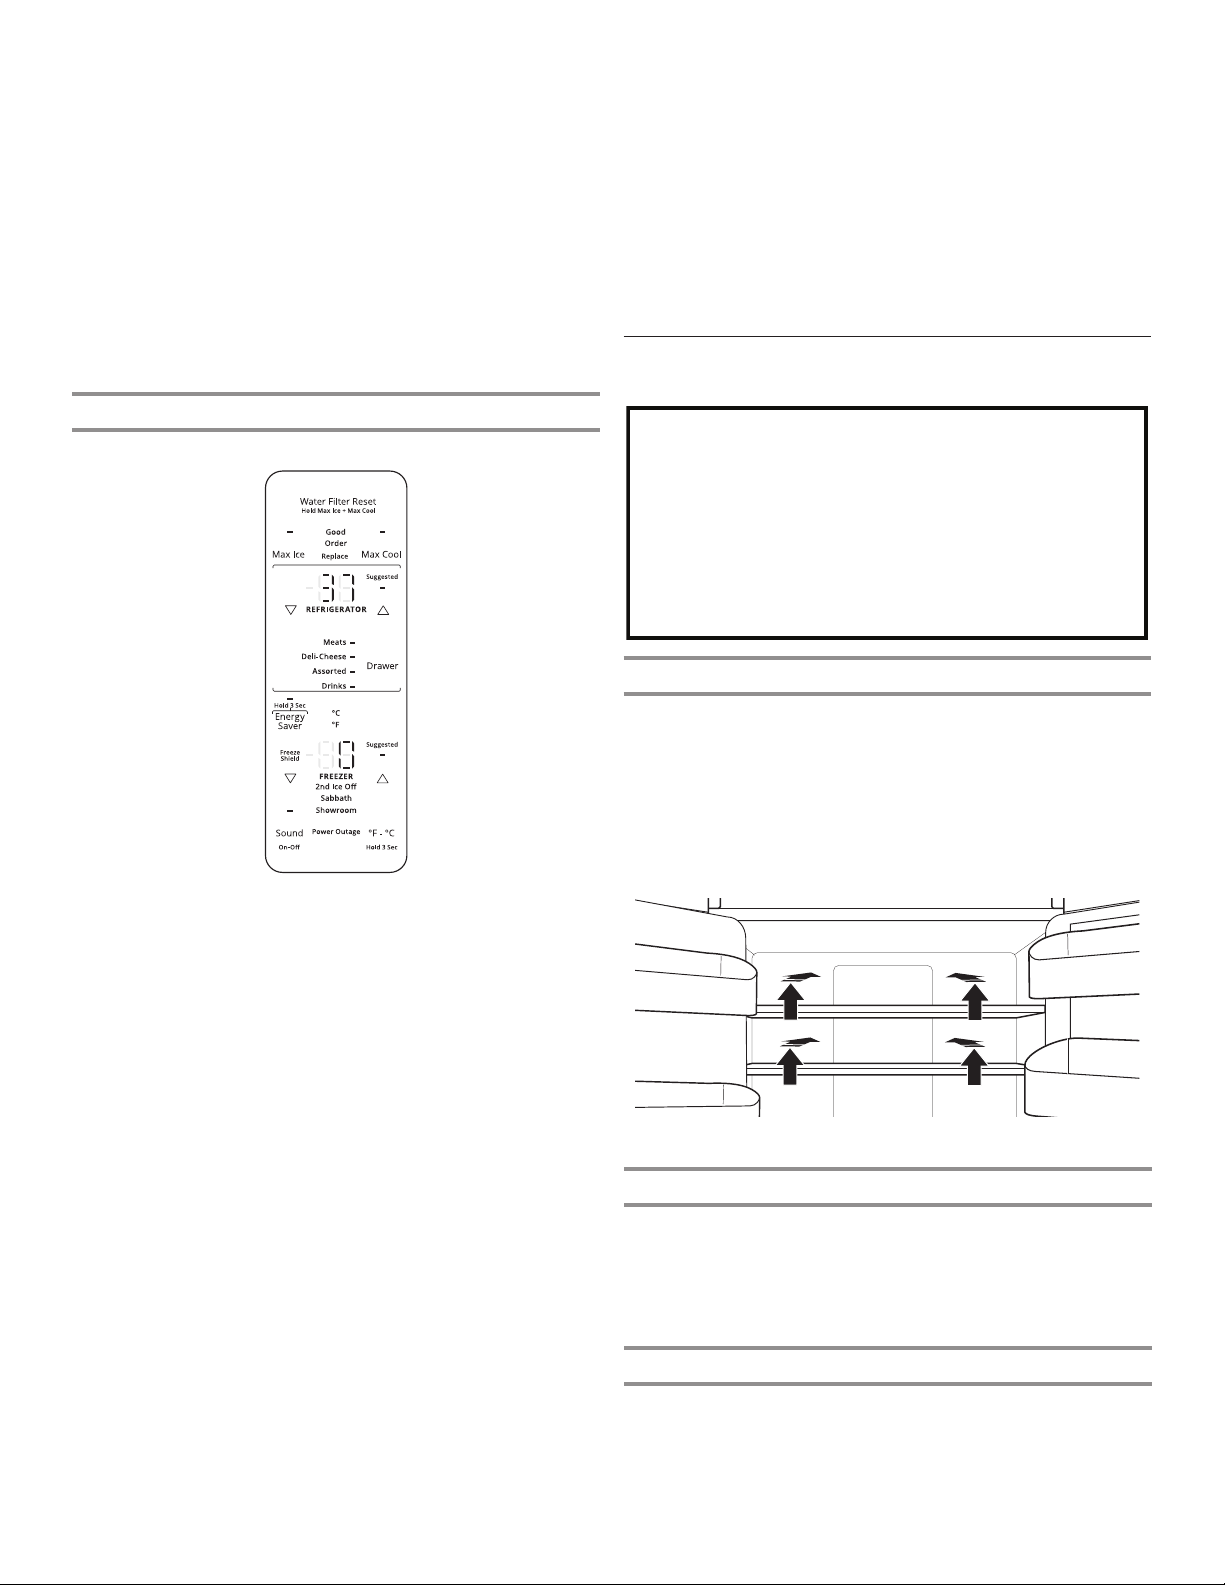
Style 2: Ice Maker in the Freezer (on some models)
Turn the Ice Maker On/Off
To turn the ice maker on, press and hold [▼]/[▲] by FREEZER on
the display on the left inner door panel. The 2nd Ice Off icon will
blink 3 times and turn off.
To manually turn the ice maker off, press and hold [▼]/[▲]. The
2nd Ice Off icon will blink 3 times and remain lit on the display
screen.
NOTES:
■ Your ice maker has an automatic shutoff. The sensor will
automatically stop ice production if the storage bin is full or
the door is open. The control will remain in the On position.
■ Turn off the ice maker before removing the ice storage bin
to serve ice or to clean the bin. This will keep the ice cubes
from dropping out of the ice maker and into the freezer
compartment. After replacing the ice storage bin, turn on
the ice maker.
Ice Production Rate
■ Your ice maker should produce approximately 3.5 lbs (1.6 kg)
of ice per day under normal operation.
■ To increase ice production, select the “Max Ice” feature
from the control panel. The ice maker should produce
approximately 4.6 lbs (2.1 kg) of ice per day. See the
“Using the Controls” section.
Shelves, Bins, and Drawers
Important information to know about glass shelves
and covers:
Do not clean glass shelves or covers with warm water when
they are cold. Shelves and covers may break if exposed to
sudden temperature changes or impact, such as bumping.
Tempered glass is designed to shatter into many small,
pebble-size pieces. This is normal. Glass shelves and covers
are heavy. Use both hands when removing them to avoid
dropping.
Shelves and Shelf Frames
The shelves in your refrigerator are adjustable to meet your
individual storage needs.
Storing similar food items together in your refrigerator and
adjusting the shelves to t different heights of items will make
nding the exact item you want easier. It will also reduce the
amount of time the refrigerator door is open and save energy.
Shelf Height Adjustment
Shelf height can be adjusted by changing the adjustable shelf
mounts between their vertical and horizontal positions.
1. Carefully lift the shelf off the shelf mounts and turn the ipper
to the desired orientation.
2. Repeat for remaining shelf mounts.
Infinity Slide Shelf
Some shelves will tuck away to create room for taller objects.
Some models have 2 Innity slide shelves.
1. To retract the front section of the shelf, push the adjustable
portion of the shelf as far back as needed toward the rear of
the refrigerator.
2. Extend the front glass and front trim of the shelf by pulling the
retracted portion of the shelf outward until it is fully extended.
Loading ...
Loading ...
Loading ...