Loading ...
Loading ...
Loading ...
53
Figure
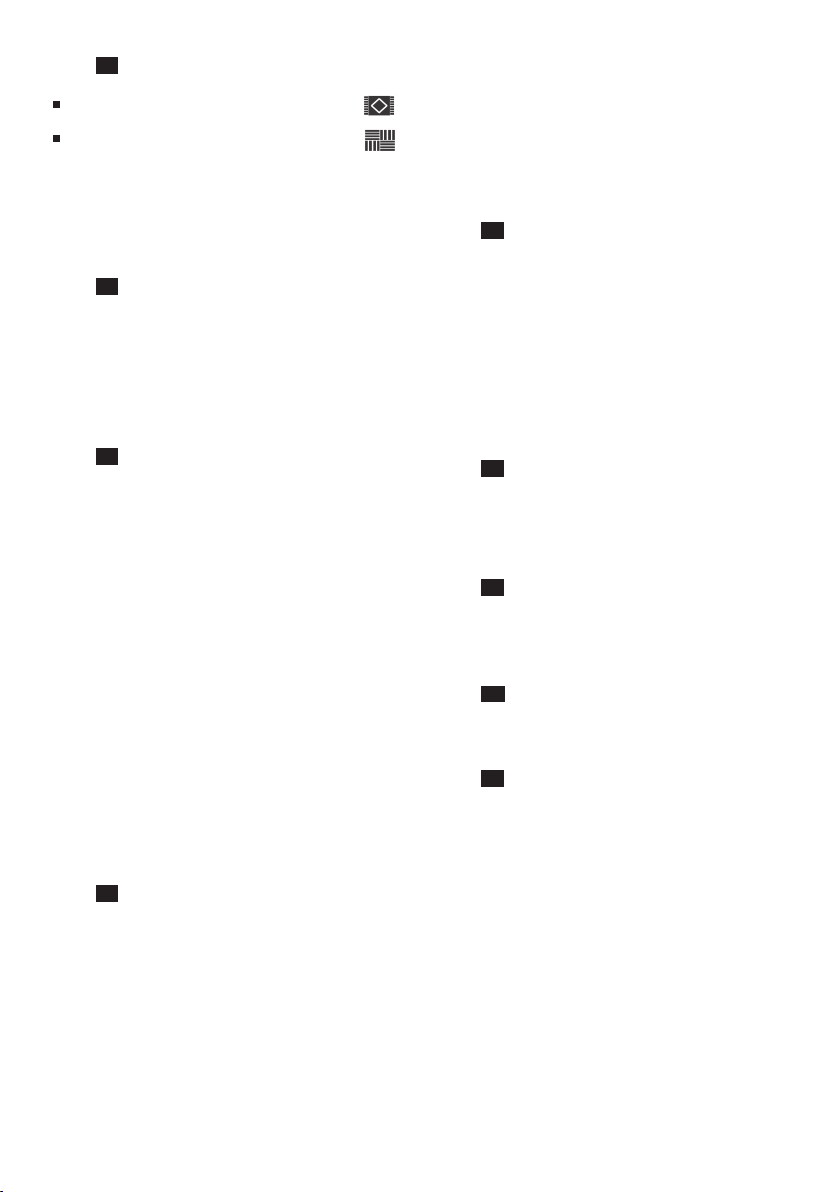
Set the adjustable floor tool:
Rugs and carpets =>
Hard floors =>
If you are vacuuming up relatively large particles, make
sure that you vacuum them up successively and
carefully to ensure that the vacuum channel of the floor
tool does not become blocked. If necessary, you should
raise the nozzle in order to better vacuum up the dirt
particles.
Figure Vacuuming with accessories
Attach the nozzles to the suction pipe or hand grip as
required:
a)Crevice nozzle for vacuuming crevices and corners,
etc.
b)Upholstery nozzle for vacuuming upholstered
furniture, curtains, etc.
Vacuuming with the Multi-Use-Brush
Figure
Note: Do not remove the Multi-Use-Brush after use. The
suction power is not restricted by the fitted Multi-Use-
Brush.
!
ATTENTION:
Vacuuming without the bristle ring pushed down can
damage the surface.
Never vacuum with the bristle ring pushed up.
a)Push the Multi-Use-Brush onto the handle or the tube
and lock it in place.
b)Press the two locking catches on the bristle ring.
● Push the bristle ring down and lock it in place.
=>The Multi-Use-Brush is ready to use.
c)Vacuum using the Multi-Use-Brush.
● Press the two locking catches on the bristle ring.
● Push the bristle ring upwards and lock it in place.
d)Press the release button and remove the Multi-Use-
Brush to remove.
Toy trap*
The toy trap can prevent small parts from being
vacuumed into the dust bag.
Figure
a)Remove the handle from the telescopic tube. Fit the
toy trap between the handle and the suction pipe.
b)Turning the wheel anti-clockwise as far as possible
activates the collection function – small parts are
retained in the collection container.
Turning the wheel clockwise deactivates the
collection function.
c)To remove the small parts that have been collected,
unlock the front window and fold it down.
● Once you have removed the small parts, close and
lock the front window (you should hear it click into
place).
13*
15*
12
14*
● If necessary, any dirt that has collected can easily be
vacuumed off using the handle.
● Remove the toy trap after use.
!Please note:
The toy trap is not intended for continuous use and
should only be fitted when necessary.
Drill dust nozzle*
Figure
a)Secure the drill dust nozzle to the handle and then
place against the wall, so that the nozzle drill hole
opening sits directly over the hole to be drilled.
b)Select the lowest power setting and then switch on
the vacuum cleaner.
Suction holds the drill dust nozzle in the required
position.
c)Depending on the surface of the wall to be drilled it
may be necessary to readjust the power to a higher
setting to ensure the drill dust nozzle is firmly
attached.
Any fine particles are automatically vacuumed up.
Figure
You can use the parking aid on the back of the vacuum
cleaner if you wish to stop vacuuming for a short time.
● Once you have switched off the appliance, slide the
hook on the floor tool into the recess on the rear of
the appliance.
Figure
To overcome obstacles, e.g. steps, the appliance can
also be carried by the handle on the appliance body.
When the work is done
Figure
a)Pull out the mains plug.
b)Briefly pull on the power cord and then release it (the
power cord retracts automatically).
Figure
To store/transport the appliance, you can use the
storage aid on the underside of the appliance.
a)Stand the appliance upright on its end.
b)Slide the hook on the floor tool into the recess on the
underside of the appliance.
17
18
19
20
16*
*
depending on model
Loading ...
Loading ...
Loading ...