Loading ...
Loading ...
Loading ...
11
Press the “Hours” and “Minutes” buttons
to scroll forward through the digits until
desired time appears. The first setting which
appears is preset at “4:00” and the next
display will be “0:00”, since four hours is the
maximum Automatic Shutoff setting. Pressing
and holding either button will allow you to
scroll continuously, slowly at first, and then to
accelerate to the rate of about three digits per
second. As the desired time setting approach-
es, release the button and then press repeat-
edly to advance one digit at a time.
The Automatic Shutoff Time (ASO) may be
programmed either before or during coffee
brewing. You may also re-program the ASO
time when brewing has been completed. If you
do so, the Automatic Grind & Brew
™
will auto-
matically account for any time that has already
elapsed after brewing. For example, if you set
the ASO for 40 minutes and 25 minutes have
already elapsed, the Grind & Brew
™
will shut
off automatically after 15 minutes (40 minutes
minus the 25 elapsed equals 15 minutes).
VARIABLE KEEP WARM
TEMPERATURE
The Automatic Grind & Brew
™
has a method of
setting the holding temperature of the coffee in
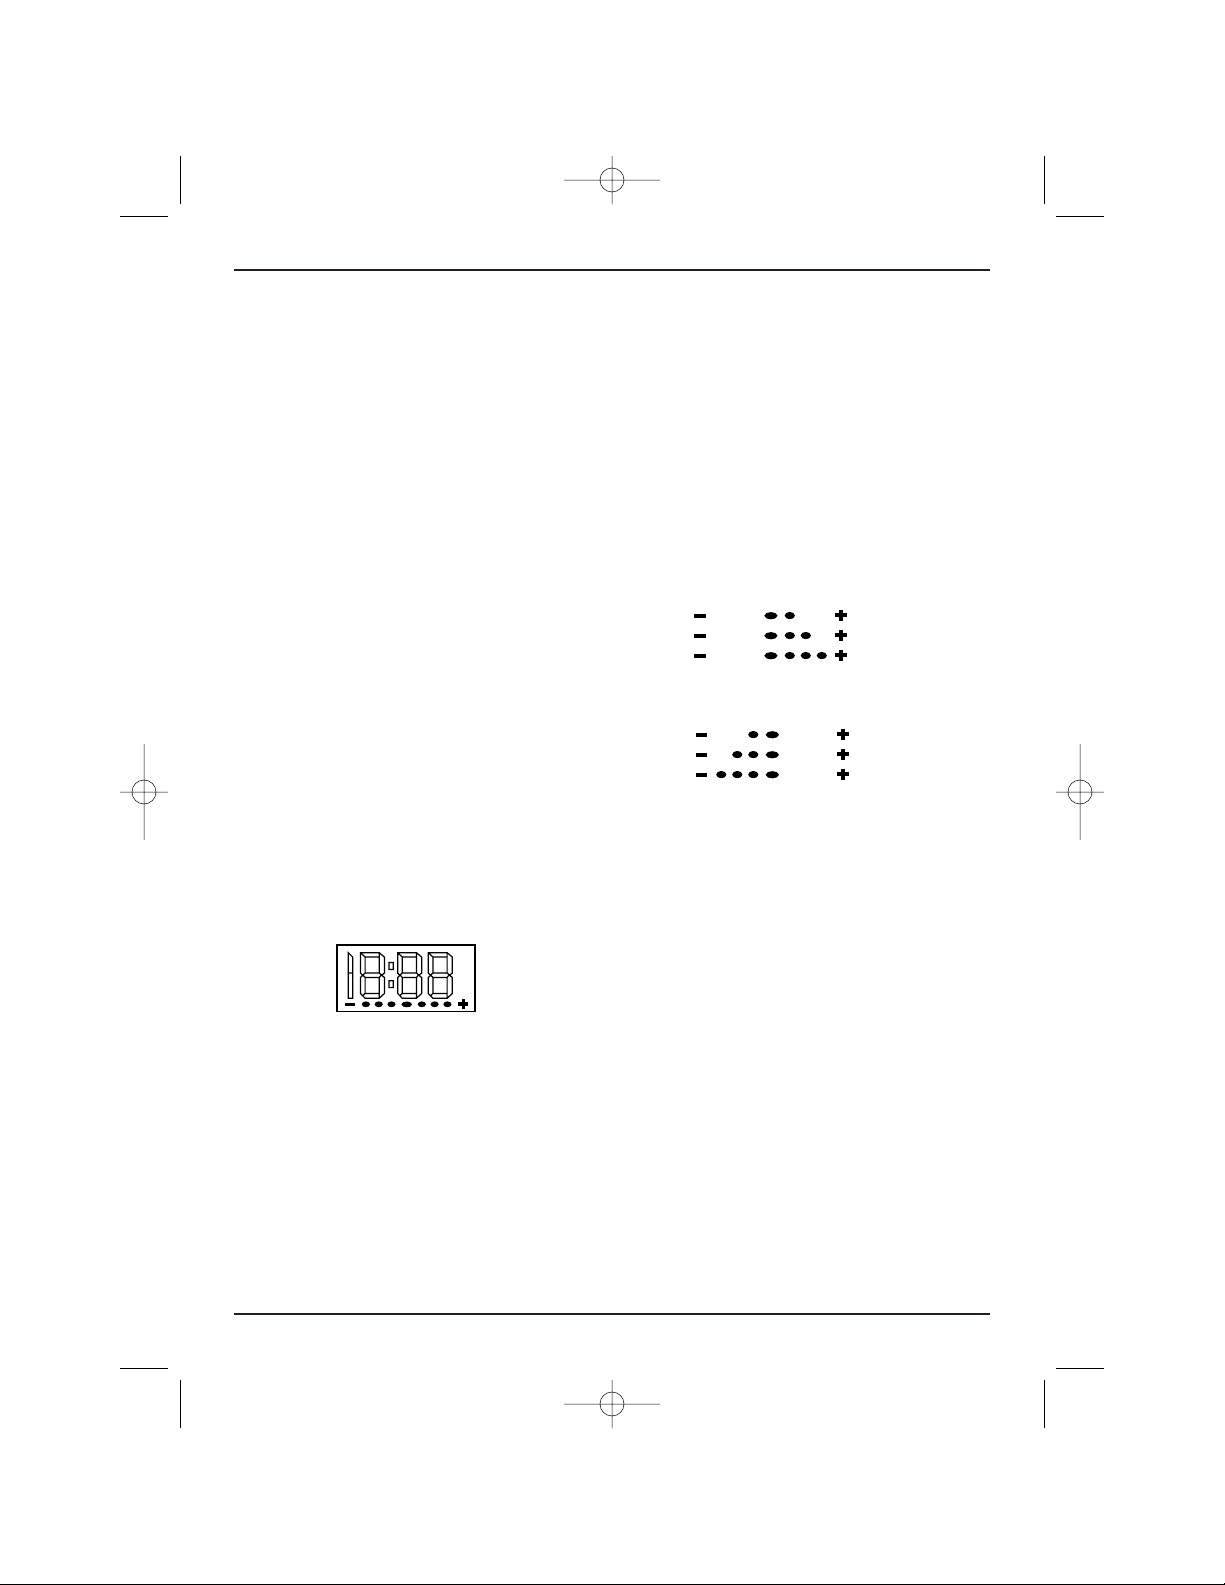
the carafe. The display appears as a series of
elliptical or oval-shaped dots across the lower
portion of the digital readout, and indicates the
selected temperature relative to the holding
temperature preset at the factory.
If you use a lot of milk in your coffee, set tem-
perature higher than normal. If you prefer cool-
er coffee, lower the temperature. We encour-
age you to experiment and determine what is
best for you. Please note that the heater plate
on the coffeemaker is not powerful enough to
raise the temperature of the coffee in the pot,
once coffee has been brewed. This feature is
designed as a “preset” and will affect the cof-
fee during the brewing cycle. If the coffee is
too hot, the temperature can be lowered, but
since we do not recommend leaving the coffee
on direct heat for more than twenty minutes,
the simplest way to reduce the heat is to
shut off the coffeemaker and allow coffee to
cool before transfer to a thermal carafe.
Never use the carafe on a heated stovetop.
To Set Temperature:
Press the “Set Temp” button on your cof-
feemaker. The time display will disappear and
only the Temperature Display remains. The (-)
and (+) buttons (same as Hours and Minutes,
respectively) can then be used to increase or
decrease the holding temperature. The select-
ed temperature will remain programmed until
you change it or until the coffeemaker is unplugged.
INCREASING THE TEMPERATURE:
DECREASING THE TEMPERATURE:
Exiting “Set Temperature” Mode:
There are three ways to exit “Set Temperature”
mode:
1. Press “Set Temp” button. Time
display reappears.
2. Press any button besides (-), (+) or “Temp
Set”. The function of the button pressed will
be executed.
3. Do nothing. If neither the (-) nor (+) button is
pressed for a period of five seconds, the
“Set Temperature” mode will be exited.
NOTE: If, at any time during the life of the cof-
feemaker, the temperature display bar begins
to flash and the Temp Set button has no effect
on the display, this indicates damage to the
Coffee Temperature Monitor. Otherwise the
coffeemaker will continue to function normally.
Because there are no user serviceable parts
inside, the coffeemaker must be returned to an
authorized Cuisinart Repair Center if servicing
is desired.
pm
01CU13030 DGB-300 IB 12/14/01 10:22 AM Page 11
Loading ...
Loading ...
Loading ...