Loading ...
Loading ...
Loading ...
5
22
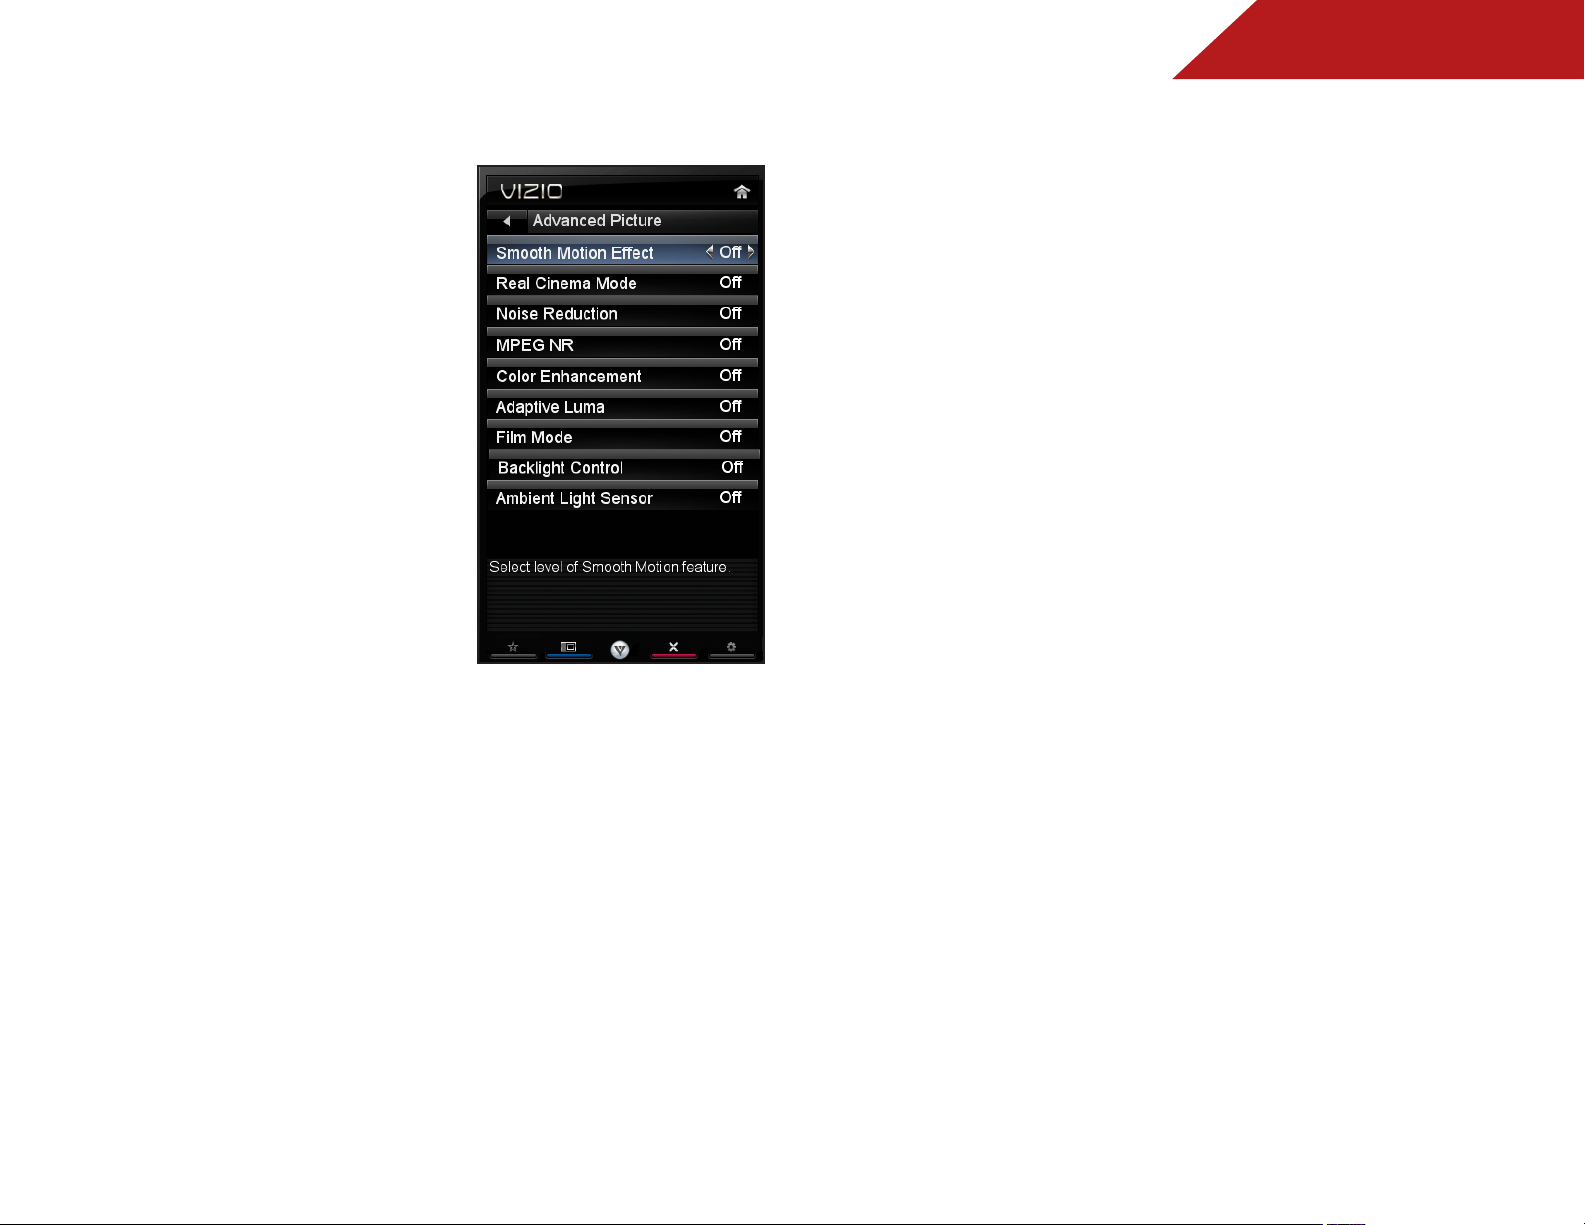
Adjusting the Advanced Picture Settings
To adjust the advanced picture
settings:
1. From the Picture Settings menu,
use the Arrow buttons on the
remote to highlight More, then
press OK.
2. Use the Arrow buttons on the
remote to highlight Advanced
Picture, then press OK. The
Advanced Picture menu is
displayed.
3. Use the Arrow buttons to
highlight the setting you wish
to adjust, then press Left/Right
Arrow to change the setting:
• Smooth Motion Effect -
Activates Smooth Motion™
motion estimation/motion
compensation, which
suppresses motion judder,
or “stuttering” of the image
when the camera moves
across a scene horizontally.
Select Off, Low, Middle, or
High.
• Real Cinema Mode - Allows selection of the type of
compensation used for the Smooth Motion™ effect.
Select Off, Precision or Smooth.
• Noise Reduction - Diminishes artifacts in the image
caused by the digitizing of image motion content. Select
Off, Low, Medium, or High.
• MPEG NR - Reduces pixellation and distortion for .mpeg
files.
• Color Enhancement - Reduces oversaturation of some
colors and improves flesh tones. Select Off, Normal, Rich
Color, Green/Flesh, and Green/Blue.
• Adaptive Luma - Adjusts the average brightness of the
picture to compensate for large areas of brightness.
Select Off, Low, Medium, Strong, or Extend.
• Film Mode - Optimizes the picture for watching film.
Select Auto or Off.
• Backlight Control - Select Off, DCR (Dynamic Contrast
Ratio), or OPC.
• Ambient Light Sensor - The ambient light sensor detects
the light levels in the room and automatically adjusts the
backlight for the best picture. Select Off, Low, Medium, or
High.
4. When you have finished adjusting the Advanced Picture
Settings, press the EXIT button on the remote.
Loading ...
Loading ...
Loading ...